


The StellarMate Plus Manual
179 / 227
3.
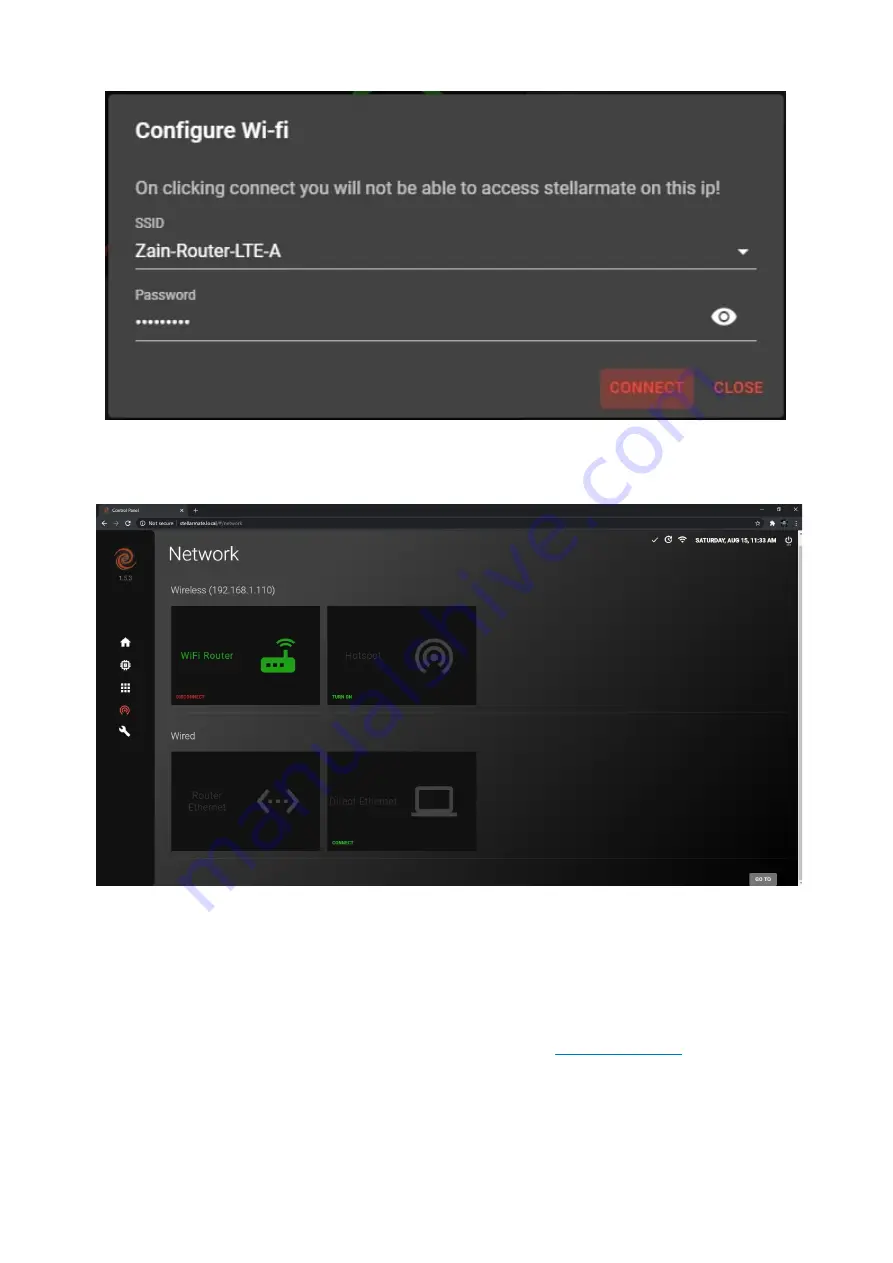
Connect to the same WiFi network on your computer/laptop and then refresh the page,
the network page should look like the image below.
W
You can always switch back to
HotSpot
mode whenever you want by clicking on the
Turn
On
button under HotSpot.
Wired
StellarMate can be connected through
Router Ethernet
To connect to StellarMate through Router Ethernet, just connected an Ethernet cable to
StellarMate and connected the other end to your Router.
Now connect to the same network on your computer and refresh the page.
Содержание Stellar Mate Plus
Страница 50: ...The StellarMate Plus Manual 50 227 First Capture First Rotation...
Страница 51: ...The StellarMate Plus Manual 51 227 Second Capture...
Страница 52: ...The StellarMate Plus Manual 52 227 Second Rotation Third Capture...
Страница 64: ...The StellarMate Plus Manual 64 227 After filling the preset settings you need to add a sequence...
Страница 109: ...The StellarMate Plus Manual 109 227 Search Results...
Страница 114: ...The StellarMate Plus Manual 114 227...
Страница 123: ...The StellarMate Plus Manual 123 227...
Страница 160: ...The StellarMate Plus Manual 160 227 2 WiFi Infrastructure Bluetooth...
Страница 186: ...The StellarMate Plus Manual 186 227 4 Web Manager 5 Network Manager 6 Device Manager...
Страница 219: ...The StellarMate Plus Manual 219 227 6 Select the MicroSD card you wish to write your image to...
Страница 220: ...The StellarMate Plus Manual 220 227 7 Review your selections and click Flash to begin writing data to the SD card...


