WSB-PV-D4251/D5251 SBC
Page 50
Step 1:
Locate the RJ-45 connectors
. The locations of the USB connectors are shown
in
Chapter 4
.
Step 2:
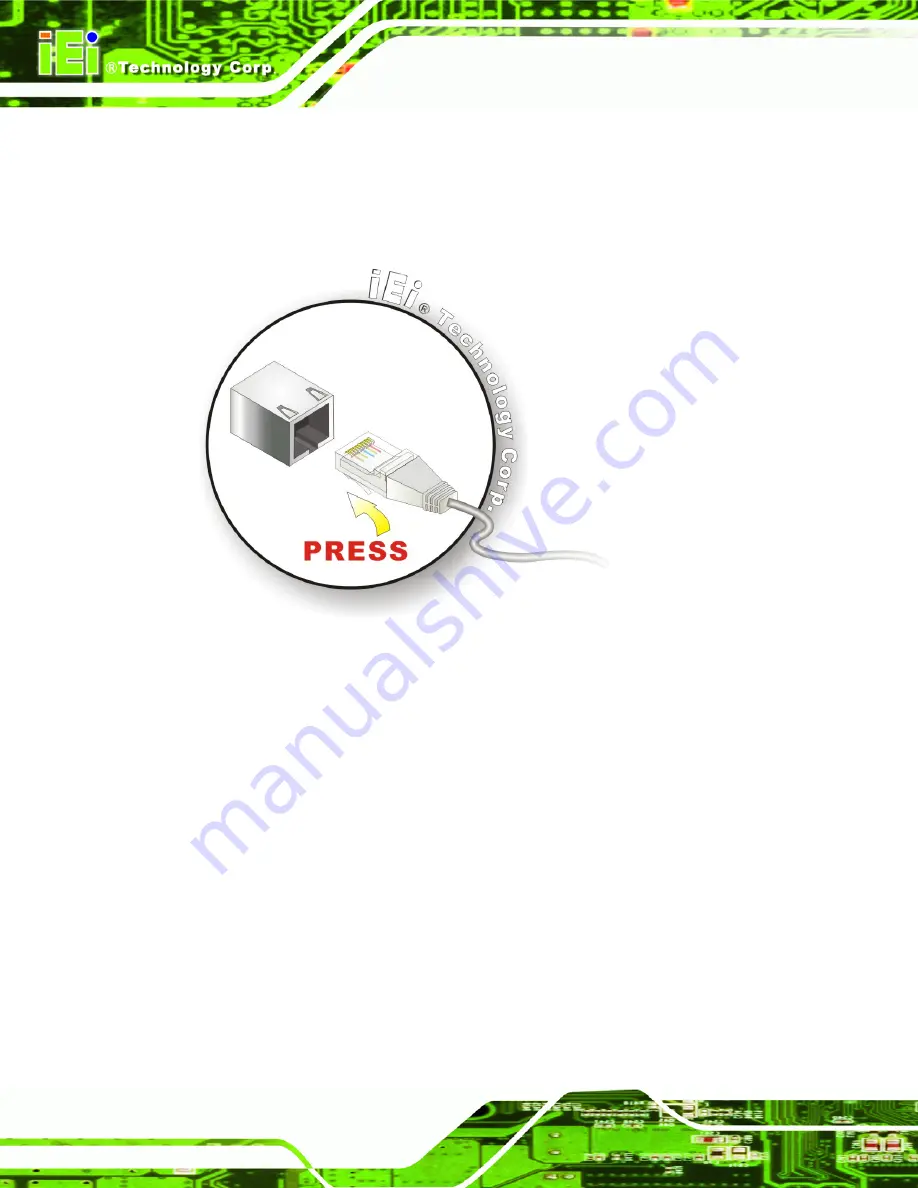
Align the connectors.
Align the RJ-45 connector on the LAN cable with one of
the RJ-45 connectors on the WSB-PV-D4251/D5251. See Figure 4-12.
Figure 4-12: LAN Connection
Step 3:
Insert the LAN cable RJ-45 connector.
Once aligned, gently insert the LAN
cable RJ-45 connector into the on-board RJ-45 connector.
Step 0:
4.8.3 USB Device Connection (Single Connector)
There are one external USB 2.0 connector. To connect a USB 2.0 or USB 1.1 device,
please follow the instructions below.
Step 1:
Located the USB connector
. The location of the USB connectors is shown in
Chapter 4
.
Step 2:
Align the connectors.
Align the USB device connector with the connector on
the WSB-PV-D4251/D5251. See Figure 4-13.
Содержание WSB-PV-D4251
Страница 14: ...WSB PV D4251 D5251 SBC Page 1 Chapter 1 1 Introduction ...
Страница 21: ...WSB PV D4251 D5251 SBC Page 8 Chapter 2 2 Packing List ...
Страница 26: ...WSB PV D4251 D5251 SBC Page 13 Chapter 3 3 Connector Pinouts ...
Страница 48: ...WSB PV D4251 D5251 SBC Page 35 Chapter 4 4 Installation ...
Страница 67: ...WSB PV D4251 D5251 SBC Page 54 Chapter 5 5 BIOS ...
Страница 99: ...WSB PV D4251 D5251 SBC Page 86 Appendix A A BIOS Options ...
Страница 102: ...WSB PV D4251 D5251 SBC Page 89 Appendix B B One Key Recovery ...
Страница 130: ...WSB PV D4251 D5251 SBC Page 117 Appendix C C Terminology ...
Страница 134: ...WSB PV D4251 D5251 SBC Page 121 Appendix D D Hazardous Materials Disclosure ...


