


18
5.
Go back to the previous menu. You should now be able to see a mask covering part of
the screen. Use the
MASK WIDTH
and
MASK CENTER
controls to change its size
and position.
To reset the mask, toggle
MASK STATUS
off and on again (to return to the menu shown
in figure 22) and select
RESET MASK
.
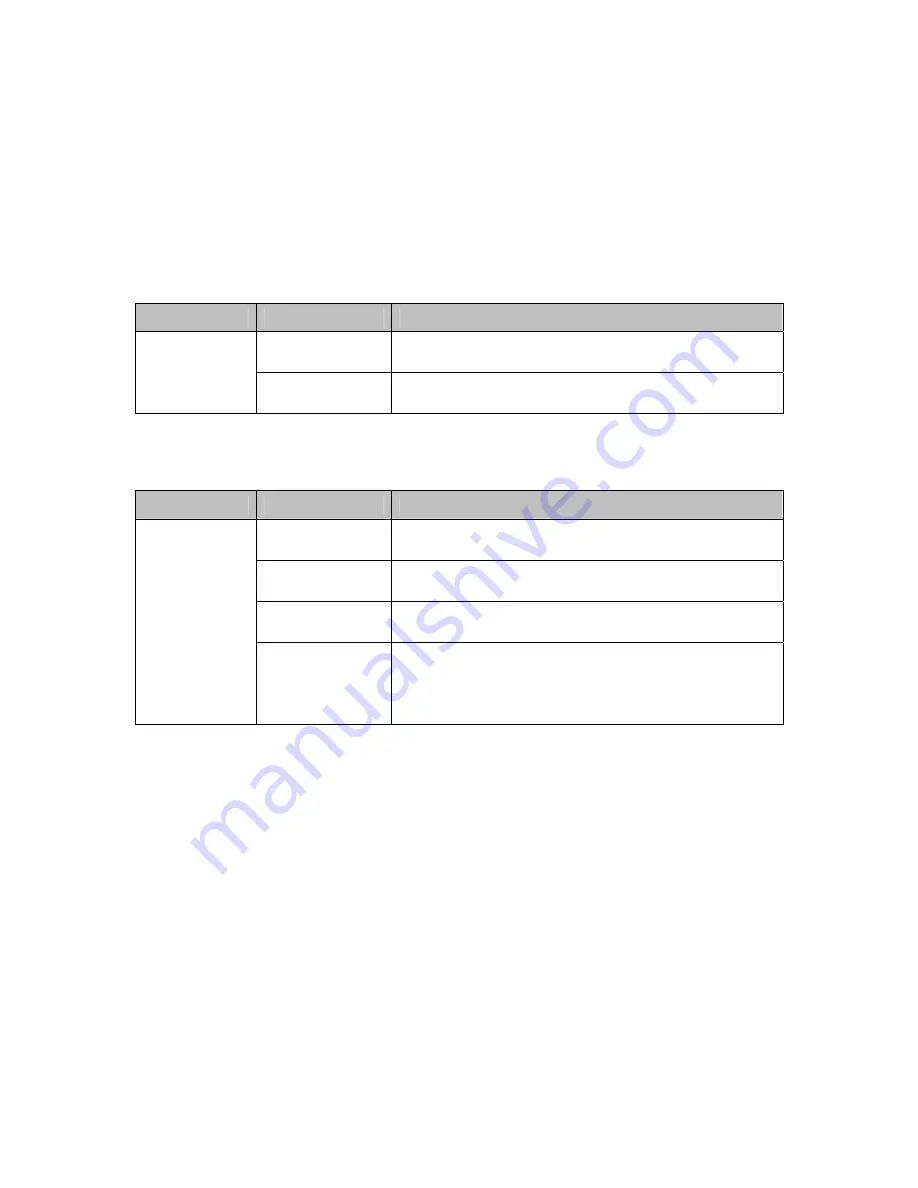
Home Position Setup
Sub-Menu
Option
Function
Home Position
Allows users to select a preset, from 1-64, as the
dome’s home position.
Config Home
Position
Return Time
Allows users to set the number of
minutes
after which
an inactive dome will return to its home position.
Autopan Setup
Sub-Menu
Option
Function
Direction
Allows users to set the direction of movement from
the start point (
Right
or
Left
).
Speed
Allows users to set the panning speed, between
0-22
.
The default is
8
.
Time
Allows users to set the “hold” time at each boundary
position (between
0-30
seconds).
Autopan Set
Title
Allows users to enter up to sixteen characters of text
to be displayed when the dome is in autopan mode.
Note that the display settings are defined in the OSD
sub-menu.
To program the start and end points:
1.
Exit the dome menu and use the PTZ controls to find your desired start point.
2.
Choose preset 67 from the
Preset
drop-down menu, and click the set button identified
by a pencil icon. The overlay message
68 SHOT TO END
should come up.
3.
Find your desired end point.
4.
Choose preset 68 from the
Preset
drop-down menu, and click the set button identified
by a pencil icon.
Once configured, autopan can be started by selecting preset 67 from the
Preset
menu and
clicking the “eye” button.