1
User Manual
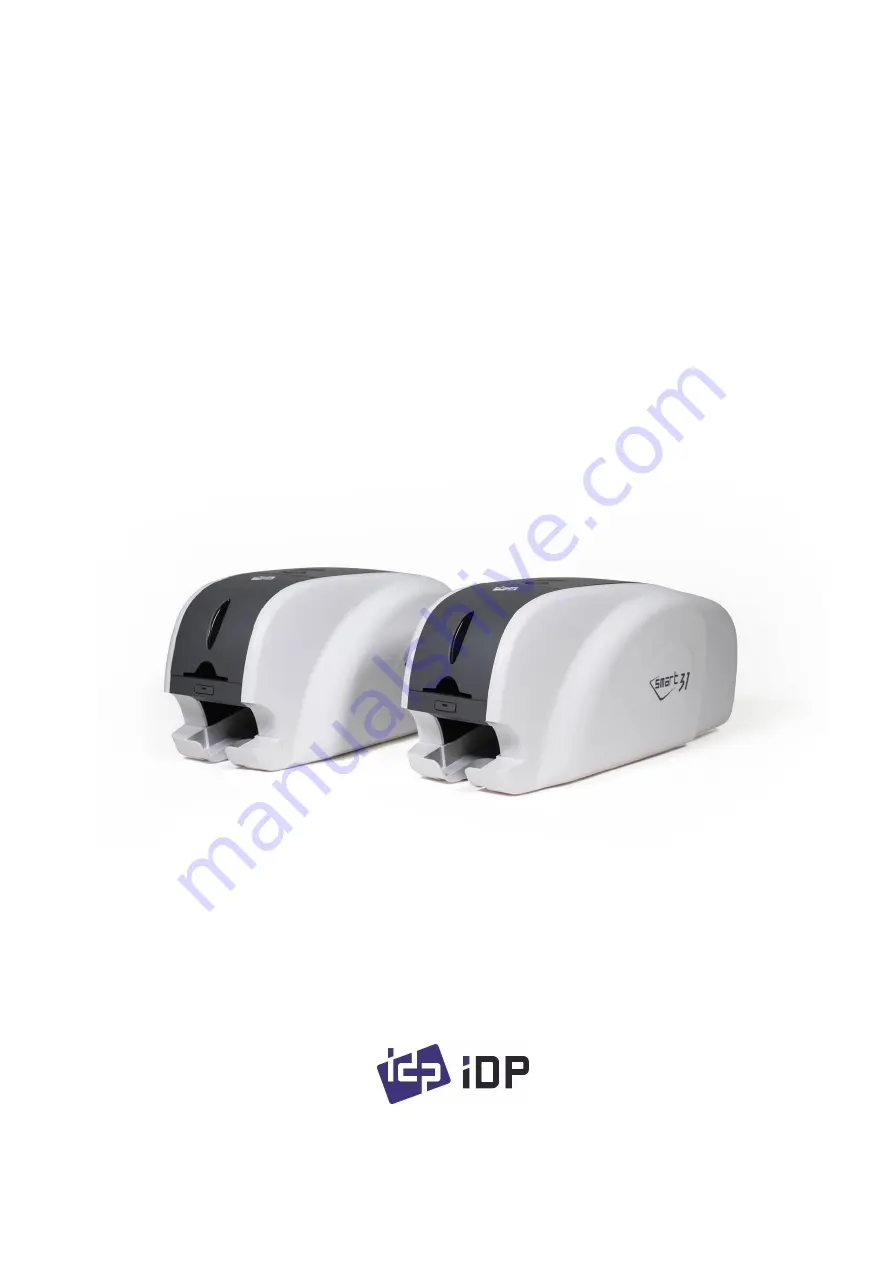
SMART Series
SMART-31S, SMART-31D, SMART-31R
Страница 1: ...1 User Manual SMART Series SMART 31S SMART 31D SMART 31R...
Страница 2: ...trademarks or registered trademarks are marks of their respective holders SMART 31 Design is a trademark of IDP Return Materials Authorization In order to make a warranty claim you must contact an ID...
Страница 3: ...2 3 Loading the cards 17 2 4 The withdrawal of printed cards 19 2 5 Driver installation Windows 7 8 10 20 3 Driver configuration 24 3 1 Printer Properties 24 3 2 Advanced Options 28 3 3 Other settings...
Страница 4: ...rror Message 67 6 2 Cleaning the printer 71 6 3 TPH Thermal Print Head replacement 75 6 4 Card movement 77 6 5 Printing quality 78 6 6 Magnetic stripe encoding 79 6 7 General operation 80 7 Specificat...
Страница 5: ...Peeling the protective wrapper 15 Figure 16 Installing the ribbon cartridge 16 Figure 17 Close Top Cover 16 Figure 18 Adjusting the card thickness Device 17 Figure 19 Preparing the card 1 17 Figure 2...
Страница 6: ...ure 54 CardPrinterConfig Card Printer Basic Setup 35 Figure 55 Rewrite Density SMART 31R 37 Figure 56 Color density 37 Figure 57 Resin Black Density 38 Figure 58 Overlay density 38 Figure 59 CardPrint...
Страница 7: ...installation 63 Figure 89 Found New Hardware Wizard 64 Figure 90 Installation method selection 65 Figure 91 Driver location 65 Figure 92 Completing the driver installation 66 Figure 93 Exclusive long...
Страница 8: ...provided with the printer Using USB and Network port it is communicated with the user s PC The following shows the outside functional features found on the printer Figure 1 SMART 31 front features Fig...
Страница 9: ...encoding This manual is prepared based on SMART 31S SMART 31D Figure 4 has a flipper which can enable to print in both sides SMART 31D can print the both side of the card with the encoding SMART 31R...
Страница 10: ...tra printed encoded card is passed out It can be withdrawed when pulling forward Input hopper Load the cards for printing Maximum 40 cards are loaded when cover is closed Maximum 80 cards are loaded w...
Страница 11: ...omponent of the printer Printer does not operate if it is broken or damaged In this case please contact printer reseller Take up Supply parts Ribbon is wrapped to the supply parts as the Picture It sh...
Страница 12: ...us of SMART 31 is displayed by color of LED It is red when boot up It is changed to System Ready if the printer is fine It is change to Printing when the printer is working In case of sensing an error...
Страница 13: ...fer to the Network Configuration if you use the LAN connection Figure 8 SMART 31S Connection of power and USB cable 2 SMART 31D Connect the power and USB cable after turning the printer on its side as...
Страница 14: ...er In this section we invite you to know the proper method of installing the ribbon and the cleaning roller into the printer 1 Turn off the printer 2 Open the printer top cover by pressing the top cov...
Страница 15: ...might be happened Figure 13 Loading the ribbon 2 6 Install the disposable cleaning roller to the ribbon cartridge Figure 14 Installing the cleaning roller 7 Peel the protective wrapper from the cleani...
Страница 16: ...inter after installing the ribbon with a cleaning roller to the cartridge Figure 16 Installing the ribbon cartridge 9 Close the top cover If it is not closed properly check the installation state of t...
Страница 17: ...f cards in the specification of this manual Always keep the card surface clean state Figure 18 Adjusting the card thickness Device 2 To separate cards from each other push a stack of cards back and fo...
Страница 18: ...cards on the input hopper properly and close the hopper cover Figure 22 Loading the cards 2 5 When insert each one card insert the card to the end as left picture Caution If the printer has a lock dev...
Страница 19: ...ards are passed out to the stacker of front bottom side of SMART 31 printer Figure 25 SMART 31 Withdrawal a card SMART 31 s stacker can be divided as following image so you can withdraw the printed ca...
Страница 20: ...trol window is opened click Yes Figure 28 Install Win7 driver 2 3 STEP 1 Please turn off printer if it is connected to PC Please click Next When you click Next older driver will be removed automatical...
Страница 21: ...s connected to USB only If you want to install the driver for a printer connected to network please select the TCP IP Network port and select the proper printer as step 7 Figure 31 Install Win7 driver...
Страница 22: ...0 8 When driver installation is completed please click Close Figure 34 Install Win7 driver 11 9 Please open Devices and Printers from Hardware and Sound Please check if IDP SMART 31 Card Printer is cr...
Страница 23: ...1 Card Printer Properties window Figure 37 Install Win7 driver 14 12 Please check test card if it is printed properly and click Close if a card is printed properly If card is not printed or error come...
Страница 24: ...ices and Printers and right click IDP SMART 31 Card Printer Click Printer Properties 1 Printing Preferences Please click Preferences shown on the bottom of the left picture Figure 39 Printer propertie...
Страница 25: ...sk You can indicate the area to print by using a predefined mask or user defined mask white card smartcard Magnetic stripe card etc on front or back side Printing Ribbon It shows the type of installed...
Страница 26: ...u can set the both sides Front YMCO Back K to save color ribbon YMCKO HYMCKO BYMCKO It is only activated while printing both sides option is set 5 Encoding This tap will be shown only when Magnetic en...
Страница 27: ...Mode Track 1 default IATA Track 2 default ABA Track 3 default MINS JIS II Track default JIS II Density MS encoding density 210 75 Text Encoding Sentinels Start End Marker for text magnetic encoding St...
Страница 28: ...0 dpi Reset Default Values Reset to default Color Correction You can correct gamma for colors You need to use CardPrinterConfig to adjust color densities Main 100 100 Correct gamma for all panels Yell...
Страница 29: ...sin black for text only Black Dots to extract resin black for all of black Black Dots only to extract resin black for all of black and not to print on color panels Not Use not to extract resin black E...
Страница 30: ...rd to wait from the criteria position Unit is 0 1mm Wait Time 0 1000 to set time to wait Unit is second Wait at Internal Module Contact Encoding Position On Off to set whether to wait at the Internal...
Страница 31: ...this printer Figure 46 Printer sharing 2 Ports Port tab shows which port is connected with SMART 31 SMART 31 has connection with USB Virtual printer port as left picture because SMART 31 uses USB con...
Страница 32: ...dvanced 4 Color Management In Color management tab you can select color management profile fit to the printer SMART 31 uses color profile to express optimal color The driver selects color profile auto...
Страница 33: ...mware version type of ribbon balance and printer s status You can print the technical support sheet on a card to check printer s setup value To clean printer please insert a cleaning card in a hopper...
Страница 34: ...ut window is displayed when you run this program If you input the correct password the recorded setup value will be shown and you can change values The password is saved to SMART 31 printer So if you...
Страница 35: ...port If you connect the Network printer please check the Allow Network Printer and select in the pull down menu To set administrator password and user password Change Root PW To set administrator roo...
Страница 36: ...tion Please set the end position of printed example image and blank space in the bottom is 0 4mm 0 5mm It is recommended to set bigger value for Y scale than default Y Scale Please set to show circles...
Страница 37: ...or red marks are appeared If it is too weak the print quality will be dull Figure 56 Color density Black Density To set resin black density In the picture barcode is printed to express density When d...
Страница 38: ...is not printed edge areas You can check it with printed card under the light Figure 58 Overlay density To print calibration card To show advanced Setup It is recommended not to set advanced setup To l...
Страница 39: ...dress is It is useful to connect and use several printers Default is SMART Set PC Serial One of security function You can use a printer with specific PC It is activated when you click Set PC Serial af...
Страница 40: ...et the ribbon motor s min torque value while printing when the balance is min RMM Set the ribbon motor s max torque value while moving when the balance is max RMM Set the ribbon motor s min torque val...
Страница 41: ...ject cards Error Card Out Set the way to eject error cards Auto Front Card In Set to input a card automatically if the front card in sensor detects a card It is used for the KIOSK model Auto Rear Card...
Страница 42: ...installed flipper Firmware version and serial number of flipper To set configuration of flipper Device Attribute Basic attribute of flipper Card In Speed Set the speed of inputting a card into a flipp...
Страница 43: ...nect network cable RJ45 to a printer Network cable is not supplied Please ask network administrator for more questions Figure 62 Rear view of SMART 31 printer 2 DHCP Dynamic Host Configuration Protoco...
Страница 44: ...rsion of network module Figure 63 Running the NetAdmin When no printer is connected to network there is no printer shown on the box Please click Refresh If no printer shown please check as below 1 Ple...
Страница 45: ...device driver for network configuration by USB Please ignore messages related to device installation You can change values of System Management only when you connect a printer by USB Please connect a...
Страница 46: ...t support PC SC on network module you can recognize the status of encoders Figure 67 USB port state Reboot module reboots network module Please click Yes when pop up window comes out for reboot It tak...
Страница 47: ...es out for reset It takes 1 minute to reboot Please click Refresh after reboot When proper printer shown please connect printer by clicking Connect Figure 69 Reset to default Upgrade firmware enables...
Страница 48: ...bility Please do not turn off a printer until the upgrade is completed Figure 71 Upgrading the firmware 2 When firmware upgrade is completed pop up comes out for reboot Please click Yes It takes 1 min...
Страница 49: ...rk printer If you are not aware of static IP please ask network administrator for Static IP We recommend using Static IP because it is more stable for using SMART 31 network printer Figure 73 Dynamic...
Страница 50: ...s Layer and User Authentication for security Please use default and ask technician for details Figure 75 Network service configuration You can use Open Card Print function This function is for send co...
Страница 51: ...rd admin is administrator and you can t delete this account Please don t forget password for admin Get User shows available users Add User makes new user Del User deletes selected user Change Password...
Страница 52: ...ation will be controlled by CARD PRINTER SDK You can test all feature of printer by Card printer Test Card Printer Test program is developed by using SMART Printer SDK 1 CardPrinterTest When CardPrint...
Страница 53: ...ds In SBS mode after printing data transmission printing a card will be run only by clicking DoPrint It is the main difference between NORMAL mode and SBS mode When you click Start SMART 31 is operate...
Страница 54: ...ting data from PC to printer and wait for printing Therefore you must click DoPrint to print in SBS mode This function is for detail control of printer 4 Click Close button to close CSD file 4 Batch B...
Страница 55: ...uffer is to transmit the date stored in the buffer to PC If the track number is ticked the data of the ticked track is only transmitted to PC Write is to write the data to the magnetic stripe It is co...
Страница 56: ...contact with the smartcard electrically and initialize Reset is to finish the function electrically After Contact you can run Get ATR Read Write and Clear Get ATR is to read the ATR data Read and Writ...
Страница 57: ...p cover you can encode because the antenna installed under the top cover is used Therefore Batch is applied only to the internal contactless smartcard encoding Contact is to contact with the contactle...
Страница 58: ...sequentially Card IN Move RF RF Connect Get UID RF Discontact Card OUT Figure 81 Contactless smartcard encoding 6 Printer status Get Temperature is to get and display the temperature of Thermal Print...
Страница 59: ...ew firmware file to update Manual Update It is used when you want to update manually Update Updates automatically In generally we recommend updating automatically Close Exit Message It displays inform...
Страница 60: ...problems in the automatic upgrade you click Manual Update and can see the pop up widow as below picture It shows procedure of manual upgrade You can upgrade manually according to this procedure Cautio...
Страница 61: ...ch are contact smartcard reader If you have one or more smartcard reader devices on your printer you should install the smartcard device driver as in the following and connect SMART 31 printer to your...
Страница 62: ...ment window is shown Check at the agreement and click Next Figure 86 License agreement 3 Installation The installation message is shown as the picture Click Install to install driver Figure 87 Install...
Страница 63: ...63 4 Complete installation When the installation is completed the window is shown Click the Finish to complete the installation steps Figure 88 Completing the smartcard reader driver installation...
Страница 64: ...ore contactless smartcard reader devices on your printer you should install the contactless smartcard device driver as in the following and connect SMART 31 printer to your PC 1 Connect SMART 31 print...
Страница 65: ...on and click Next Figure 90 Installation method selection 3 Driver location Insert the smartcard installation CD and find Options Omnikey 5121 directory on your CD Find the right directory which is in...
Страница 66: ...66 4 Complete installation When the installation is completed the window as the Pic121 is shown click Finish to complete the installation steps Figure 92 Completing the driver installation...
Страница 67: ...tached Check the rollers and cards and clean them if they are polluted Check the operating state of the card feeding rollers and sensors 3 CardMove Ext Err Fail to move a card between printer and othe...
Страница 68: ...g configuration Check the rollers encoder and cards and clean them if they are polluted 10 MAG T1 Error Fail to read a track 1 of the magnetic stripe Check the surface and direction of magnetic card C...
Страница 69: ...perating a flipper Remove a card after opening a flipper cover Check the card size 18 Ribbon Zero All ribbons are used Install the new ribbon after purchasing it in the place of purchase 19 RibbonNotF...
Страница 70: ...assword 24 SetCommandFail Failed to execute a command of the printer Replace the USB cable USB Change the USB port in the PC Turn off on the printer 25 Spool Full The printing data is full in the spoo...
Страница 71: ...long cleaning card ask to SMART 31 printer provider Figure 93 Exclusive long cleaning card for SMART 31 printer If the exclusive long cleaning card is ready click the Clean Printer in the service tab...
Страница 72: ...RT 31 printer to PC and turn it on and prepare the exclusive long cleaning card Figure 95 Printer cleaning Step 1 Step 2 Open the hopper and top cover and remove the card and ribbon cartridge Figure 9...
Страница 73: ...ill be move automatically It is normal that the exclusive long cleaning card is inserted to the ends and rollers are moving to clean Figure 97 Printer cleaning Step 3 Step 4 Close the top cover to cle...
Страница 74: ...aning is completed the exclusive long cleaning card will be ejected automatically as the picture Figure 99 Printer cleaning Step 5 Step 6 Remove the exclusive long cleaning card and install ribbon car...
Страница 75: ...nt Head 2 Set up the new Print Head s configuration using CardPrinterConfig program Step1 Run CardPrinterConfig in Utilities of the installation CD and click expansion button Step2 Click Change Head i...
Страница 76: ...d Figure 103 Print head replacement 5 Setup the print position and the color density After installing the new Print Head you must reset the print position and the color density using CardPrinterConfig...
Страница 77: ...r using front LED buttons If this problem occurred frequently check the below things Non standard cards or bad cards Change the cards You can use only ISO CR 80 card 54mm x 86mm The transfer roller or...
Страница 78: ...ecking the card change it to another card The cleaning roller is contaminated with the dust and dirt Check the cleaning roller If there is much dust change the cleaning roller to the new one Much dust...
Страница 79: ...roller or printing roller is contaminated with the dust and dirt Clean the rollers with the cleaning kit as section 6 1 Worn out printer Please contact the local supplier 6 5 5 Unplanned color print...
Страница 80: ...printing Open the top cover and take out the cartridge After putting the snapped pieces on together install the cartridge again Check the followings if this kind of problem occur frequently Non stand...
Страница 81: ...ffline Change the printer driver to Online The printer s USB cable is disconnected or the connection is bad Check the cable s connection between PC and the printer If not good make the USB cable conne...
Страница 82: ..._ Capacity Input Hopper 80 Cards Output Hopper 25 Cards System Memory 64MB RAM Control Panel 1 LED Button Supported Platforms MS Windows 7 8 10 Mac OS Linux Communication USB Ethernet Option Power Sup...
Страница 83: ...nformation on the RFID Tag of the ribbons To support user s various requirements for printing cards appropriately many kinds of ribbons should be provided and SMART printer should distinguish the type...