

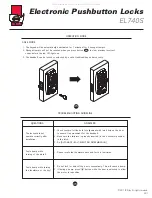

Electronic Pushbutton Locks
EL740S
© 2017 IDN, Inc. All rights reserved.
0817
43
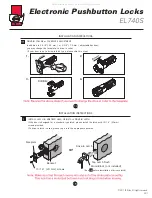
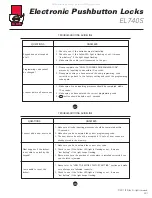
OPERATION MODE
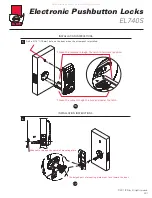
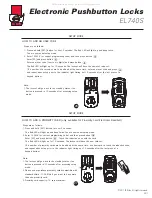
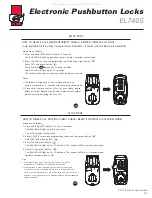
HOW TO LOCK manually
Keypad: Press button to lock the door.
Remote control: Press lock button to lock the door as shown.
(only available for Remote Control Electronic Deadbolt)
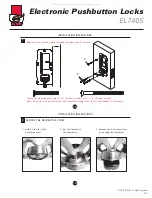
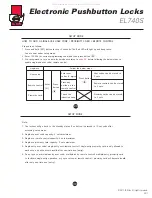
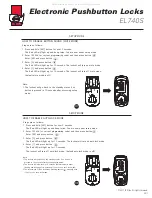
HOW TO LOCK automatically
1. Auto-lock mode should be turned on and auto-lock time delay
should be also set up.
2. The lockset will be auto-locked in few seconds
(default 10 seconds or the time you entered)
after unlocking by using codes, card, or remote
control.
Or
Or
44
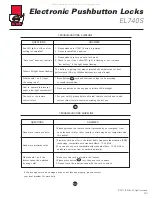
OPERATION MODE
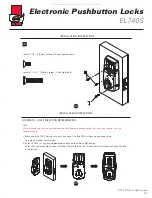
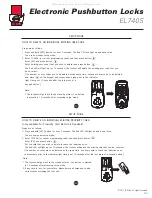
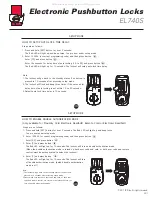
HOW TO UNLOCK
1. Enter a valid code, touch the inductive zone with the card , or press unlock button
on the remote control to unlock the lockset.
2. When the double authorization mode is turned on, both user code and card, or both user
code and remote control, must be authenticated to unlock the lockset.
C
C
C
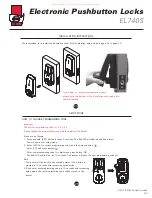
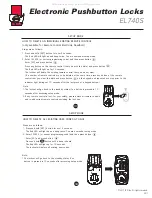
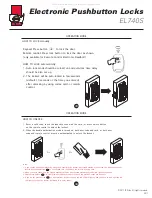
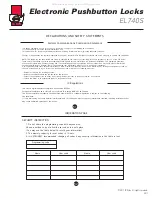
Note:
1.If you cannot unlock the lockset by using card, especially the lockset is mounted outside or under the sun, please wakeup the
lockset by pressing button on the keypad first, then unlock the lockset by using card.
2.When you enter codes, and the keypad backlight will also be activated automatically under low light environment.
3.Please press button to clear previous codes and re-enter codes if the previous codes are incorrect.
4.If you do not press button to clear previous incorrect codes, the red LED will light up and you have to wait until the red
LED lights off, then the lockset is allowed to re-enter codes.
All manuals and user guides at all-guides.com