background image

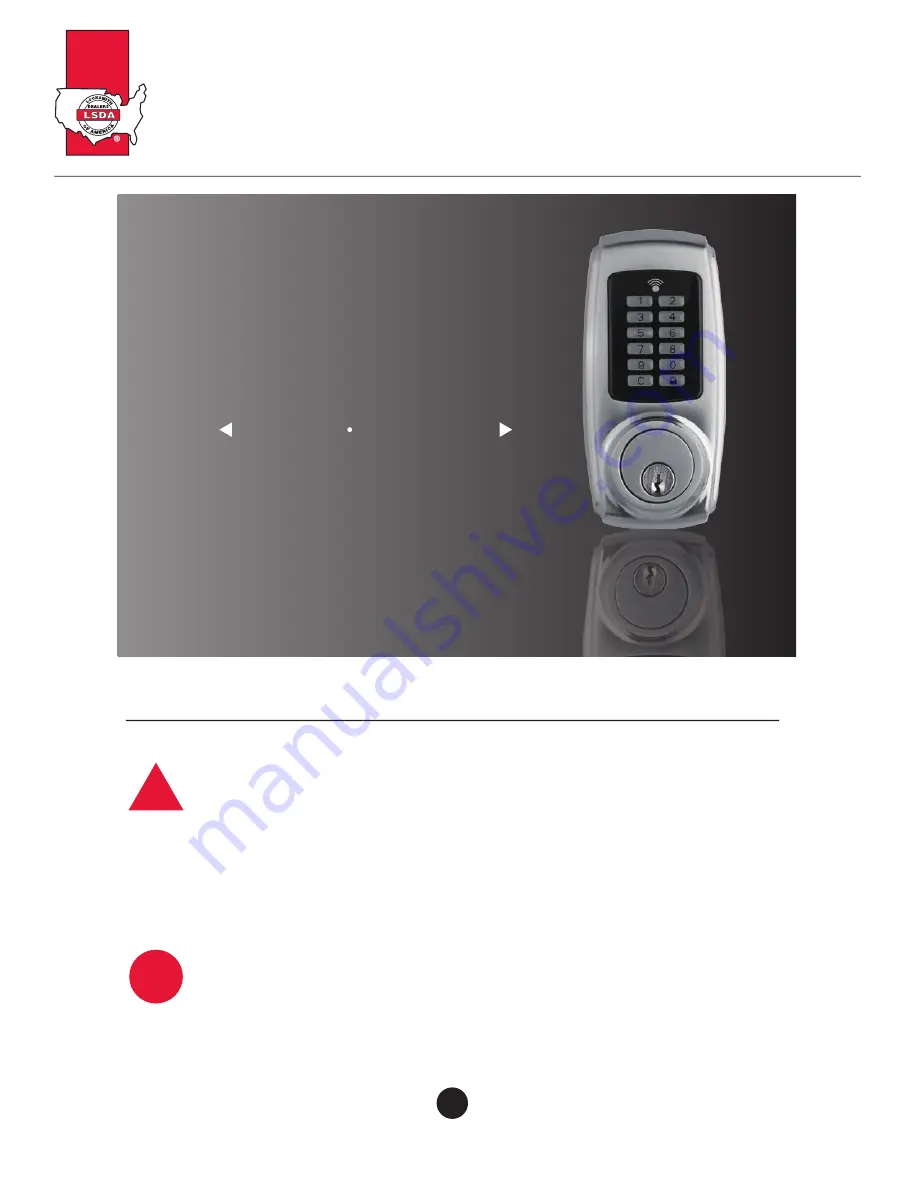
Electronic Pushbutton Locks

EL740S

© 2017 IDN, Inc. All rights reserved.

0817

USER S GUIDE

security     technology

IMPORTANT SAFETY INSTRUCTION

1. To prevent damage to the finish, DO NOT use any abrasives, sharp objects or harsh chemical 

   products containing alcohol, petroleum solvents, acids or acetone to clean this lockset.

2. To prevent damage to the sensitive electronic components, DO NOT allow any liquids to enter 

   lockset while installing or cleaning.

1. Do not attempt to disassemble any internal components of this lockset as this WILL void the 

   limited warranty.
2. Do not drop or hit /strike the lockset as excessive shock may result in permanent damage.
3. Do not use sharp objects to press key buttons.
4. It is Strongly recommended that you always create a written backup of the programming code 

   and individual user codes. Please use the last page of this booklet as your reference.
5. For your Security, please remember to change this lockset's factory default programming code to

   a PERSONAL programming code prior to normal day to day use of this product.
6. It is STRONGLY recommended that you use only ALKALINE BATTERIES to operate this product.

CAUTION

01A

All manuals and user guides at all-guides.com

Содержание EL740S

Страница 1: ...nts of this lockset as this WILL void the limited warranty 2 Do not drop or hit strike the lockset as excessive shock may result in permanent damage 3 Do not use sharp objects to press key buttons 4 I...

Страница 2: ...server telles que le code de programmation et les codes d utilisateur Veuillez utiliser la derniere page de ce manuel comme reference 5 Veuillez changer le code de programmation avant d utiliser cette...

Страница 3: ...Thumbturn 2 To program the lockset 2 Red light Code entered is invalid Under setup mode 3 Yellow light Low battery warning All batteries should be replaced if yellow light flashes Lock Button Cancel...

Страница 4: ...k Button for over 3 seconds 1 2 3 4 5 6 7 8 9 0 C Inductive Zone 04 LED Indicator Lock Button Unlock Button Inductive Zone RFID Card Remote Control PROGRAMMING CODE AND USER CODE PROGRAMMING CODE 05 1...

Страница 5: ...e Latch Square or radius faceplate or drive in L 6 8 19mm Wood Screw 4 M Strike Plate N Reinforced Strike Plate O Dust Box B Cable C Tailpiece D Mounting Plate COMPONENTS E 1 1 4 32mm Screw 1 G Interi...

Страница 6: ...for deadbolt about 3 to 6 75 mm to 150 mm above the existing knob or lever b Stand so door swings towards you Align template on centerline and fold template as shown Centerline Mark the door edge app...

Страница 7: ...ides to avoid wood splitting 11 DRILL HOLES b Drill a 1 25 mm hole on the door edge for the latch c Use the faceplate as a template for mortise and pilot holes Chisel 1 8 3 mm deep Faceplate should fi...

Страница 8: ...ust box and reinforced strike plate are optional It is recommended to install both of them for maximum security 13 LATCH BACKSET ADJUSTMENT Latch backset adjustment only needs to be made if your door...

Страница 9: ...e in latch type please skip this step 15 INSTALLATION INSTRUCTIONS INSTALL LATCH IN MORTISED AREA OR INSTALL DRIVE IN LATCH If the door is designed for a standard type latch please install the latch w...

Страница 10: ...e tailpiece through the latch in horizontal position 5 16 Drill a 5 16 8mm hole on the door when the screw post is installed INSTALLATION INSTRUCTIONS 6 17 The bulged part of mounting plate must face...

Страница 11: ...nting plate with 2 1 8 54mm screws 2 and 1 1 4 32mm screw 1 Note Screw E is an optional screw We recommend using screw E for the stability of the lockset 8 REMOVE THE DECORATIVE COVER 1 Hold on the li...

Страница 12: ...ble into the connector port firmly The metal connector side should face outside Note The red portion of the cable is aligned with the red portion of the connector port Cable Connector port INSTALLATIO...

Страница 13: ...DETERMINATION 1 Press and hold SET button for over 2 seconds The Red LED will light up and beep twice You are now under setup mode 2 Enter 123456 or current programming code and then press button Ente...

Страница 14: ...1 2 3 4 5 6 7 8 9 0 C 25 Steps are as follows 1 Press and hold SET button for over 2 seconds The Red LED will light up and beep twice You are now under setup mode 2 Enter 123456 or current programming...

Страница 15: ...AA AA AA AA SET DEL 1 2 3 4 5 6 7 8 9 0 C 27 SETUP MODE HOW TO ADD A PROXIMITY CARD only available for Proximity Card Electronic Deadbolt Steps are as follows 1 Press and hold SET button for over 2 s...

Страница 16: ...ser codes can be stored to 5 sets Remote controls can be stored to 5 sets Touch the inductive zone Proximity cards can be stored to 5 sets 30 Note 1 The lockset will go back to the standby status if n...

Страница 17: ...us if no button is pressed in 10 seconds after accessing setup mode 32 HOW TO DELETE AN INDIVIDUAL EXISTING PROXIMITY CARD only available for Proximity Card Electronic Deadbolt SETUP MODE Steps are as...

Страница 18: ...e step prior to the indicator light timing out 10 seconds after the last press of a keypad button Note 1 The lockset will go back to the standby status if no button is pressed in 10 seconds after acce...

Страница 19: ...rds remote controls excluding the lost one C AA AA AA AA SET DEL 1 2 3 4 5 6 7 8 9 0 C 36 HOW TO DIABLE ALL EXISTING CODES CARDS REMOTE CONTROLS VACATION MODE Steps are as follows 1 Press and hold SET...

Страница 20: ...A AA AA AA SET DEL 1 2 3 4 5 6 7 8 9 0 C SETUP MODE HOW TO ENABLE AUTO LOCK MODE Steps are as follows 1 Press and hold SET button for over 2 seconds The Red LED will light up and beep twice You are no...

Страница 21: ...NABLE DOUBLE AUTHORIZATION MODE only available for Proximity Card Electronic Deadbolt Remote Control Electronic Deadbolt Steps are as follows 1 Press and hold SET button for over 2 seconds The Red LED...

Страница 22: ...or All existing user codes cards remote controls will be deleted Lock will be restored to the pre set programming code of 1 2 3 4 5 6 Please change the programming code and add a new user code immedia...

Страница 23: ...control to unlock the lockset 2 When the double authorization mode is turned on both user code and card or both user code and remote control must be authenticated to unlock the lockset C C C Note 1 I...

Страница 24: ...rrectly after installation QUESTIONS ANSWERS Feel a bump while turning of the motor 1 Please rotate the thumbturn back and forth a few times 1 Check center of strike hole for alignment with latch hole...

Страница 25: ...ect programming code 3 button should be held over 3 seconds I cannot add a new user code 1 Make sure all code inputting processes should be completed within 10 seconds 2 Make sure you have entered the...

Страница 26: ...ard or the remote control is lost 1 For your safety please delete all cards remote controls and re add current cards remote controls excluding the lost one C 50 TROUBLESHOOTING GUIDELINE QUESTIONS ANS...

Страница 27: ...etermined by turning the equipment off and on the user isencouraged to try to correct the interference by one or more of the following measures Reorient or relocate the receiving antenna Increase the...

Отзывы: