15
5
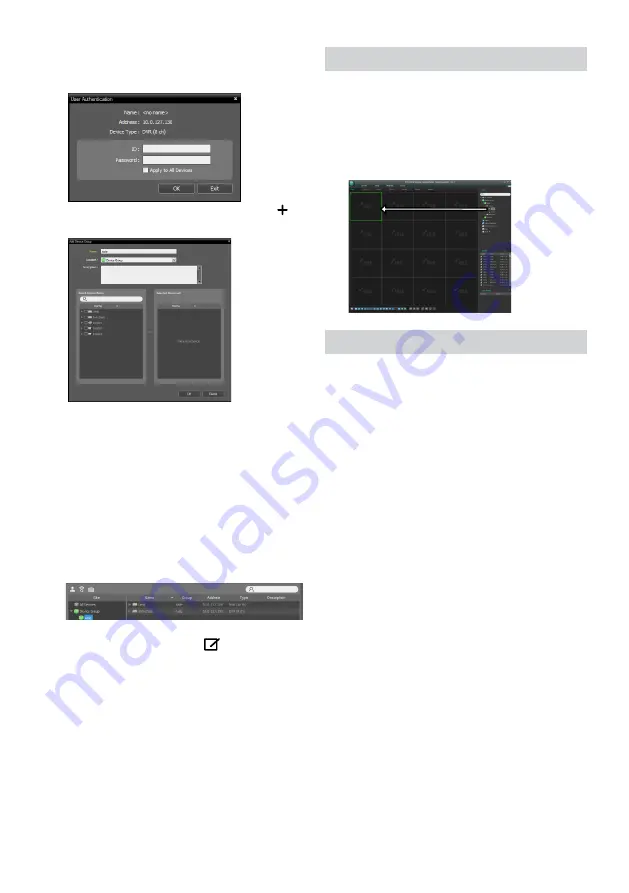
When user authentication window appears, enter the
User ID and Password set up on each device, and then
select OK for remote access.
6
Click
Device Group
on the
Sites
panel and click
E
at
the bottom.
Add Device Group
window will appear.
●
Name
: Enter a name for the device group.
●
Location
: Select an location for the subject device
group.
When you select a device from the device List on the
left, it will be added to the
Selected Device List
on
the right. Click
OK
to register the device group.
7
Make sure that the device has been added to the
device group correctly. Click
Device Group
on the
Sites
panel and click on next to
Device Group
. When
you click on a registered device group, a list of devices
added the selected device group will be displayed on
the right.
To modify a device group that has been registered,
select a device group and click
E
on the bottom of
the
Sites
panel.
Modify Device Group
window will
appear. You can modify the selected device group
from this window.
Live Video Mode
1
In the Site List, make sure that the device has been
added to the device group.
2
In the panel tabs, click the
Live
tab. In the
Site
list,
select a zone you wish to connect to. Then, drag &
drop the selected site on the Live screen using your
mouse. The live video of the selected site will be
displayed on the screen.
Recorded Video Playback
1
In the
Site
List, make sure that the device has been
added to the device group.
2
In the panel tabs, click on the
Play
tab. In the
Site
list,
select a site you wish to connect to. Then, drag & drop
the selected site on the playback screen using your
mouse. The recorded video of the selected site will be
displayed on the screen.
Содержание DR-8564D
Страница 1: ...DR 8564 DR 8564D Network Video Recorder Quick Guide Powered by...
Страница 18: ......
Страница 19: ......
Страница 20: ...IDIS Co Ltd For more information please visit at www idisglobal com...


