background image

10

 - Mode: Select the scan mode.

Select 

Scan

 to commence scanning.

Select a camera from the scan list and then select 

Add 

Camera

. The Device Login window will appear.

Enter a 

User ID

 and a 

Password

 for the selected 

camera.

Camera View Buttons


ALIGNMENT 


Button: Realigns camera screens 

displayed on the video display area in the order of 

Video 

In

 port connections.


RESET


 Button: Refreshes the video display area and 

the camera list.


TOOL


 Button: Displays network camera tool 

window to run a camera-related actions. There are 
Authentication, Screen Assignment and Camera Protocol 
Change for actions.

Camera List Area

Following options can be accessed by right-clicking on a 
camera list entry:


Add/Remove Camera

: Adds or removes the selected 

camera. The Add Camera option is inactive if the camera 
has already been added to the screen.


Authentication

: Enter the necessary camera login info. 

This option is inactive for DirectIP/ IDIS cameras because 
they do not require logins. This option is inactive for IDIS 
protocol only if the passoword is set.

Video Display Area

Left-click on the video display area to toggle between split 
screen and single screen modes.
Drag the camera screens around to rearrange them. The 
maximum number of the channels that can be registered 
on the NVR and the current registered camera channels 
display on the upper left corner of each screen.

Apply/Cancel Buttons

While in Camera Registration mode, select 

Apply

 to register 

all changes.
Select 

Cancel

 to exit Camera Registration mode without 

applying the changes.

It is not possible to register a camera that has already 
been registered to a different NVR.

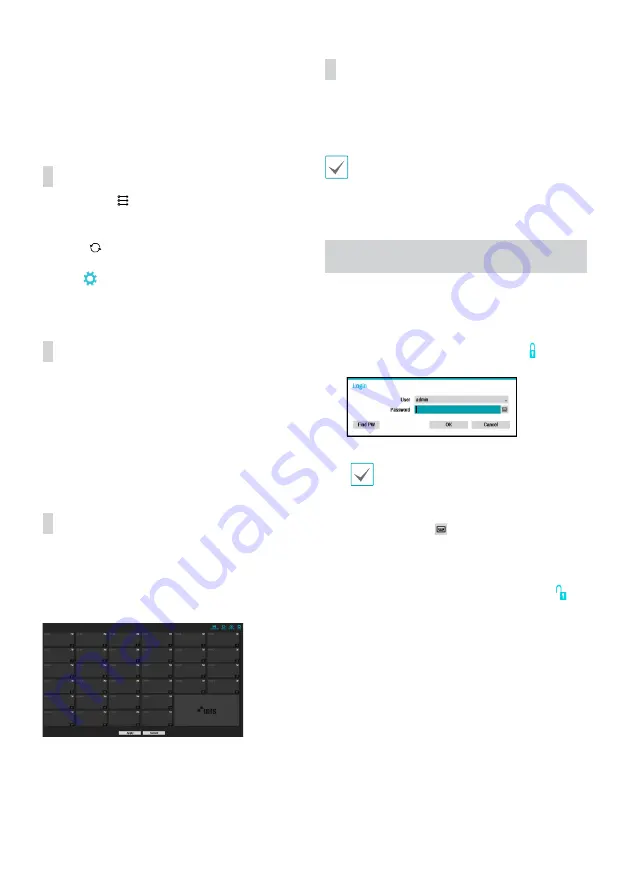
Login

Configuring the NVR's settings and accessing its searching 
and other functions require an authorized user login.

Bring up the Live menu and either press the 

Setup


button on the remote control or click on   icon using 
the mouse to log in.

Select a user, enter the password, and then select 

OK

.

•  Leaving the admin account unassigned with 

a password poses a security risk. Please assign 
a password at your earliest convenience. A 
warning message will continue to be displayed 
until a password is assigned.

•  Click on the 

 button next to the password 

field using the mouse. This will bring up a 
virtual keyboard you can use to assign a 
password.

To log out, bring up the Live menu and click on   

icon using the mouse.

Содержание DR-8564D

Страница 1: ...DR 8564 DR 8564D Network Video Recorder Quick Guide Powered by...

Страница 2: ...covered by the operating instructions as an improper adjustment of other controls may result in damage and will often require extensive work by a qualified technician to restore the equipment to its n...

Страница 3: ...ethatmaybeofsufficientmagnitudetoconstituteariskofelectricshock Theexclamationpointwithinanequilateraltriangleisintendedtoalerttheusertothepresenceofimportantoperatingandmaintenance servicing instruct...

Страница 4: ...ntoffice fordetailsofwhereand howtheycantakethisitemforenvironmentallysaferecycling Businessusersshouldcontacttheirsupplierandcheckthetermsandconditionsofthepurchasecontract Thisproductshouldnotbemixe...

Страница 5: ...s are included Item Network Video Recorder Power Cable Quick Guide Optical USB Mouse Please download IDIS Center software and product manual from this link IDIS Website www idisglobal com Overview Dim...

Страница 6: ...1 PowerInPort 2 VideoInPorts SFP 1 2 RJ45 3 5 3 NetworkPort 4 eSATAPorts 5 USB3 0Port 6 AudioConnectionPorts 7 HDMIOutPort 8 AlarmConnectionPorts 9 RS 232Port 0 RS 485Port HDMI Port Precautions Useace...

Страница 7: ...e Rear Panel D i r e c t I P S w i t c h eSATAStorage Device Power DirectIPGigabit PoESwitch IDISCenter Remote MonitoringKeyboard Network Microphone Speaker HDMIMonitor Alarm USB Network Camera POS Se...

Страница 8: ...tup Wizard only appears during initial booting When you login as an administrator account after initial booting you can use Wizard to go to Live menu and select Wizard For more details on Setup Wizard...

Страница 9: ...g submenu Rescan Scan for DirectIP cameras that were not scanned automatically Go To Camera Moves the focus automatically to the camera using MAC address of camera in the camera list Search Scope Assi...

Страница 10: ...on the video display area to toggle between split screen and single screen modes Drag the camera screens around to rearrange them The maximum number of the channels that can be registered on the NVR...

Страница 11: ...nter an UPR User Password Reset verification and then click on UPR Verification button 4 Select the UPR file and then click on Import button To use UPR function the UPR file must be saved in advance Y...

Страница 12: ...l Panic Recording videos Panic Recording will not take place if recording mode is not set to Recycle and the HDD has reached 100 of its capacity Audio Recording If the Record Audio option under Record...

Страница 13: ...onal Ultimate Windows XP Windows Vista Windows 8 are not supported CPU Intel CoreTM i7 7700K or better Intel CoreTM i3 2100 or better RAM 8GB or more 2GB or more VGA NVIDIA GeForce GTX1060 or Quadro P...

Страница 14: ...login Enter a User ID and Password Remember my ID on this computer Remembers the ID used to login Restore last Live sessions Restores the previous Live session on the current Live panel Default User...

Страница 15: ...roup will be displayed on the right To modify a device group that has been registered select a device group and click E on the bottom of the Sites panel Modify Device Group window will appear You can...

Страница 16: ...on IP Address Enter the IP address user ID and password of a device to register FEN Enter the FEN name user ID and password of a device to register For more details contact your FEN server administrat...

Страница 17: ...tEthernet VideoIn x3 SFP VideoIn x2 Transmission Speed 50Mbps 100Mbps BRPMode Event Notification Email attachclip cbf MP4 CallbacktoRemoteS W Pushnotification IDISMobile FTP HTTP INTERFACE Audio In Ou...

Страница 18: ......

Страница 19: ......

Страница 20: ...IDIS Co Ltd For more information please visit at www idisglobal com...

Отзывы: