


11
To close the ITEM INFORMATION box left-click on OK. The landmark will remain on
the map at the position where you put your cursor.
To see the data that is associated with each landmark left-click on ENABLE POINT
QUERY from the LANDMARK menu.
Landmarks
Enable Point Query
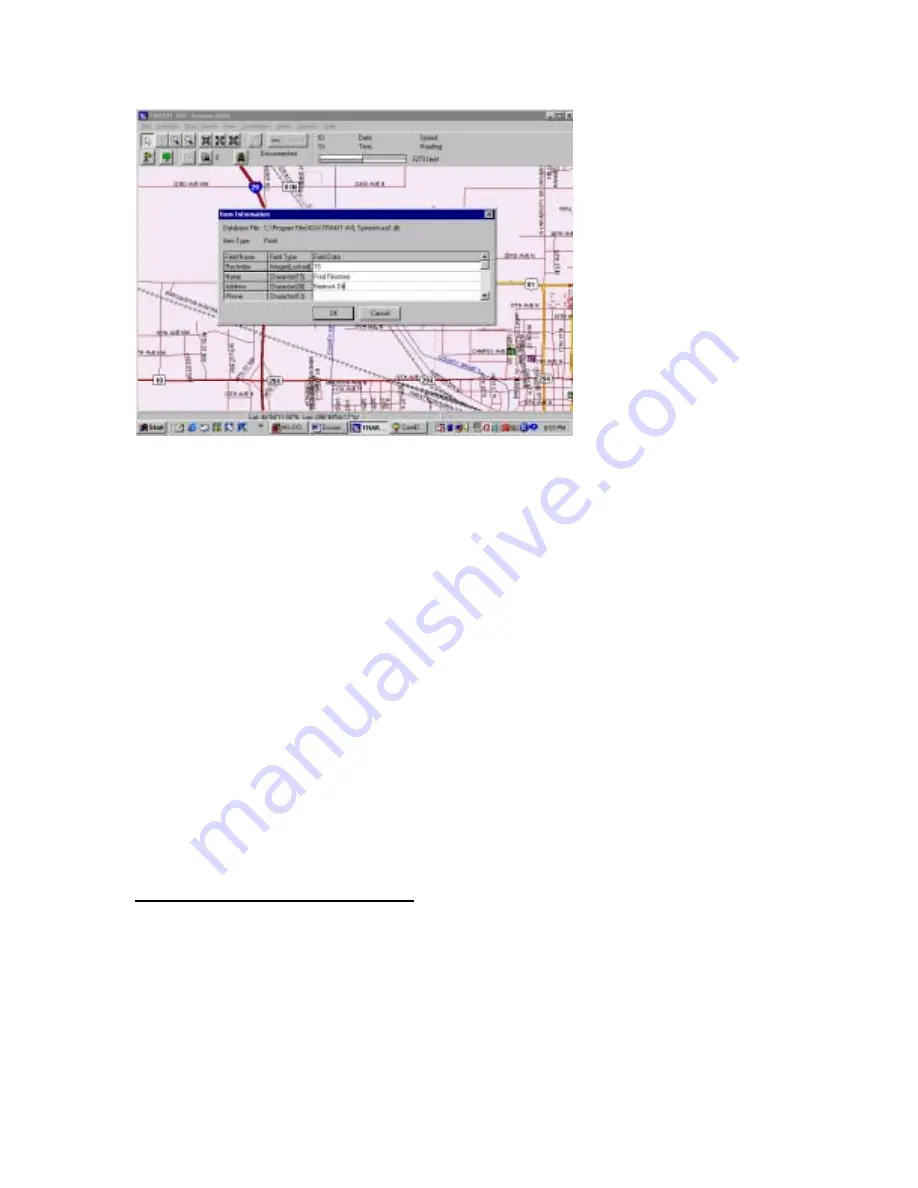
This will change the cursor to an arrow with a + sign. Left-click on the landmark. This
will bring up the ITEM INFORMATION box with the data associated with that
landmark. While the box is on the screen the data in the fields can be changed. This
means that these databases can be maintained on-screen.
The databases used with the Point & Click Data Feature are .db files. These files are
commonly maintained by Microsoft Access, Paradox, dBase and many other database
manager-type utilities. The files can be manipulated and updated outside of TRAKIT.
This means that updates from outside files like accounts receivable, sales or notation files
could be easily accessible by the Point & Click Data Feature.
Create Landmark Layers
Each landmark symbol and landmark label must be attached to a landmark layer. You
may want to spend some time analyzing how management of landmark layers will benefit
your application. You can turn layers on or off depending on the presentation you wish
to have on the screen at any given time. Each landmark layer can be associated with a
custom database that provides the Point & Click Data feature. For this feature you
determine the fields of data in the database. These fields can then be maintained on-
screen by using the Enable Point Query function.
Содержание TRAKIT USA
Страница 1: ...CORPORATION TRAKIT USA INSTRUCTION MANUAL ...
Страница 14: ...14 ...
Страница 23: ...23 ...


