8. Reset the drive.
Note: When the drive resets, the FTP connection closes. You see the message
Connection closed
by remote host
.
9. After the drive resets, reestablish the FTP connection to the drive to verify the drive serial number.
Enter the command
ftp 169.254.1.3
. You see a screen that provides you with the drive type,
model number, serial number, and microcode level.
10. Verify that the drive serial number displayed is correct (the same as the original drive's). If it is not
correct, repeat the steps of this procedure, being careful to follow each step exactly. If the serial
number still does not verify correctly, contact your next level of support.
11. Return to the departure point in “Connecting and disconnecting the laptop from the drive” on page
186 that brought you here.
Displaying the Drive Status page
Attention: Customers might want to use this function for remote monitoring. If the Ethernet cable
is in use by the customer, consult with them before the drive is removed or replaced.
Complete “Connecting and disconnecting the laptop from the drive” on page 186, if you did not do so
already.
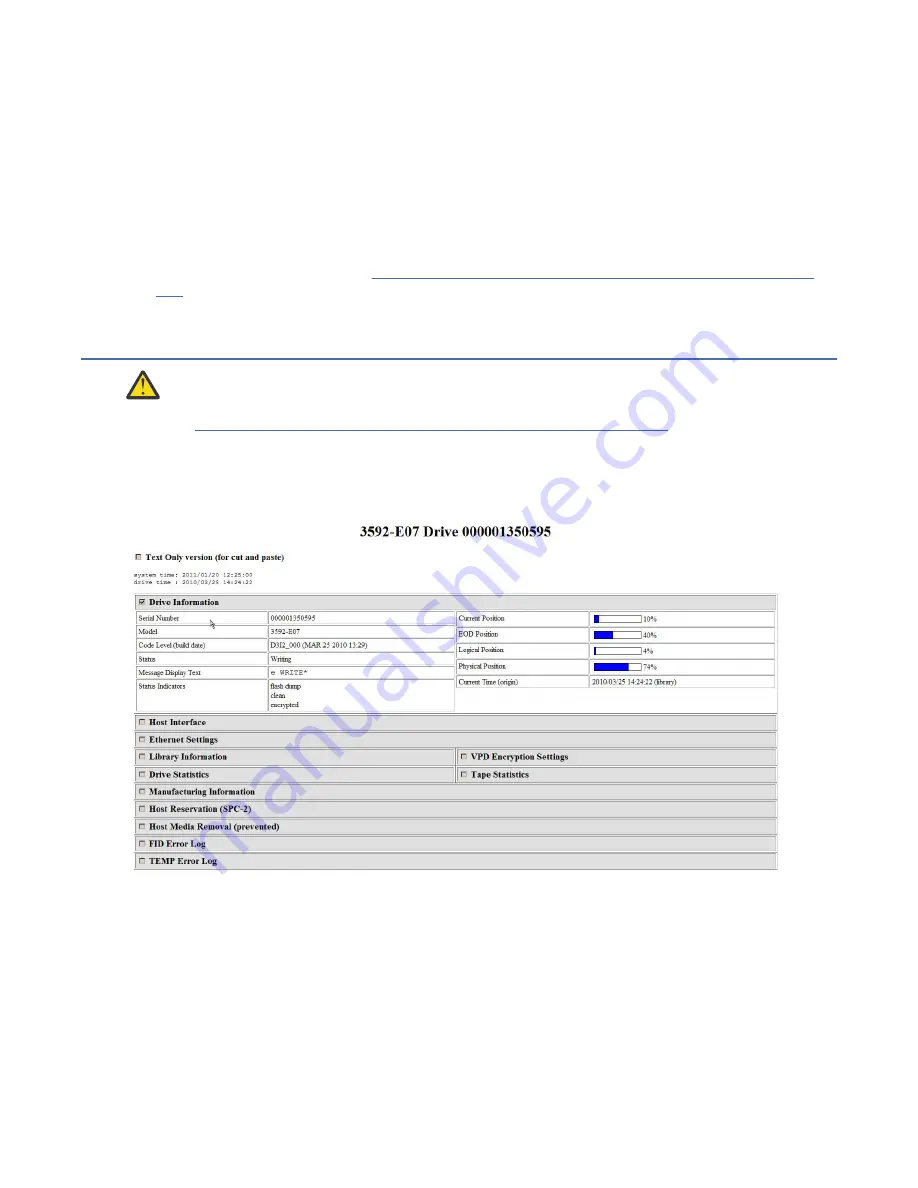
The Drive Status page offers detailed information on the drive in table or text-only (for printing) formats.
This page is for information purposes only and no changes can be made from the interface.
a14m0259
Figure 66: Drive Status page.
Drive information is divided into the following categories -
• Drive Information (initially displayed) - Serial Number, Model, Code Level (build date), Status, Message
Display Text, Status Indicators, Current Position, EOD Position, Logical Position, Physical Position,
Current Time (origin)
• Host Interface (for Port 0 and Port 1) - Status, WWID, FC Address (actual/configured), Speed (actual/
configured), Topology (actual/configured)
• Ethernet Settings (for Port 0 and Port 1) - IP addresses (Current), MAC Address (VPD), Drive IP address
1 (VPD), Drive IP address 2 (VPD), EKM IP address 1, EKM IP address 2
Procedures 191


