


2. Use the Jog/Shuttle Dial and the Hold button to perform the following actions:
i. While in search mode, turn the Shuttle knob (outer dial) clockwise to play the video normally. The
video can be played up to 64 times faster. When you release the knob, the video stays in Pause mode,
and the last frame that was played back remains on the screen. Turn the Shuttle knob counter-
clockwise to play back the video in reverse mode. The video can be played up to 64 times faster in
reverse. When you release the knob, the video also stays in Pause mode.
ii. Use the Jog Dial (inner dial) to play the video one frame at a time. You will see the Pause symbol on
the screen while using the Jog dial. Turn the Jog dial clockwise to play frames forward and turn the
dial counter-clockwise to play frames backward.
iii. Use the Hold button while using the Shuttle knob to lock the playback at the desired speed. To change
the speed, either use the Shuttle knob or use the arrows to cancel the current locked playback speed.
3. After you have reviewed the video, press the RETURN button repeatedly on the front panel of the
Veo 120XXN to resume viewing live video.
BACKING UP VIDEO
The Veo 120XXN supports backup to two different devices: USB flash memory device and DVD-RW
optical drive. To overwrite existing data on your media, change the archiving MODE from BURNING to
ERASING & BURNING.
To back up video
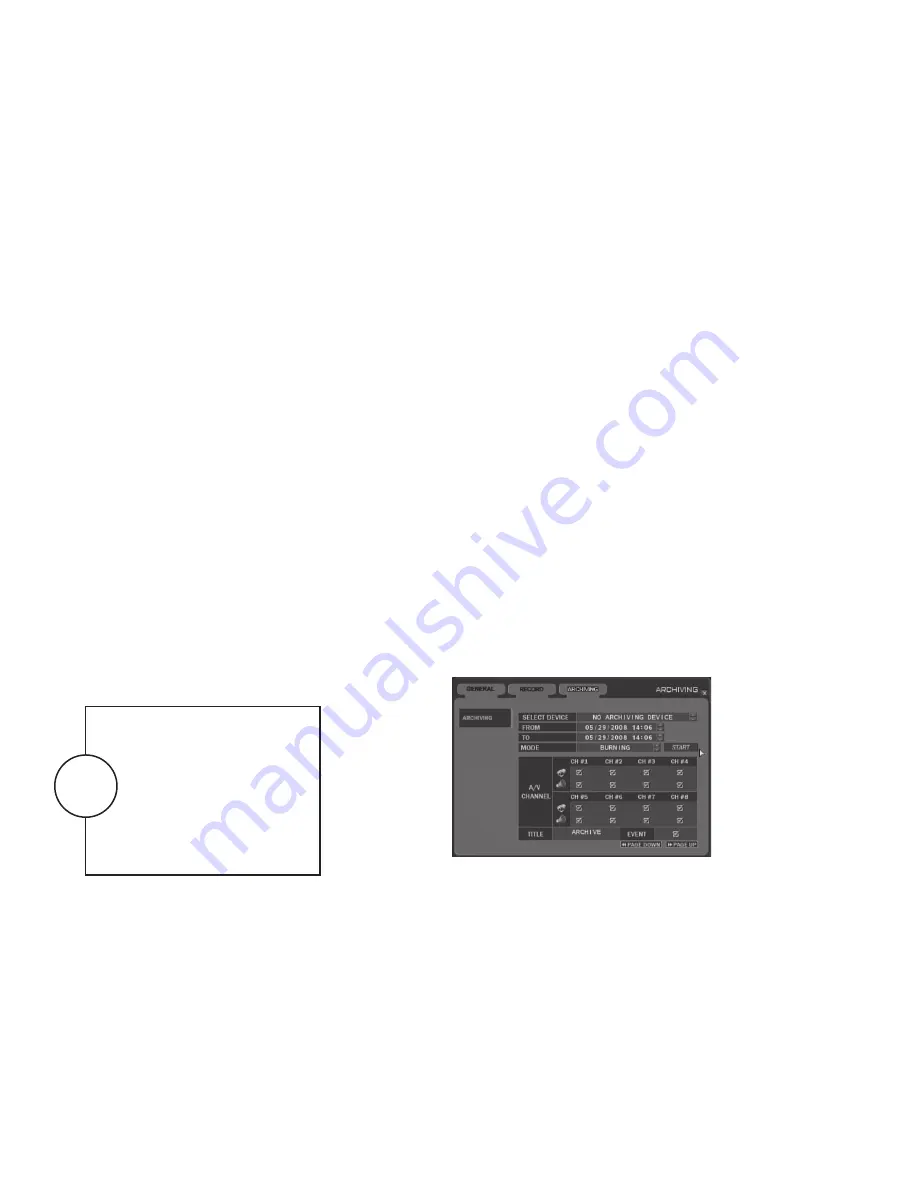
1. Press MENU on the front panel of the Veo 120XXN or remote control and login into an administrative
account. Move to the ARCHIVING tab by pressing the right ARROW button. Press the ENTER button to
enter Archiving menu. The Archiving menu appears. Remember that only Administrators and Managers can
perform video backups. For the list of account permissions and limitations, please refer to Table A on
page 14.
2. Select the storage device that you want to use, and then press the ENTER button.
3. Select a start time and end time of the desired backup video.
4. Select the video you want to back up to the device as follows:
i. Select the specific channels for video backup. Move the green box by using the ARROW buttons on the
front panel of the Veo 120XXN or on the remote control. Press the ENTER button on the channel box to
enable/disable the backup on this channel.
ii. Select the audio signal for each channel that you want to include in the backup.
iii. Select the EVENT checkbox if you want to include the Event text file on the backup media.
!
WARNING
By default, the new backup data is
appended to the free space on a USB
thumb drive, CD-R/W or DVD-R/W
media. To overwrite existing data
on your media, change the archiving
mode to ERASING & BURNING.
Make sure the drive does not contain
any other important files prior to
using it as a backup media.
Figure 67. Archiving Menu
37


