


iv. For Weekly recording schedule, each day can be configured in the same manner, the day of the
week has to be specified first. Move the cursor to the weekday menu, and press ENTER. The
green cursor box will become yellow. Press the Up and Down ARROWS to change the day, then
repeat steps ii-iii.
Figure 57. All 16 Channels Record Based on Motion
Figure 56. All 16 Channels Record Continuously
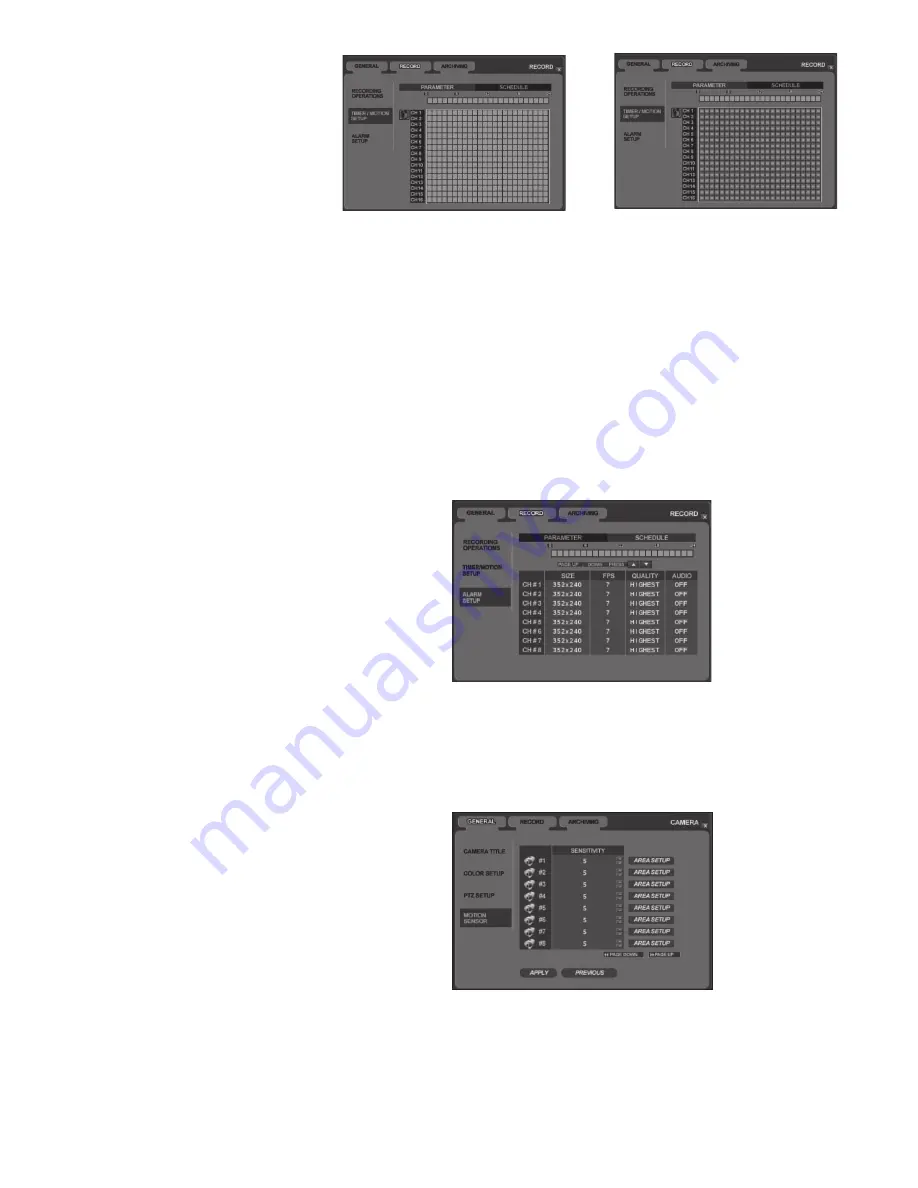
SETTING UP ALARM-BASED RECORDING AND PARAMETERS
Alarm recording schedule is configured in the same manner as Timer/Motion recording schedule.
Recording Schedule and Parameters (Resolution, FPS, Quality, Audio) can be configured independently
from Timer/Motion recording. It is possible to have Alarm Recording and Motion Recording at the same
time.
To configure Alarm-based Recording Schedule, select Alarm Setup sub-menu. Follow instructions for
Timer/Motion-based Recording.
SETTING UP MOTION DETECTION RECORDING REGIONS
The Veo 120XXN can record video based on motion detection as long as a recording schedule has been
created. Refer to Modifying Recording Schedules on page 31 for instructions on setting up a recording
schedule.
1. From the main menu, select General -> Camera menu, and press ENTER. Using the Down
ARROW, move down to the Motion Sensor sub-menu.
2. For each camera, configure the sensitivity level (0-10, where 10 is most sensitive). Move the green box up
and down, and press ENTER to select the desired camera. You can use the Up/Down ARROW to
increase/decrease the sensitivity level.
Figure 58. Alarm Recording Menu
Figure 59 Motion Sensor Camera Menu
33


