Rev. 0108
5
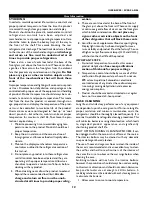
LOCATION
The refrigerated merchandisers have been designed for
use only in air conditioned stores where temperature and
humidity are maintained at or below 75
°
F and 55% rela-
tive humidity. DO NOT allow air conditioning, electric fans,
ovens, open doors or windows (etc.) to create air cur-
rents around the merchandiser, as this will impair its cor-
rect operation.
Product temperature should always be maintained at a
constant and proper temperature. This means that from
the time the product is received, through storage, prepa-
ration and display, the temperature of the product must
be controlled to maximize life of the product.
UNCRATING THE STAND
Place the fixture as close to its permanent position as
possible. Remove the top of the crate. Detach the walls
from each other and remove from the skid. Unbolt the
case from the skid. The fixture can now be lifted off the
crate skid. Lift only at base of stand!
EXTERIOR LOADING
These models have not been structurally designed to sup-
port excessive external loading. Do not walk on their
tops; This could cause serious personal injury and dam-
age to the fixture.
SETTING AND JOINING
The sectional construction of these models enable them
to be joined in line to give the effect of one continuous
display. A joint trim kit is supplied with each joint
LEVELING
Important! It is imperative that cases be lev-
eled from front to back and side to side prior
to joining. A level case is necessary to insure
proper operation, water drainage, glass align-
ment, and operation of the hinges supporting
the glass. Leveling the case correctly will solve
most hinge operation problems.
NOTE: A. To avoid removing concrete flooring, begin lineup
leveling from the highest point of the store floor.
B. When wedges are involved in a lineup, set them first.
All cases were leveled and joined prior to shipment to
insure the closest possible fit when cases are joined in the
field. When joining, use a carpenters level and shim legs
accordingly. Case must be raised correctly, under legs
where support is best, to prevent damage to case.
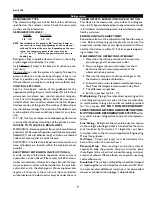
1. Check level of floor where cases are to be set.
Determine the highest point of the floor; cases will
be set off this point.
2. Set first case, and adjust legs over the highest part of
the floor so that case is level. Prevent damage – case
must be raised under leg or by use of 2x6 or 2x4 leg
brace. Remove side and back leg braces after case is
set.
3. Set second case as close as possible to the first case,
and level case to the first using the instructions in
step one.
4. Apply masking tape 1/8" in from end of case on
inside and outside rear mullion on both cases to be
joined.
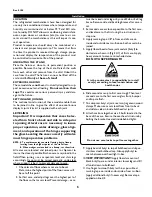
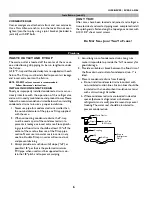
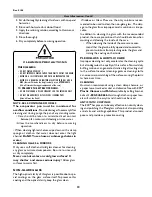
5. Apply liberal bead of case joint sealant (butyl) to
dotted area shown in (Fig.2, #1) of first case. Apply
heavy amount to cover entire shaded area.
DO NOT USE PERMAGUM!
It is the contractor’s responsibility to install
case(s) according to local construction and
health codes.
6. Slide second case up to first case snugly. Then level
second case to the first case so glass front, bumper
and top are flush.
7. To compress butyl at joint, use two Jurgenson wood
clamps. Make sure case is level from front to back
and side to side on inside bulkheads at joint.
8. Attach sections together via a 2 bolts located in the
base of the case. Secure the overhead structure by
bolting the bracket, located inside behind lights.
Do not use cam locks to pull cases together.
9. Apply bead of butyl to top of bulkheads and slip on
stainless steel bulkhead cap. Also apply butyl to
seam between overhead light tubes.
10. VERY IMPORTANT! Apply liberal amounts of
black butyl to area under interior lower legs and fill
all voids down to bulkhead.
11.Use finger to smooth butyl as thin as possible at
masking tape on inside and outside of rear mullion
(apply additional butyl if necessary). Remove tape
applied on line #3.
Installation
Содержание SCSS
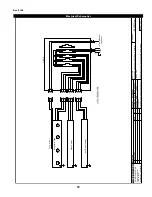
Страница 22: ...IGSSB SCSS SCSS SL 0108 22 ...


