INSTALLATION
8
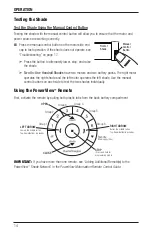
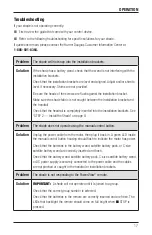
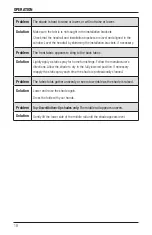
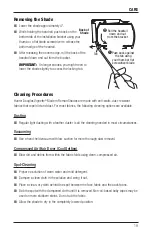
STEP 2 — Install the Shade
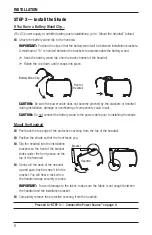
If You Have a Battery Wand Clip...
(For DC power supply or satellite battery pack installations, go to “Mount the Headrail” below.)
■
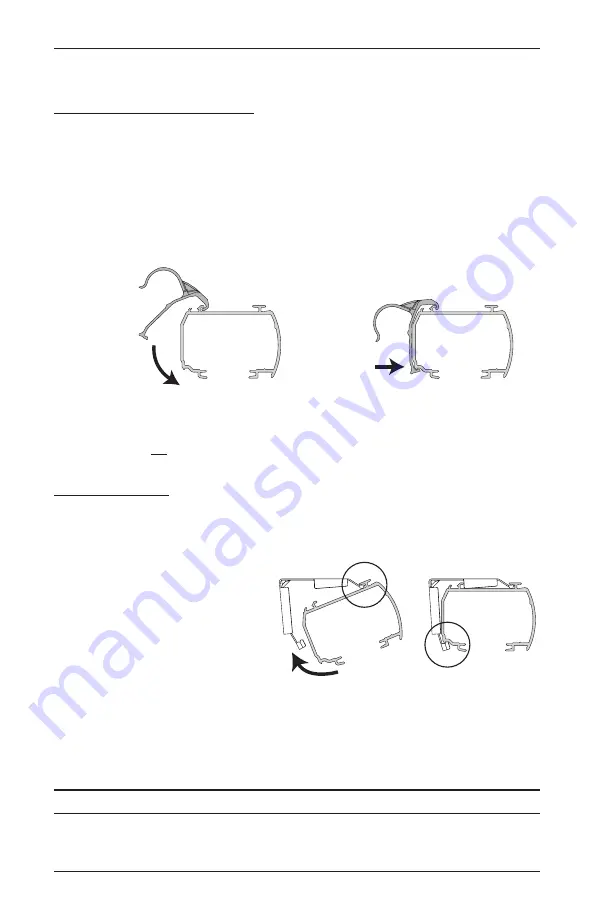
Attach the battery wand clip to the headrail.
IMPORTANT:
Position the clip so that the battery wand will be between installation brackets.
A minimum of 15" is needed between the brackets to accommodate the battery wand.
➤
Hook the battery wand clip onto the back channel of the headrail.
➤
Rotate the clip down until it snaps into place.
CAUTION:
Be sure the power cable does not become pinched by the brackets or headrail
during installation; damage or overheating of components could result.
CAUTION:
Do not connect the battery wand to the power cable prior to installing the shade.
Mount the Headrail
■
Peel back the top edge of the protective covering from the top of the headrail.
■
Position the shade so that the front faces you.
■
Slip the headrail into the installation
brackets so the front of the bracket
slides under the front groove on the
top of the headrail.
■
Gently roll the back of the headrail
up and push back to snap it into the
bracket. You will hear a click when
the headrail snaps securely in place.
IMPORTANT:
To avoid damage to the fabric, make sure the fabric is not caught between
the headrail and the installation bracket.
■
Completely remove the protective covering from the headrail.
Proceed to “STEP 3 — Connect the Power Source” on page 9.
Headrail
Bracket
Front of
Headrail
Battery Wand Clip
Содержание Vignette Tiered
Страница 1: ...Installation Operation Care Vignette Modern Roman Shades Tiered Style Shades PowerView Motorization...
Страница 25: ...Notes...
Страница 26: ...Notes...
Страница 27: ......


