


27
Connecting the router to the network
Connect the router to the network before powering on the router. This section describes how to
connect the router to the network through Ethernet cables.
Connecting an Ethernet cable
1.
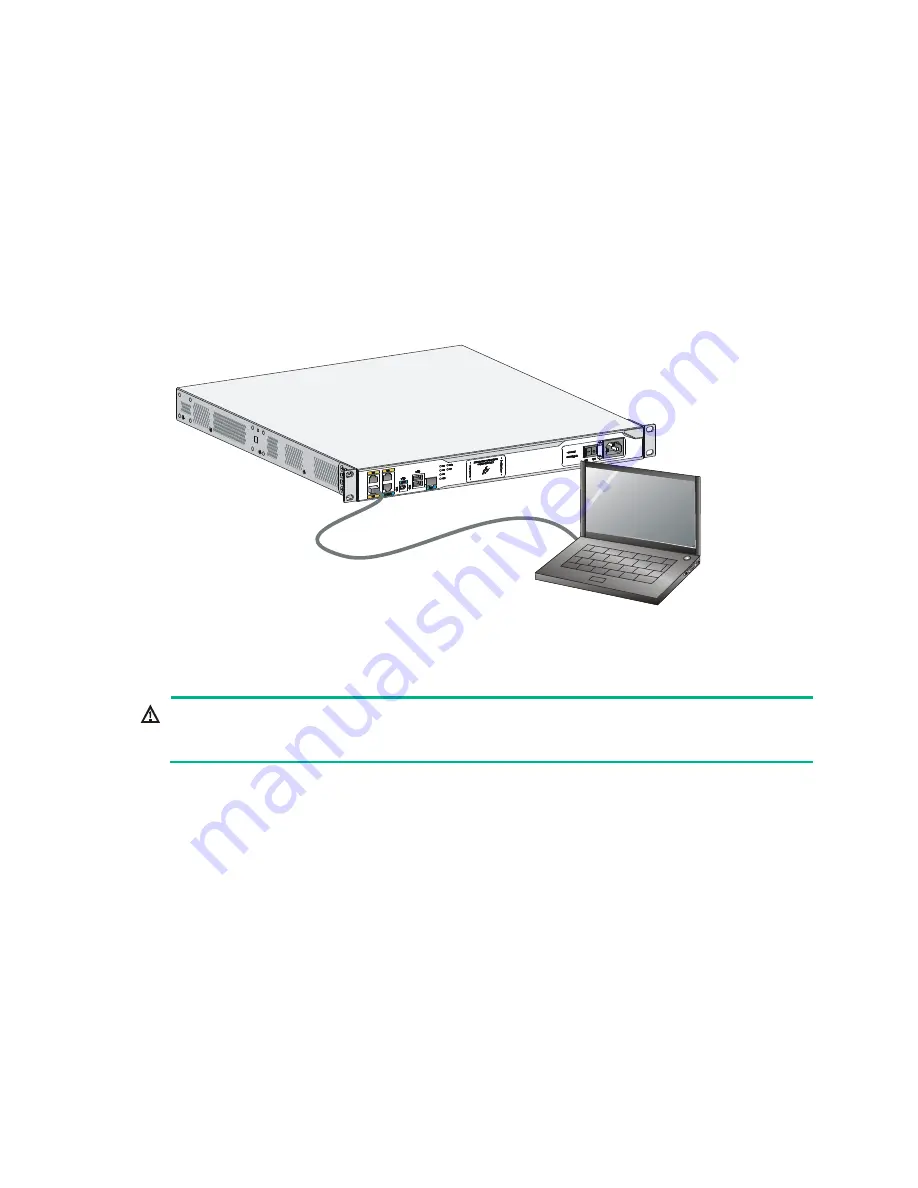
Plug one end of an Ethernet twisted pair cable into the copper Ethernet port (RJ-45 port) to be
connected on the router.
2.
Plug the other end of the cable into the RJ-45 port of the peer device.
Figure 33 Connecting the router to a PC
Connecting an optical fiber
WARNING!
Do not stare into any fiber port when you connect an optical fiber. The laser light emitted from the
optical fiber may hurt your eyes.
Follow these guidelines when you connect a fiber cable:
•
Never bend or curve a fiber when connecting it.
•
Make sure the Tx and Rx ends are properly connected.
•
Keep the fiber end clean.
•
Be sure to install the dust cover if the fiber port is not connected to a fiber connector.
To connect an optical fiber:
1.
Remove the dust plug from a fiber port of the router.
2.
Remove the dust cover from the transceiver module, and plug the end without a pull latch into
the fiber port.
3.
Remove the dust cover from the fiber connector.
4.
Identify the Rx and Tx ports. Plug the LC connector at one end of one fiber cable into the Rx port
of the router and the LC connector at the other end into the Tx port of the peer device. Plug the
LC connector at one end of another fiber cable into the Tx port of the router and the LC
connector at the other end to the Rx port of the peer device.
Содержание FlexNetwork MSR3012
Страница 5: ...iii Index 80 ...
Страница 25: ...20 Figure 22 Grounding the router through the grounding terminal on the rack ...
Страница 48: ...43 Figure 57 MSR3024 internal module locations 1 Front panel 2 Rear panel 3 VPM 4 Memory module ...
Страница 49: ...44 Figure 58 MSR3044 internal module locations 1 Front panel 2 Rear panel 3 VPMs 4 Memory module ...


