


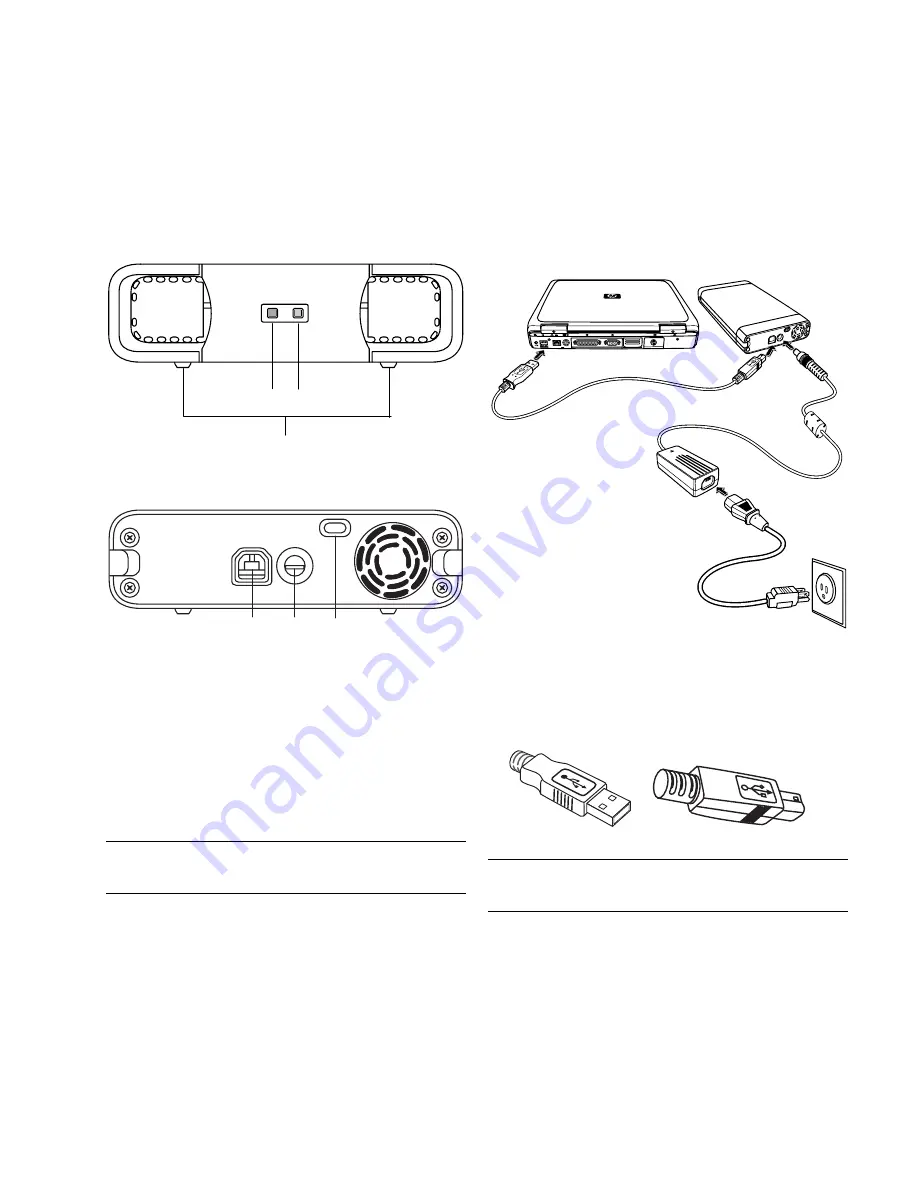
Drive Indicators and Connectors
The HP Personal Media Drive comes with two LED
indicators, a USB connector, a power connector, and
a security lock connector.
Front of HP Personal Media Drive
A
C
B
Back of HP Personal Media Drive
E
F
D
A
Drive activity LED indicator
B
Power on LED
C
HP Personal Media Drive guide rails/feet
D
USB 2.0 connector
(USB 1.1 backward compatible)
E
DC power connector
F
Kensington security locking slot
NOTE:
The Kensington security lock is sold
separately.
Connecting the Drive to a
Computer without a Drive Bay
The HP Personal Media Drive is designed to work with
most computers as an external hard disk drive that you
connect using a USB cable.
To connect the drive:
1
Plug the round power cable from the power adapter
into the back of the HP Personal Media Drive (
L
).
2
Plug power adapter into the power cable (
J
), and
then plug the power cable into the wall (
K
).
3
Turn on the computer.
G
H
L
K
J
4
Plug the rectangular end of the USB cable (
G
) into
an available USB port on your computer. Plug the
square end of the USB cable (
H
) into the USB
connector on the back of the drive.
(
G
)
(
H
)
NOTE:
The computer may take several seconds to
recognize the HP Personal Media Drive.
HP Personal Media Drive User’s Guide
5


