


Having now experienced the initial control and programming abilities of the Hornby Elite the next section of this
instruction book is to explain the many additional features that this unit has to offer.
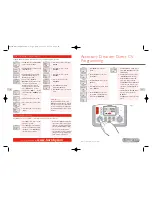
The Elite has several features that will need to be activated before the full potential of the unit can be experienced.
The following are simple set up procedures for both the Hornby Elite Unit and locomotive programming.
25
For more information visit:
www.hornby.com
24
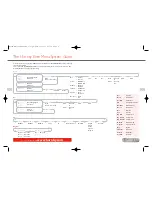
Setting Up the Elite Unit & Loco
Programming Features
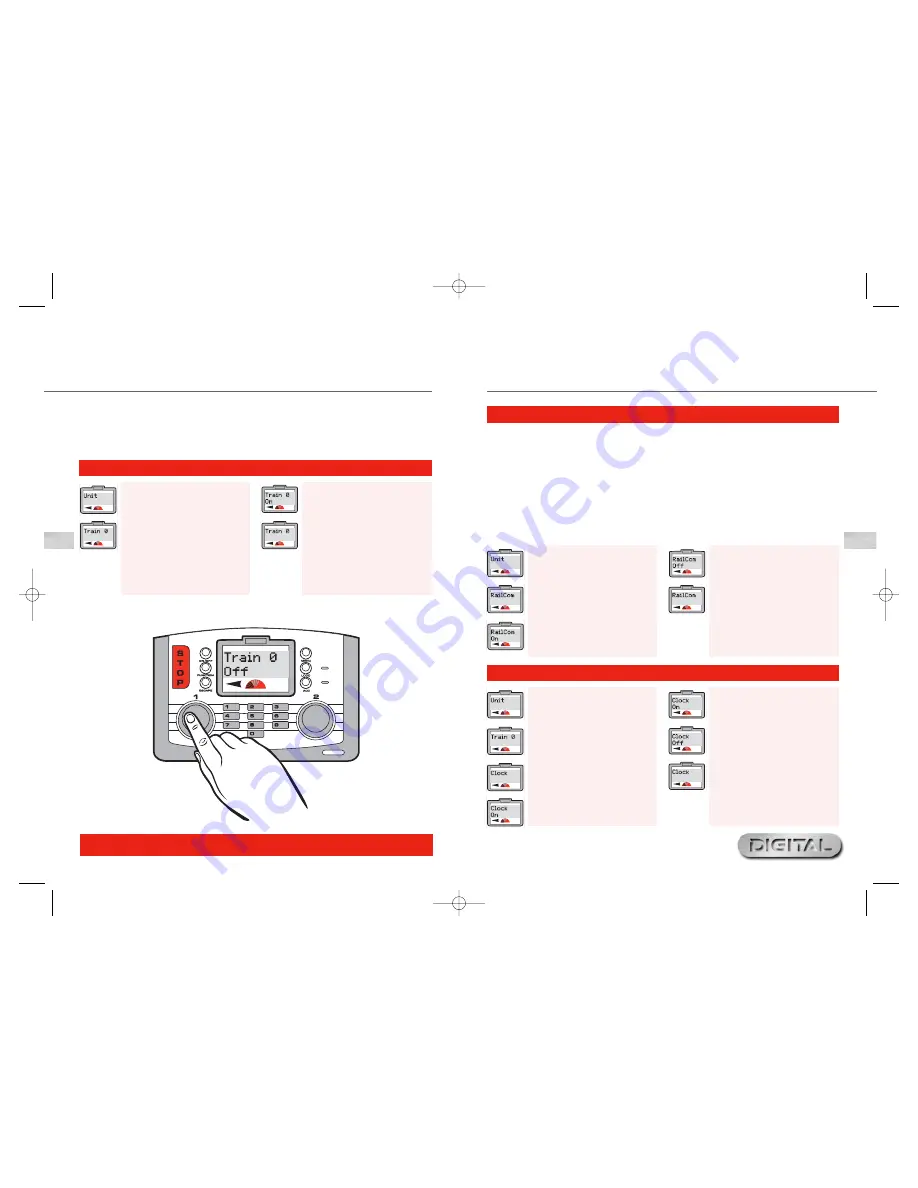
Analogue Loco Enabled / Disabled
1.
Press
Menu
. Screen shows “
Loco
”.
Rotate
Control 1
until “
Unit
” is
displayed.
2.
Press
Control 1
. Screen shows
“
Train 0
”. This setting is to enable
/ disable the use of an analogue
locomotive with the Elite.
3.
Press
Control 1
. Screen shows
“
Train 0 Off
”. See Fig 1.
4.
Rotate
Control 1
. Screen shows
“
Train 0 On
”.
5.
Press
Control 1
when you have
decided if you wish the analogue
function to be
On
or
Off
. Screen
reverts back to “
Train 0
”.
6.
Press
Menu
to return to the main
screen.
Fig 1
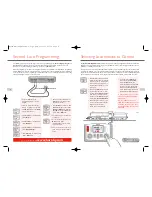
With digital control the controller in simple terms talks or sends commands to each locomotive individually.
The locomotive responds by basically doing what it is told!
RailCom
®
which is a registered design and
development by Lenz GmBh allows the locomotives to talk to the controller. For example the locomotive can
return information to the controller such as speed and details on the load that is being pulled. This and much
more will be available in the future. At the time of writing these instructions the operating protocol for
RailCom
®
is still being developed, although like the Elite, products are being introduced onto the market to
support RailCom
®
once the full protocol has been finalised.
It should be noted that the Hornby R8215 does not support RailCom
®
therefore if programming this decoder
or any other that does not support RailCom
®
, the RailCom
®
setting while programming a locomotive should be
set to “
Off
”. i.e. “
Loco
” – “
Unit
” – “
RailCom
” – “
RailCom Off
”.
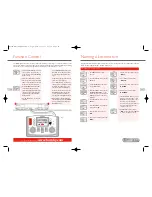
RailCom
®
Enabled / Disabled
1.
Press
Menu
. Screen shows “
Loco
”.
Rotate
Control 1
until “
Unit
” is
displayed. Press
Control 1
to
confirm.
2.
Rotate
Control 1
until screen
shows “
RailCom
”.
3.
Press
Control 1
. Screen shows
“
RailCom On
” or “
RailCom Off
”.
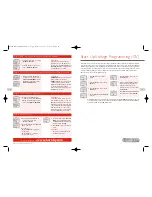
Clock Enabled / Disabled
1.
Press
Menu
. Screen shows “
Loco
”.
Rotate
Control 1
until screen
shows “
Unit
”.
2.
Press
Control 1
and, if necessary,
rotate until screen shows “
Train 0
”.
3.
Rotate
Control 1
until screen
shows “
Clock
”.
4.
Press
Control 1
. Screen shows
“
Clock On
”.
5.
Rotate
Control 1
to alternate
between “
Clock On
” or “
Clock
Off
”. Select the desired setting.
6.
Press
Control 1
to confirm. Screen
shows “
Clock
”.
7.
Press
Menu
to return to the main
screen.
4.
Rotate
Control 1
clockwise so that
the screen shows “
RailCom Off
”.
5.
Choose if you wish to have RailCom
enabled or disabled and press
Control 1
accordingly. Screen shows
“
Railcom
”.
6.
Press
Menu
to return to the main
screen.
Elite HBook updated 6.3.07_Q6.qxd 13/3/07 13:09 Page 22


