


How to: Use Sign On Screen
1. After completing the other entries in the profile, click on the
Credentials
button. Leave the Username and Password
blank. No entries are necessary on the Credentials screen for LEAP or LEAP/WPA.
2. For PEAP-MSCHAP and PEAP-GTC, importing the CA certificate into the Windows certificate store is optional.
3. For EAP-TLS, import the CA certificate into the Windows certificate store. Also import the User Certificate into the
Windows certificate store.
4. Access the Credentials screen again. Make sure the
Validate server
and
Use MS store
checkboxes are checked.
5. The default is to use the entire certificate store for the CA certificate. Alternatively, use the Browse button next to the
CA Cert (CA Certificate Filename) on the Credentials screen to select an individual certificate.
6. For EAP-TLS, also enter the User Cert (User Certificate filename) on the credentials screen by using the
Browse
button.
7. Click the
OK
button then the
Commit
button.
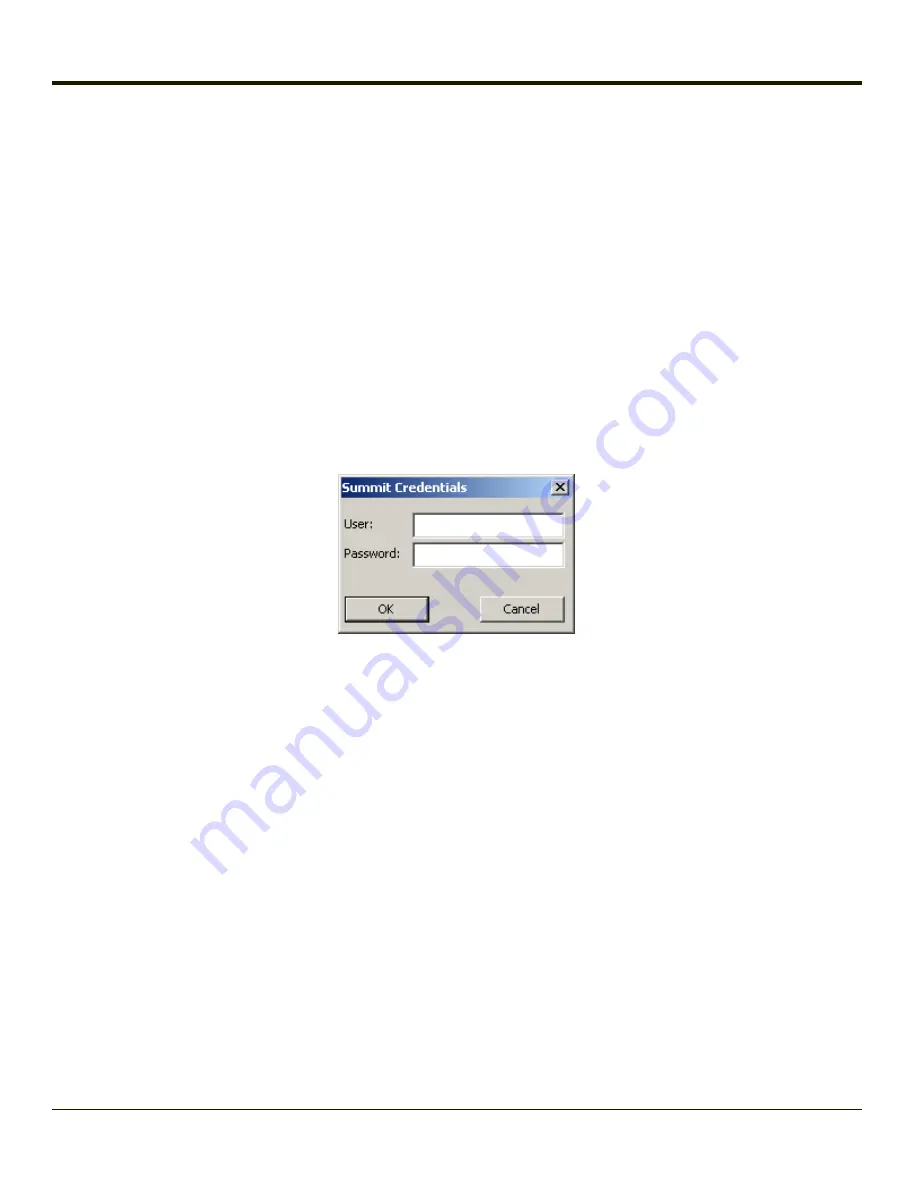
8. When the device attempts to connect to the network, a sign-on screen is displayed.
9. Enter the Username and Password. Click the
OK
button.
10. Verify the device is authenticated by reviewing the Status tab. When the device is property configured, the
indicates the device is Authenticated and the method used.
11. The sign-on screen is displayed after a reboot.
Note:
See
for more details.
If a user enters invalid credentials and clicks
OK
, the device associates but does not authenticate. The user is again prompted
to enter credentials.
If the user clicks the
Cancel
button, the device does not associate. The user is not prompted again for credentials until:
l
the device is rebooted,
l
the radio is disabled then enabled,
l
the
Reconnect
button on the
is clicked or
l
the profile is modified and the
Commit
button is clicked.
How to: Use Windows Username and Password
Please see
for information.
4-23
Содержание Thor VX8
Страница 29: ...Multipurpose Dongle Cables 1 To D15 Connector on Thor VX8 2 D9 Serial Connector COM4 3 USB Connector 2 11 ...
Страница 52: ...Power Cable Routing with Screen Blanking Box 2 34 ...
Страница 58: ...2 40 ...
Страница 76: ...Backlight Intensity Monitor backlight intensity 0 100 3 18 ...
Страница 86: ...3 28 ...
Страница 135: ...Click the DER button 4 49 ...
Страница 140: ...Click the Request a certificate link Click on the User Certificate link 4 54 ...
Страница 149: ...WEP 1 Select Pre Shared Key Static WEP from Set Security Options 2 Click the Configure button 4 63 ...
Страница 177: ...7 Click Submit 8 Click Yes on the pop up to request a certificate 4 91 ...
Страница 189: ...This screen contains the settings including the telephone number from the provider in this case Verizon 4 103 ...
Страница 197: ...CDMA Network Information on the CDMA network is displayed There are no editable parameters on this screen 4 111 ...
Страница 200: ...Info Tab This tab displays SIM card modem and system Information 4 114 ...
Страница 209: ...Start OneClick Internet from the Windows Program Menu or double tap the desktop icon 4 123 ...
Страница 212: ...4 126 ...
Страница 224: ...6 4 ...
Страница 227: ...7 3 ...
Страница 228: ...Honeywell Scanning Mobility 9680 Old Bailes Road Fort Mill SC 29707 www honeywellaidc com E EQ VX8RG Rev K 10 12 ...


