Overview of Navigation and Controls
60
Activate Patrol (tour)
In
Figure 4-32
, input the patrol (tour) number in the No. blank and click the
patrol button.
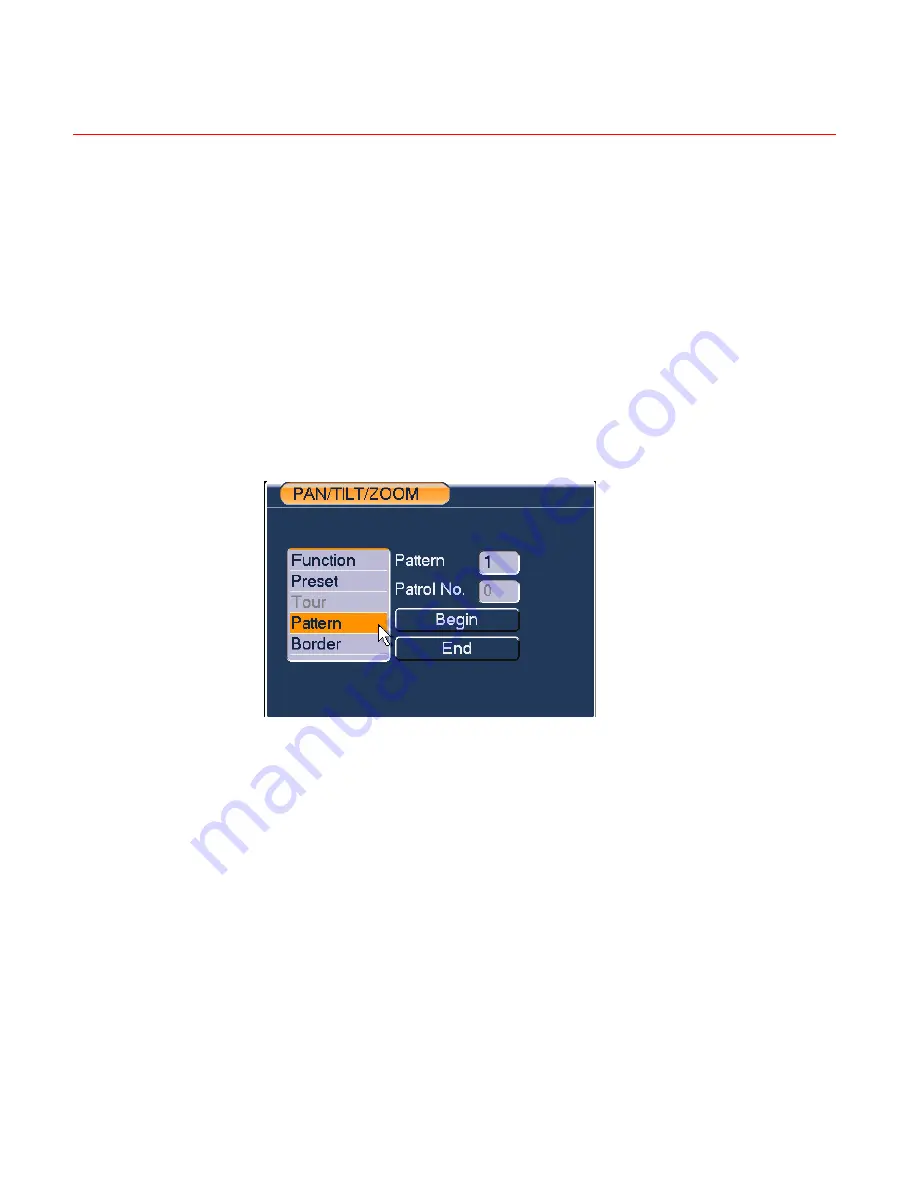
Pattern Setup
In
Figure 4-32
, click
Pattern
and then click “
begin
. The interface is shown
as in
Figure 4-36
. Then you can go to
Figure 4-31
to modify zoom, focus,
and iris.
Go back to
Figure 4-36
and click
End
. You can memorize all these
operations as pattern 1.
Figure 4-36 Pattern Setup
Activate Pattern Function
In
Figure 4-33
, input a mode value in the “No.” field, and click
Pattern
.
Auto Scan Setup
In
Figure 4-32
, click
Border
. The interface is shown in
Figure 4-29
.
Please go to
Figure 4-31
, use direction arrows to select camera left limit.
Then please go to
Figure 4-37
and click left limit button
Repeat the above procedures to set right limit.
Содержание HD-DVR-1004
Страница 2: ......
Страница 7: ...Honeywell v 8 Appendix 165 HDD Capacity Calculation 165 Compatible USB Drive List 166 ...
Страница 8: ......
Страница 14: ......
Страница 57: ...Honeywell 43 Figure 4 15 Motion Detection Menu Figure 4 16 Motion Detection Zone Setting ...
Страница 58: ...Overview of Navigation and Controls 44 Figure 4 17 PTZ Activation Setting Figure 4 18 Armed Period Setting ...
Страница 63: ...Honeywell 49 Figure 4 22 Menu of the Alarm Figure 4 23 The settings of PTZ Activation ...
Страница 115: ...Honeywell 101 Figure 5 42 The Shutdown Menu ...
Страница 118: ...Web Client Operation 104 Figure 6 2 The Internet Options Window ...
Страница 130: ...Web Client Operation 116 Figure 6 21 HDD Information Menu Log Here you can view system log See Figure 6 22 ...
Страница 133: ...Honeywell 119 Figure 6 24 General Setup Menu Figure 6 25 DST Setup Menu Date ...
Страница 146: ...Web Client Operation 132 Figure 6 37 The NTP Setup Menu Alarm Alarm setup interface is shown as in Figure 6 38 ...
Страница 181: ......


