9
STEP 5 – FINAL HAIR LEVELING
Finally, use the lowest blade adjustment level. You don’t need any comb. Trim hair around the base of the neck,
sides of the neck and the ears with the clipper.
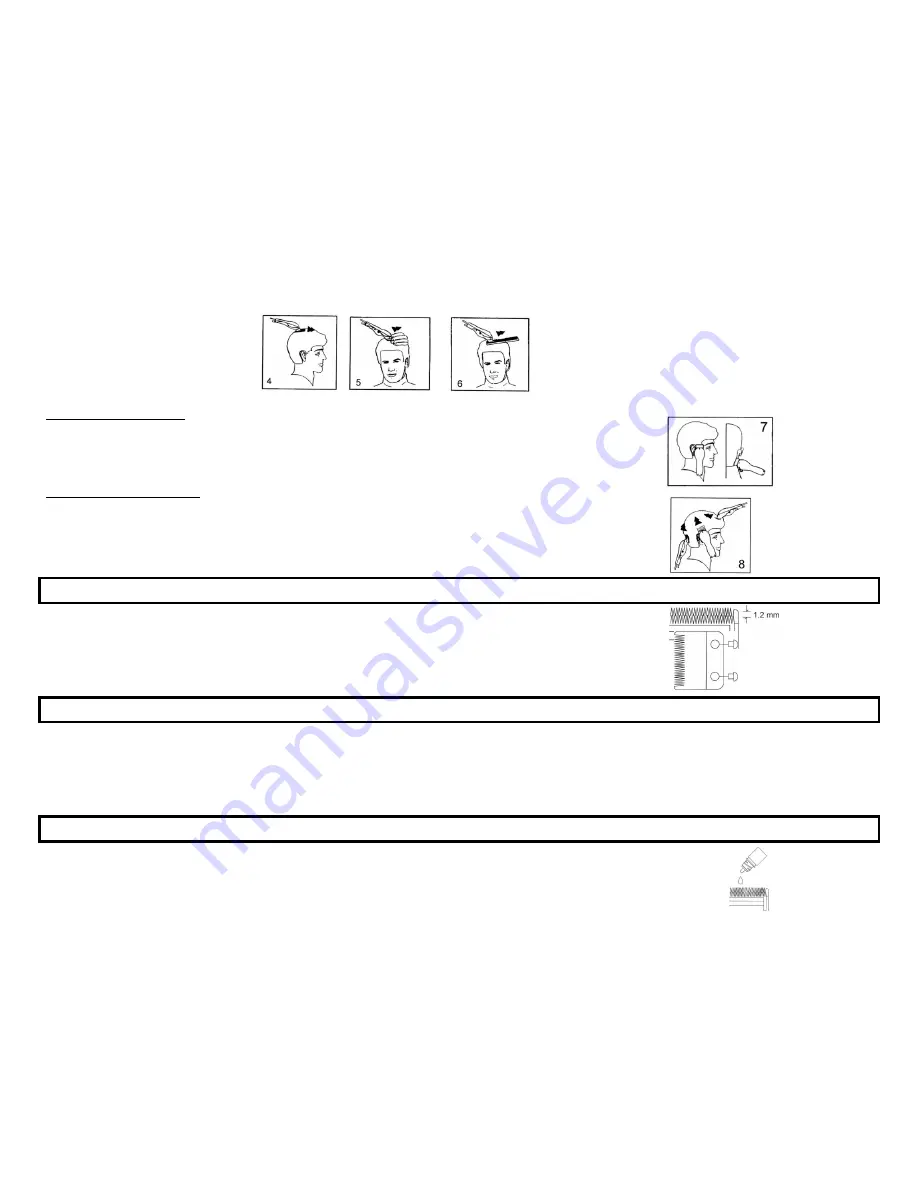
Reverse the hair clipper (fig. 7).
Press the clipper right angles to the head, tips of the blades lightly touching the skin and work downwards.
SHORT HAIRCUTS AND FLAT TOPS
Set № 4 (9 mm) comb and move the clipper from nape to the top of the head.
Hold the comb parallel to the head and slowly move the clipper through the hair as shown (fig. 8).
Cut the hair against the direction of their growth from the front to the top of the head. Then cut the side parts of the head.
For “flat top” use the flat comb, not attachments. Starts to cut from the top of the head lifting hair with the comb.
Using lower blade adjustment levels or smaller attachment combs cut hair to taper the hair down to the neckline.
BLADES ALIGNMENT
Blades must be realigned if they have been removed for cleaning or replacement.
To realign the blades simply match the upper and bottom blades teeth up, point for point.
End of top blade teeth should be approximately 1.2 mm back from bottom blade. Compare your clipper blades with the figure.
If blades are set incorrectly, add few drops of oil to the blades, switch on the clipper for a few seconds, then switch it off and unplug.
Loosen screws slightly and adjust the blades. Tighten screws after blade is aligned.
If the hair clipper buzzes, then adjust it using the screws (on the device). Before adjusting oil the blades.
CLEANING
Mind to clean the appliance regularly for appliance and blades long life.
Ensure that the appliance is switched off.
Remove cut hair from the blades with the brush.
Wipe the body of the hair clipper with wet cloth. Dry the appliance.
Don’t immerse the appliance in water or another liquid.
Don’t use chemical or abrasive cleaners.
BLADES LUBRICATION
Mind to oil the blades of the clipper every few haircuts for appliance and blades long life.
Use only oil that is in set.


