background image

SPECIFICATIONS

SPECIFICATIONS

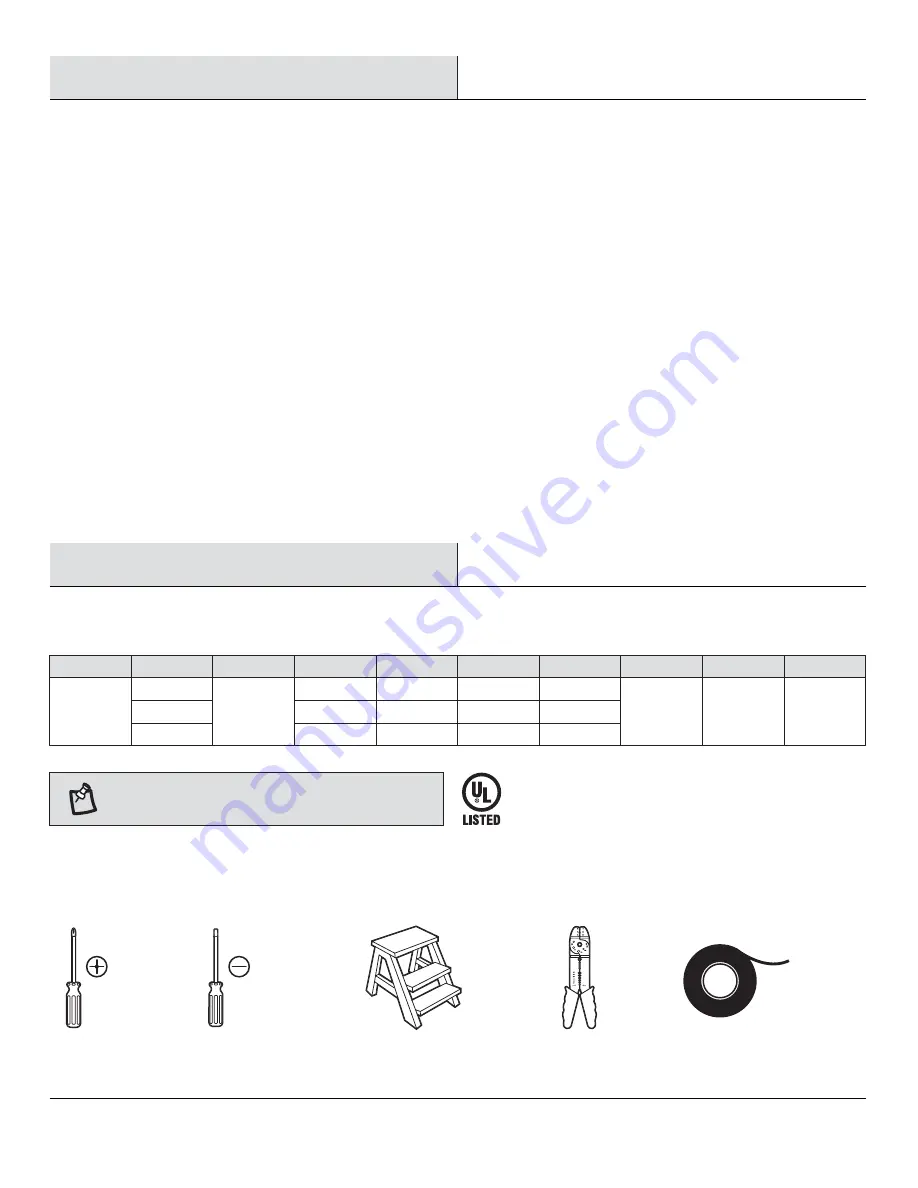
TOOLS REQUIRED

TOOLS REQUIRED

Phillips 
screwdriver

Electrical 
tape

Wire 
stripper

Flat blade 
screwdriver

Step 
ladder

NOTE:

 These are approximate measures. They do not 

include amps and wattage used by the light kit.

Warranty

4

Pre-Installation

Pre-Installation

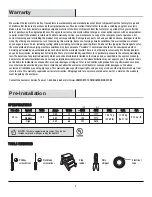
We warrant the fan motor to be free from defects in workmanship and material present at time of shipment from the factory for a period 
of lifetime after the date of purchase by the original purchaser. We also warrant that all other fan parts, excluding any glass or acrylic 
blades, to be free from defects in workmanship and material at the time of shipment from the factory for a period of two years after the 
date of purchase by the original purchaser. We agree to correct such defects without charge or at our option replace with a comparable or 
superior model if the product is returned. To obtain warranty service, you must present a copy of the receipt as proof of purchase. All 
costs of removing and reinstalling the product are your responsibility. Damage to any part such as by accident, misuse, improper installa-
tion or by affixing any accessories, is not covered by this warranty. Because of varying climatic conditions this warranty does not cover 
any changes in brass finish, including rusting, pitting, corroding, tarnishing or peeling. Brass finishes of this type give their longest useful 
life when protected from varying weather conditions. A certain amount of “wobble” is normal and should not be considered a defect. 
Servicing performed by unauthorized persons shall render the warranty invalid. There is no other express warranty. We hereby disclaim 
any and all warranties, including but not limited to those of merchantability and fitness for a particular purpose to the extent permitted by 
law. The duration of any implied warranty which cannot be disclaimed is limited to the time period as specified in the express warranty. 
Some states do not allow limitation on how long an implied warranty lasts, so the above limitation may not apply to you. The retailer shall 
not be liable for incidental, consequential, or special damages arising out of or in connection with product use or performance except as 
may otherwise be accorded by law. Some states do not allow the exclusion of incidental or consequential damages, so the above 
exclusion or limitation may not apply to you. This warranty gives specific legal rights, and you may also have other rights which vary from 
state to state. This warranty supersedes all prior warranties. Shipping costs for any return of product as part of a claim on the warranty 
must be paid by the customer.

Contact the Customer Service Team at 1-800-986-3460 or visit www.HOMEDEPOT.COM/HOMEDECORATORS

52 in.

Low

Medium

High

120

Fan size

Fan size

Watts

Watts

RPM

RPM

CFM

CFM

Speed

Speed

Volts

Volts

Amps

Amps

2.11 cu. ft.

N.W.

N.W.

G.W.

G.W.

C.F.

C.F.

0.30

0.45

0.55

12

33

66

54

104

151

1777

3715

5618

10.31 kg

(22.69 lb)

11.90 kg

(26.17 lb)

Содержание 657-837

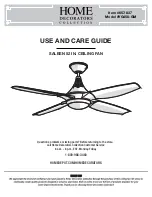
Страница 1: ...G FAN Item 657 837 Model YG458 GM Questions problems missing parts Before returning to the store call Home Decorators Collection Customer Service 8 a m 6 p m EST Monday Friday 1 800 986 3460 HOMEDEPOT COM HOMEDECORATORS THANK YOU THANK YOU ...

Страница 2: ... Installation Assembly Hanging the Fan Attaching the Fan Blades Installing the Light Kit 2 3 4 4 4 4 5 6 7 8 9 13 14 Operation Remote Control Operating Instructions Installing the Remote Control Holder Reverse Switch Operating Instructions Care and Cleaning Troubleshooting Service Parts 15 15 15 16 16 17 18 Table of Contents 2 ...

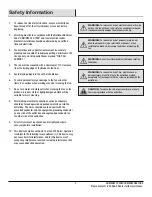
Страница 3: ...ead apart with the grounded conductor and the equipment grounding conductor on one side of the outlet box and ungrounded conductor on the other side of the outlet box 9 All setscrews must be checked and retightened where necessary before installation 10 This device complies with part 15 of the FCC Rules Operation is subject to the following two conditions 1 This device may not cause harmful interf...

Страница 4: ...st useful life when protected from varying weather conditions A certain amount of wobble is normal and should not be considered a defect Servicing performed by unauthorized persons shall render the warranty invalid There is no other express warranty We hereby disclaim any and all warranties including but not limited to those of merchantability and fitness for a particular purpose to the extent per...

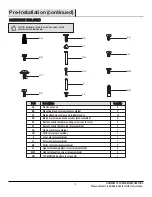
Страница 5: ... control holder mounting screw not to scale Remote control holder plug preassembled Clevis pin preassembled Cotter pin preassembled Cross pin preassembled Setscrew preassembled Collar setscrew preassembled Light kit mounting plate screw preassembled Light kit mounting screw preassembled 12V MN21 A23 battery not to scale Part Part Description Description 9 2 13 9 2 2 1 1 1 1 2 3 3 1 Quantity Quanti...

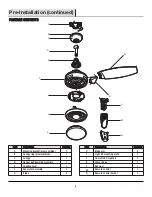
Страница 6: ... control holder Quantity Quantity 4 1 1 1 1 1 1 PACKAGE CONTENTS PACKAGE CONTENTS Pre Installation continued 6 A E F D I J K G H B C L M N Part Part A B C D E F G Quantity Quantity 1 1 1 1 1 1 4 Description Description Mounting bracket preassembled Canopy ring preassembled Canopy Hanger ball downrod assembly Coupling cover Fan motor assembly Blade ...

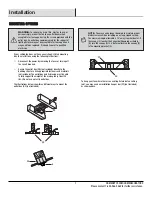
Страница 7: ... ways to mount the outlet box OO not included OO OO PP OO OO A Installation MOUNTING OPTIONS MOUNTING OPTIONS WARNING To reduce the risk of fire electric shock or personal injury mount the fan to an outlet box marked acceptable for fan support using the screws provided with the outlet box An outlet box commonly used for the support of lighting fixtures may not be acceptable for fan support and may...

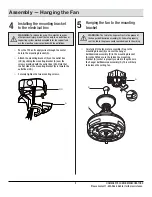
Страница 8: ... E QQ C RR KK KK GG HH JJ II Carefully feed the motor wires up through the downrod RR Thread the downrod RR into the collar Next line up the holes and replace the cotter pin HH and clevis pin GG Tighten the two collar setscrews KK Slip coupling cover E canopy ring B and canopy C onto the downrod RR Carefully reinstall the hanger ball QQ onto the downrod RR Ensure that the cross pin II is in the co...

Страница 9: ...lure to properly seat the tab in the groove could cause damage to the wiring A OO WARNING To reduce the risk of fire electric shock or other personal injury mount the fan only to an outlet box or supporting system marked acceptable for fan support and use the mounting screws provided with the outlet box 9 Pass the 120 volt supply wires through the center hole in the mounting bracket A Attach the m...

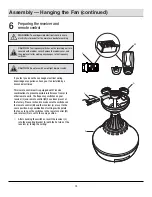
Страница 10: ...mote control M and the receiver L are set to the same position Any combination of settings will operate the fan as long as the switches in the remote control M and receiver L are set to the same position After checking the switches insert the receiver L into the mounting bracket A with the flat side of the receiver L facing the ceiling CAUTION The frequency switches on the receiving unit are cover...

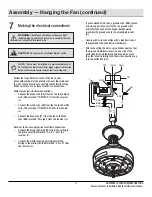
Страница 11: ...ked AC in N from the receiver L If your outlet box OO has a ground wire HHH green or bare copper connect it to the fan ground wires III otherwise connect the hanger ball downrod assembly D ground wire to the mounting bracket A Secure each wire connection with a plastic wire nut AA provided with the electrical hardware After connecting the wires spread them apart so that the green and white wires a...

Страница 12: ...outlet box OO Secure the canopy C to the mounting bracket A with the four canopy mounting bracket screws and lock washers BB included with your fan Raise up canopy ring B and line up the four tabs with the four grooves on the canopy C Once lined up slide the canopy ring B and secure it to the canopy C until snug 12 WARNING Make sure the tab on the mounting bracket A properly sits in the groove in ...

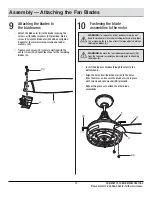
Страница 13: ...H in place with screws and lock washer DD provided Repeat this process to attach the other blade assemblies Attach the blade arm H to the blade G using the screws with rubber washers CC provided Start a screw CC into the blade arm H and do not tighten Repeat for the two remaining screws and rubber washers CC Tighten each screw CC securely starting with the center screw CC Repeat the steps for the ...

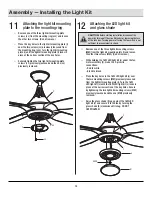
Страница 14: ...the circuit breaker or removing the fuse at the fuse box Turning power off using the fan switch is not sufficient to prevent electric shock Remove one of the three light kit mounting screws MM from the light kit mounting plate I and loosen the other two screws MM Do not remove While holding the 16W LED light kit J under the fan motor assembly F make the 2 pin wire connections Red to white Black to...

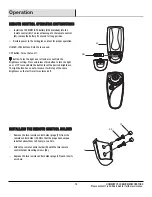
Страница 15: ... own hole Install the 12V MN21 A23 battery NN included into the remote control M To prevent damage to the remote control M remove the battery if not used for long periods Restore power to the ceiling fan and test for proper operation HI MED LOW buttons Sets the fan speed OFF button Turns the fan off button Turns the light on or off and also controls the brightness setting Press and release this bu...

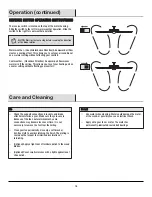
Страница 16: ...or or the wood or possibly cause an electrical shock Apply oil to your fan or motor The motor has permanently lubricated sealed ball bearings Do not Do not NOTE Wait for the fan to stop before reversing the direction of the blade rotation REVERSE SWITCH OPERATING INSTRUCTIONS REVERSE SWITCH OPERATING INSTRUCTIONS The reverse switch is located on the top of the motor housing Slide the switch to the...

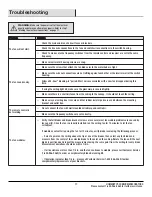
Страница 17: ...the mounting bracket and outlet box The fan will not start The fan sounds noisy WARNING Make sure the power is off at the electrical panel box before you attempt any repairs Refer to step 7 Making the electrical connections on page 11 Verify that all blades and blade bracket screws are secure most fan wobble problems are caused by loose parts Once the fan is properly installed run the ceiling fan ...

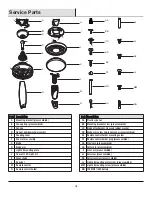
Страница 18: ...M NN Description Description Plastic wire nut Mounting bracket screw preassembled Blade attachment screw and rubber washer Blade arm screw and lock washer preassembled Remote control holder mounting screw Remote control holder plug preassembled Clevis pin preassembled Cotter pin preassembled Cross pin preassembled Setscrew preassembled Collar setscrew preassembled Light kit mounting plate screw pr...

Страница 19: ...estions problems missing parts Before returning to the store call Home Decorators Collection Customer Service 8 a m 6 p m EST Monday Friday 1 800 986 3460 HOMEDEPOT COM HOMEDECORATORS Retain this manual for future use ...

Отзывы: