Trident HD Specimen Radiography System User Guide
Chapter 9: System Administration Interface
Page 72
MAN-05478-002 Revision 003
To Export
:
1.
Select the patients and the procedures to export.
•
Select patients from the patient list, or do a search with one of the search
parameters (item 1) and select patients from the search results.
Note
The
Select All
button (in the right panel of the screen) selects all the patients in the
Patient List area. The
Clear
button (in the right panel of the screen) clears selections.
•
Select the procedures for each patient.
•
Select the
Down Arrow
(item 4) on the screen to move the selected patients to the
Patients To Be Archived area (item 3).
•
Select the
Up Arrow
(item 5) on the screen to remove the selected patients from
the Patients To Be Archived area (item 3).
2.
Select the
Export
button.
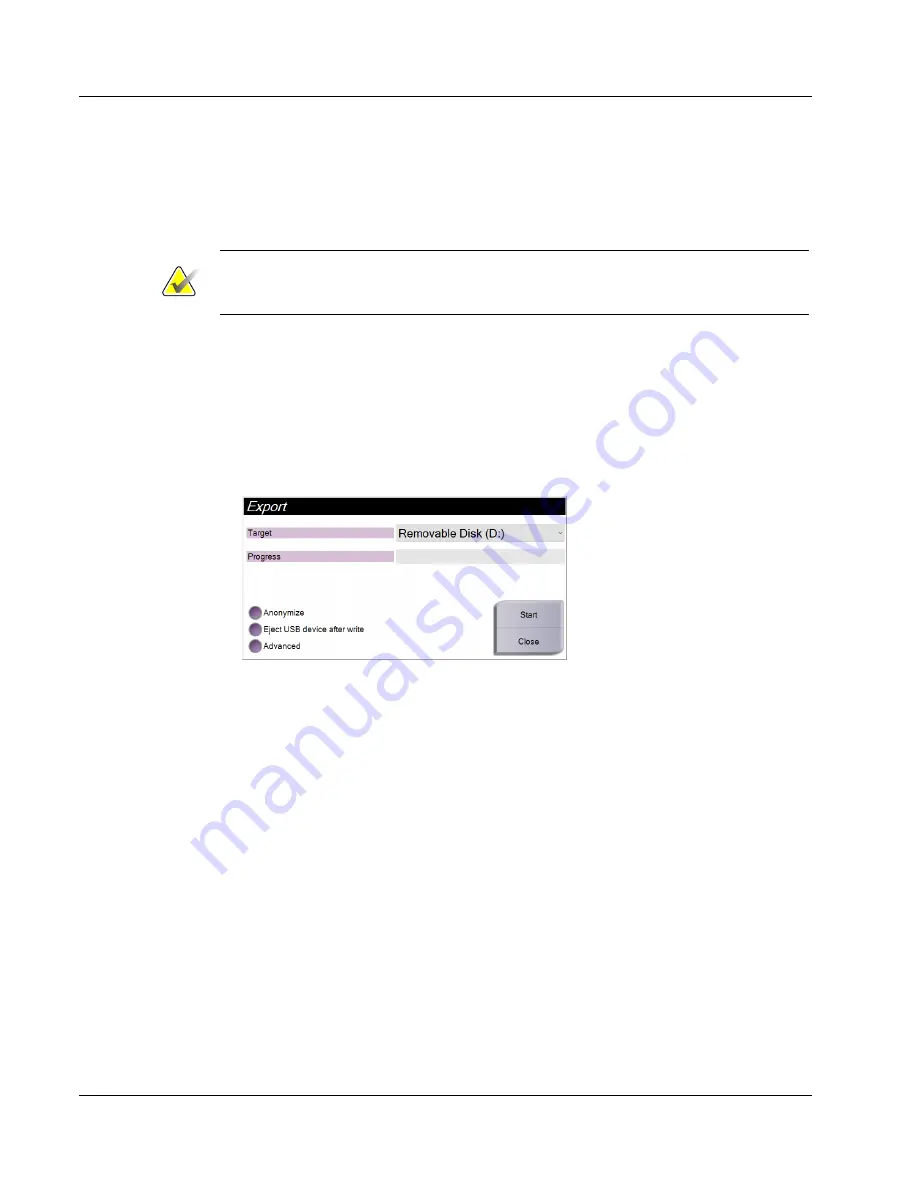
3.
In the
Export
dialog box, select the Target from the drop-down list of media devices.
Figure 39:
Export Screen
4.
Select other options, if necessary:
•
Anonymize
: to anonymize patient data.
•
Eject USB device after write:
to eject the USB device after the patient data has exported.
•
Advanced
: to select a folder on your local system to keep the selections, and also
to select the Export types.
5.
Select the
Start
button to copy the selected images to the selected device.
9.7 How to Change the Default Lock Out Time
After a set time of inactivity, the system will "lock out" the user. The user is then required
to log in again before returning to their place in the procedure. The amount of time of
inactivity is configurable. The default time is 60 minutes.
1.
Select the Windows icon to open the Windows Start menu.
2.
Find "Local Security Policy".
3.
Navigate to
Security Settings > Local Policies > Security Options
.
4.
Find "Interactive logon: Machine inactivity limit".
5.
Adjust the time as desired.


