9
Step 5
10
Step 6
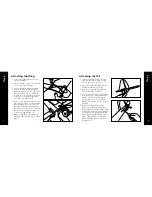
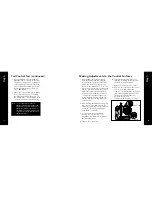
6. Attach the clevis from the rudder
pushrod into the outermost hole of
the control horn on the rudder, and
slide the clear rubber sleeve down
over the clevis.
7. Attach the clevis from the elevator
pushrod into the outermost hole of
the control horn on the bottom of
the elevator. Slide the clear rubber
sleeve down over the clevis. Again,
refer to the instructional video for a
more detailed explanation.
push up
pull down
Attaching the Tail (continued)
Tail Control Test
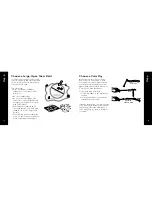
1. Make certain the throttle slider is
in the “off” position. Turn on the
transmitter.
2. Install the flight battery in the
fuselage and plug the battery lead
into the lead inside the airplane.
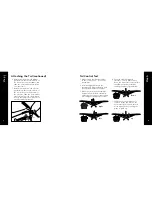
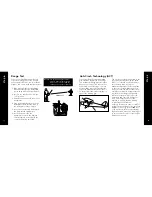
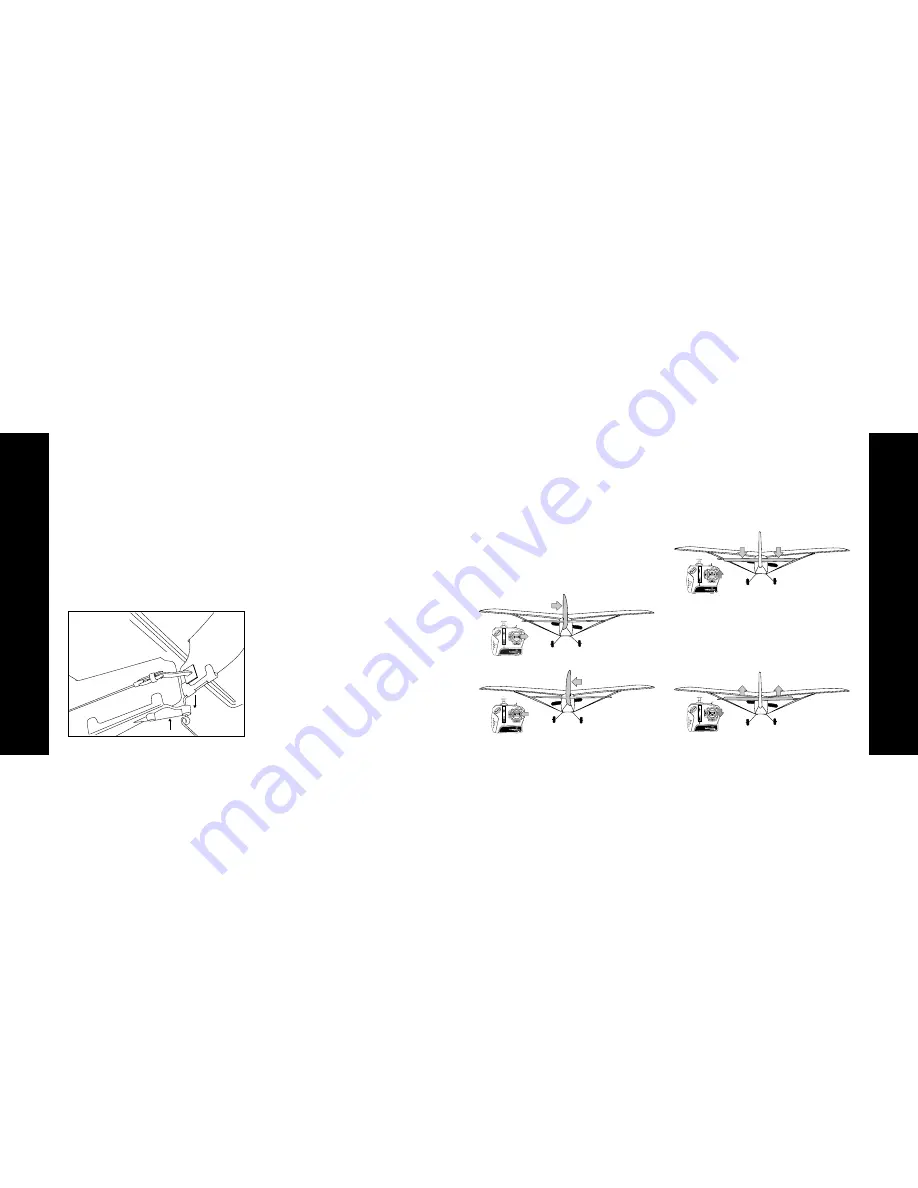
3. Move the stick on the transmitter
(rudder control) side to side while
observing the vertical control surface
is moving per the input (as shown).
Right
Left
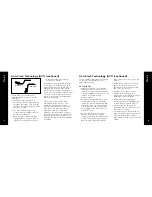
4. Push the stick full forward
(elevator control). When this is
done, the horizontal control surface
should move down (as shown),
causing the plane to pitch down.
Down
5. Pull back on the stick (elevator
control). When this is done, the
horizontal control surface should
move up (as shown), causing the
plane to pitch up.
Up


