7
Step 4
8
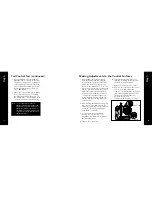
Step 5
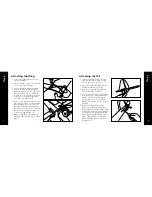
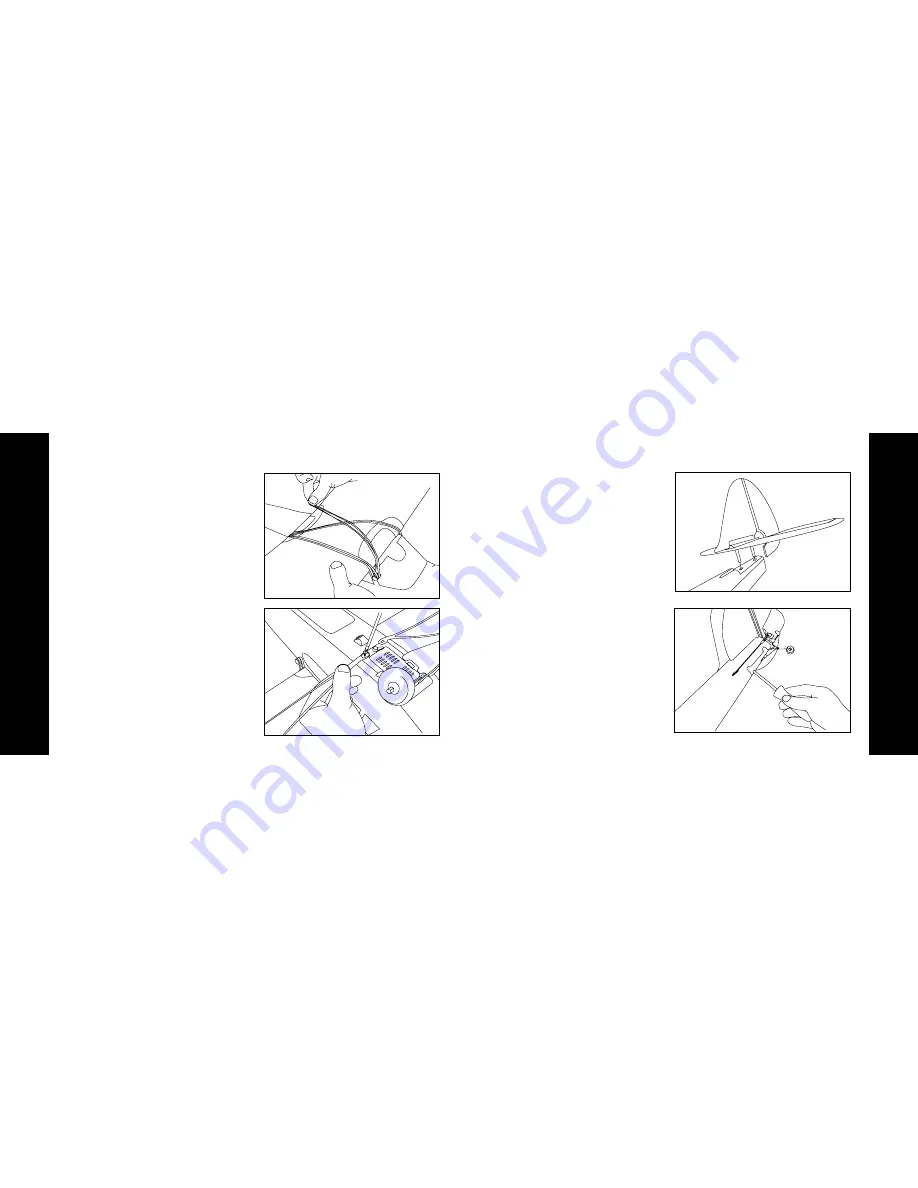
Attaching the Wing
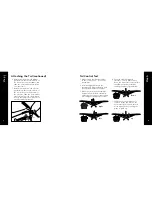
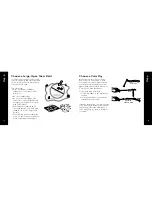
Attaching the Tail
1. Locate the wing and strut screws
that are included.
2. Place the wing so that it is centered
on the top of the fuselage.
3. Use the included rubber bands to
secure the wing by attaching two
bands straight across the top of the
wing, where each end is attached
to each set of wing hold-down rods,
and criss-crossing two diagonally
across the top of the wing.
4. After you are satisfied that the wing
is properly centered on the fuselage,
turn the plane over and complete
the wing attachment by attaching
the struts as shown. The screws that
will be used to attach the struts are
in the small bag labeled “B.”
5. Make certain the wing is properly
attached and centered prior to each
flight.
1. Locate the rudder and horizontal
stabilizer assemblies and carefully
remove them from the box.
2. Install the rudder assembly into the
horizontal stabilizer, as shown.
3. Install the complete tail assembly
into the fuselage, as shown.
4. Secure this assembly to the fuselage,
from the bottom, with the included
screws. The two screws needed
for this step are in the small bag
labeled “C” and are the two longest
included.
5. Clip the tail wheel wire into the
plastic wheel housing by pulling
down slightly on the tail wheel, while
at the same time you are pushing up
on the plastic molding until the two
parts “snap” together. Make sure to
support the tail when doing this so
that no damage is done to the aft
fuselage area.


