


5
Now that everything is connected and ready, you can begin the configuration process. Most factory default
settings will not be changed. However, a few settings must be changed to make the system operational. This is
because the base is shipped with the receivers disabled and all transmitters turned off.
This guide assumes that you wish to start from the factory default configuration settings. You will learn to
restore the factory default settings as part of this process. If that is not what you want to do, please refer to your
PRO850 Operating Instructions manual.
RESTORING FACTORY DEFAULT SETTINGS
CAUTION:
These steps will restore the base station to its factory default settings. Any settings previously
saved in the base station will be lost.
Refer to the base station illustrations on page 2 as needed.
1.
Turn on the base station power, if it is not already on.
2.
With the menus displayed, press the right or left arrow button as needed on the base station (#6 on front
panel) until the
Config
menu is displayed.
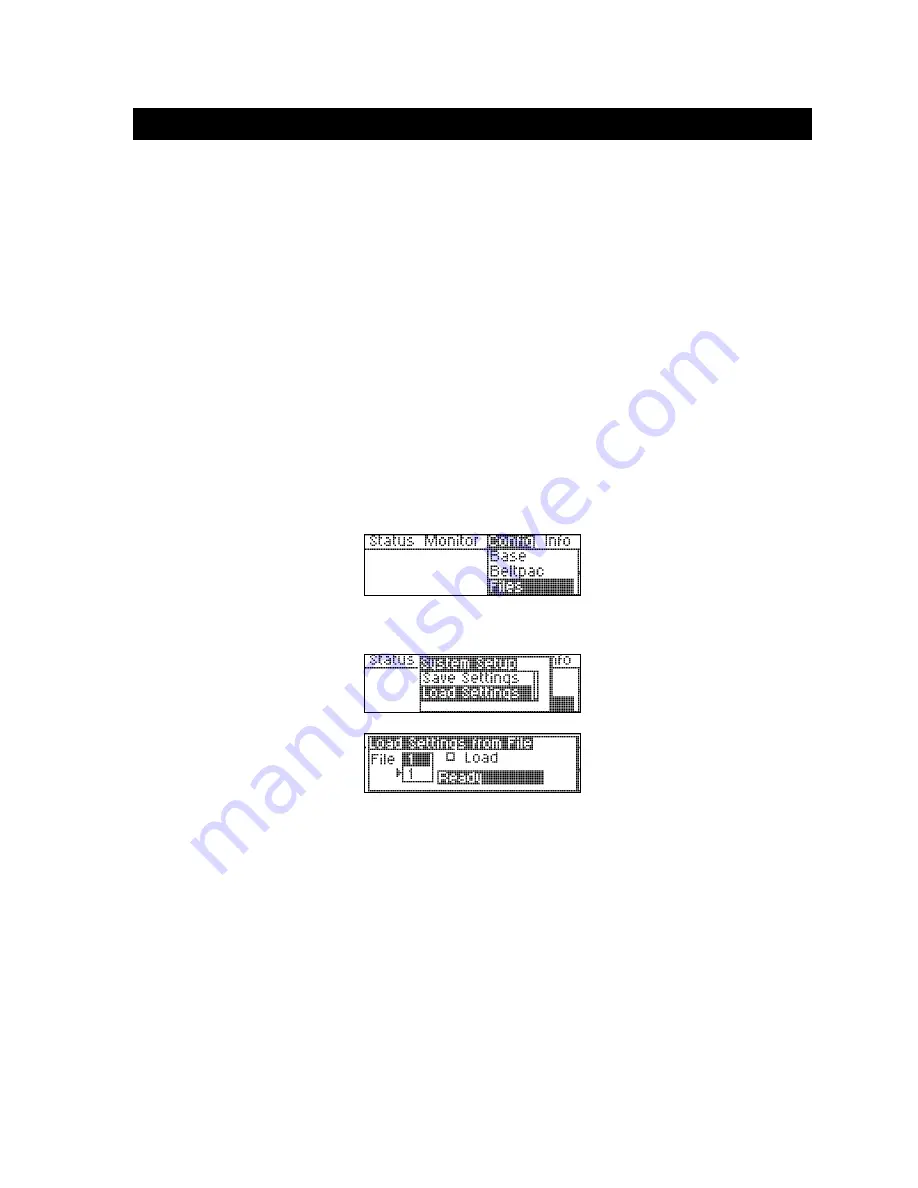
3.
Press the down arrow button repeatedly until
Files
is highlighted as shown below. Then press the ENTER
button (#7 on front panel). The
System Setup
menu should appear.
4.
Press the down arrow button to highlight
Load Settings
and press ENTER. The
Load Settings from File
window will appear.
5.
Press and hold the down arrow button until
Def
appears in the lower portion of the file window. Then press
ENTER.
Def
will now appear highlighted in the upper part of the file window.
6.
Press the right arrow button once to move the cursor (small triangle) over to the check box beside the word
Load
.
7.
Press ENTER to begin the process. After the default settings have been loaded, an attention window will
appear indicating “Settings Defaulted.” Press CANCEL to clear the window. You are now ready to
configure the system.
SECTION 3. PRO850 CONFIGURATION


