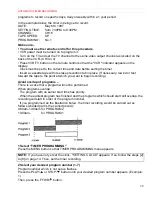
AUTOMATIC TIMER RECORDING
31
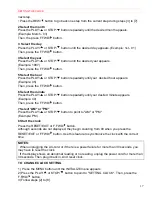
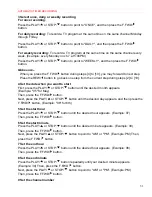
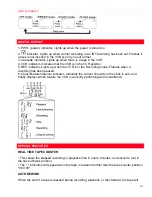
3 Select once, daily, or weekly recording
For once recording:
Press the PLAY/
or STOP/
button to point to "ONCE", and then press the F.FWD/
button.
For daily recording:
To record a TV program at the same time on the same channel Monday
through Friday.
Press the PLAY/
or STOP/
button to point to "DAILY", and then press the F.FWD/
button.
For weekly recording:
To record a TV program at the same time on the same channel every
week. (Example: every Monday on ch 7 at 5:00PM)
Press the PLAY/
or STOP/
button to point to "WEEKLY", and then press the F.FWD/
button.
Make sure...
· When you press the F.FWD/ button during steps [4] to [10], you may forward to next step.
· Press the REW/ button to go back one step from the current step during steps [2] to [10].
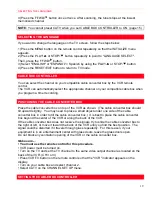
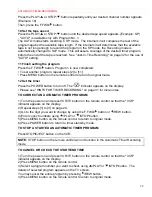
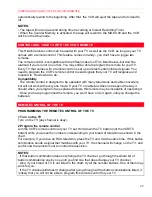
4 Set the date when you want to start
First, press the PLAY/
or STOP/
button until the desired month appears.
(Example: "05" for May)
Then, press the F.FWD/ button.
Next, press the PLAY/
or STOP/
button until the desired day appears, and then press the
F.FWD/ button. (Example: "06" for 6th)
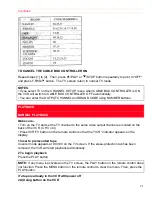
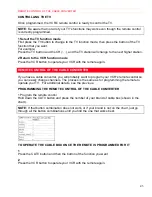
5 Set the start hour
Press the PLAY/
or STOP/
button until the desired hour appears. (Example: 07)
Then, press the F.FWD/ button.
6 Set the start minute
Press the PLAY/
or STOP/
button until the desired minute appears. (Example: 30)
Then, press the F.FWD/ button.
Next, press the PLAY/
or STOP/
button to point to "AM" or "PM". (Example: PM) Then,
press the F.FWD/ button.
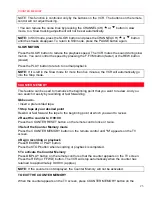
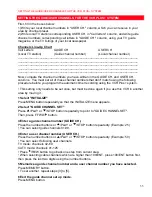
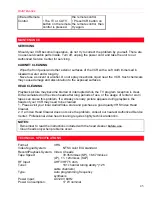
7 Set the end hour
Press the PLAY/
or STOP/
button until the desired hour appears. (Example: 08)
Then, press the F.FWD/ button.
8 Set the end minute
Press the PLAY/
or STOP/
button repeatedly until your desired minute appears.
(Example: 30) Then, press the F.FWD/ button.
Next, press the PLAY/
or STOP/
button to point to "AM" or "PM". (Example: PM)
Then, press the F.FWD/ button.
9 Set the channel number

