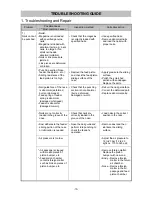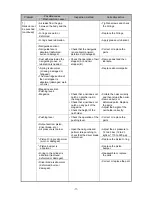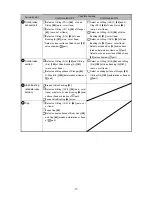
-24-
(Apply grease at reassembly.)
Body Ass’y
[39]
Protrusion of Trigger Arm (C)
[68]
Trigger Piece (C)
[66]
Trigger Spring
[67]
Roll Pin D2.5 x 16
[76]
splitting direction
Trigger section
ø 3 x 19 rod
Trigger Spring
[70]
Pushing Lever Guide
[71]
Roll Pin D3 x 28
[65]
splitting direction
Through hole (ø 3) of
Pushing Lever (C)
[73]
Trigger
[69]
(b) Reassembly of the Trigger section
•
Reassemble Trigger Arm (C)
[68]
with its protrusion facing upward.
•
Reassemble the Roll Pin D2.5 x 16
[76]
with its splitting oriented as shown below.
•
For easier reassembly of the Trigger section onto the Body Ass'y
[39]
, mount the Trigger Spring
[70]
and Trigger section onto the Pushing Lever Guide
[71]
in advance by using the ø 3 x 19 rod.
•
Orient the splitting of the Roll Pin D3 x 28
[65]
as shown above at reassembly.
•
Be careful not to reverse the insertion direction of the Roll Pin D3 x 28
[65]
when remounting the
Pushing Lever Guide
[71]
on the Body Ass'y
[39]
.
•
Apply grease (No.777-1, P/N-325149) to the through hole (ø 3) of the Pushing Lever (C)
[73]
when
remounting Pushing Lever (C)
[73]
on the Pushing Lever Guide
[71]
.
•
Reassembly of the Trigger section


