16
VIDEO
DOC.CAMERA
KEYSTONE
ASPECT
SEARCH BLANK
MUTE
MY BUTTON
POSITION
1
2
ESC
ENTER
MENU
RESET
COMPUTER
MY SOURCE/
AUTO
MAGNIFY
VOLUME
ー
ON
OFF
+
FREEZE
FOCUS D-ZOOM
- + - +
LAMP
TEMP
POWER
STANDBY/ON
INPUT
Power on/off
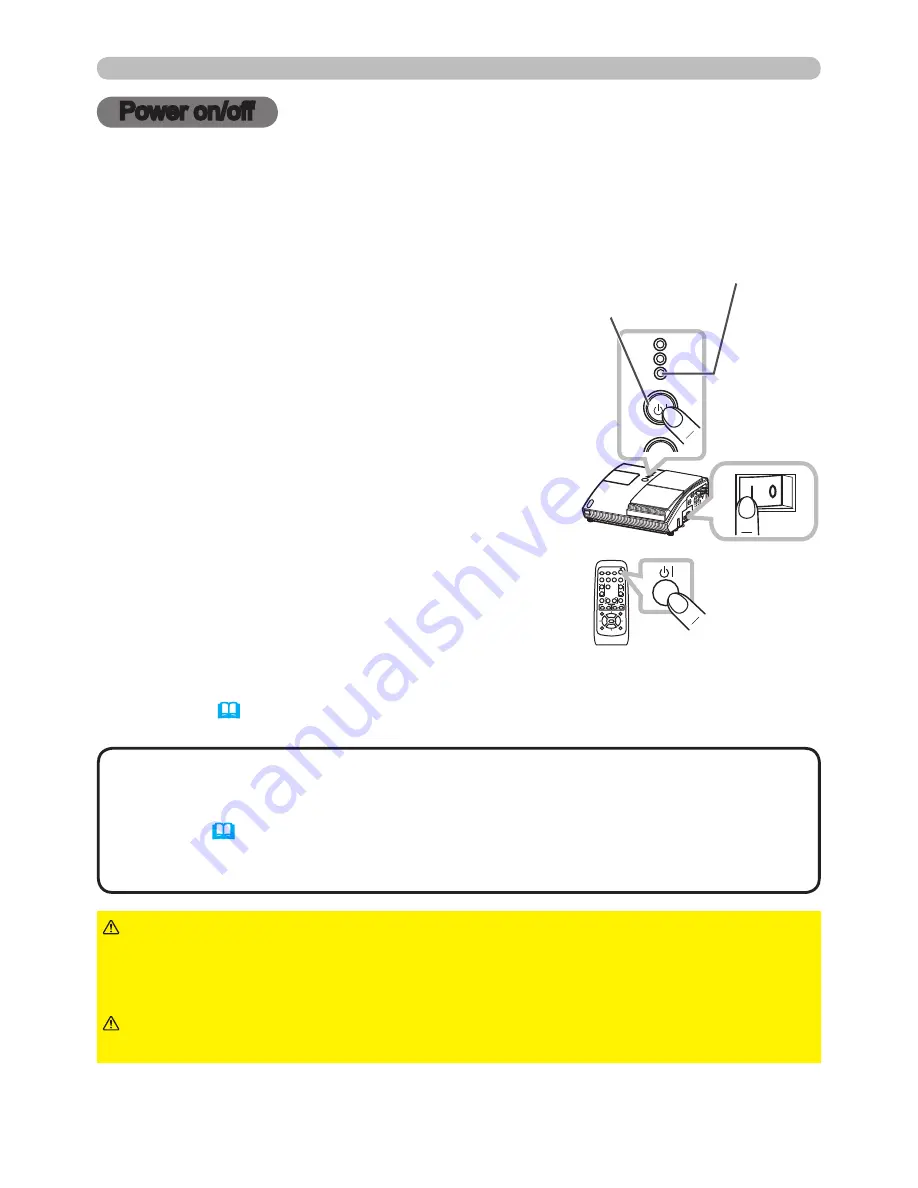
1.
Press the side marked "
I
" of the power
switch, as the power-on position.
The
POWER
indicator lights up in orange.
2.
Confirm that there is nothing that the lens
door hits while opening.
Then, press the
STANDBY/ON
button (on
the projector or remote control).
The lens door opens, the projection lamp
lights up, and the
POWER
indicator begins to
blink green.
Power on/off
To display the picture, select an input signal according to the section “Selecting an
input signal” (
18
).
►Never look into the projection lens or mirror while the projection
lamp lights, since the projection lamp ray may cause a trouble on your eyes.
►Do not touch around the lamp cover and the exhaust vents during use or just
after use, since it is too hot.
WARNING
Turning on the power
Turn on the projector and the connected devices. Turn on the projector ahead of
other connected devices, unless mentioned in the manuals.
For this projector, follow the procedure below.
POWER
indicator
STANDBY/ON
button
Power
switch
STANDBY/ON
button
When the projector starts completely, the indicator
will turn steady green.
• When the AUTO ON of the OPTION menu is set to the TURN ON,
and the power was turned off by the power switch last time, turning the power
switch on makes the projection lamp light on without pushing the
STANDBY/
ON
button (
44)
.
• Install the projector in the way specified in this manual. Otherwise the
projection lamp may not light.
NOTE
►Be careful not to pinch your finger with the lens door, as it may
cause an injury.
CAUTION
● For a couple of seconds after the
POWER
indicator lights up, wait to use the control
buttons (on the projector and remote control).
The buttons may not work soon.


