


APPENDIX 2: Using Variable Pressure Mode
This mode allows you to view uncoated, non-conductive specimens by suppressing
charging.
1.
You will need a higher KV to use this mode, usually
10-25 KV with W.D. = 5-10 mm and probe current
above 50. You need lots of energy to view in this
mode as many electrons are lost to interfering air
molecules.
2.
Before viewing on VP mode, set up the beam
first using a control sample on regular SE
mode-SEE APPENDIX 1 OR GET HELP. Focus, stigmate and align the
beam as for normal SE imaging.
3.
Turn KV Off.
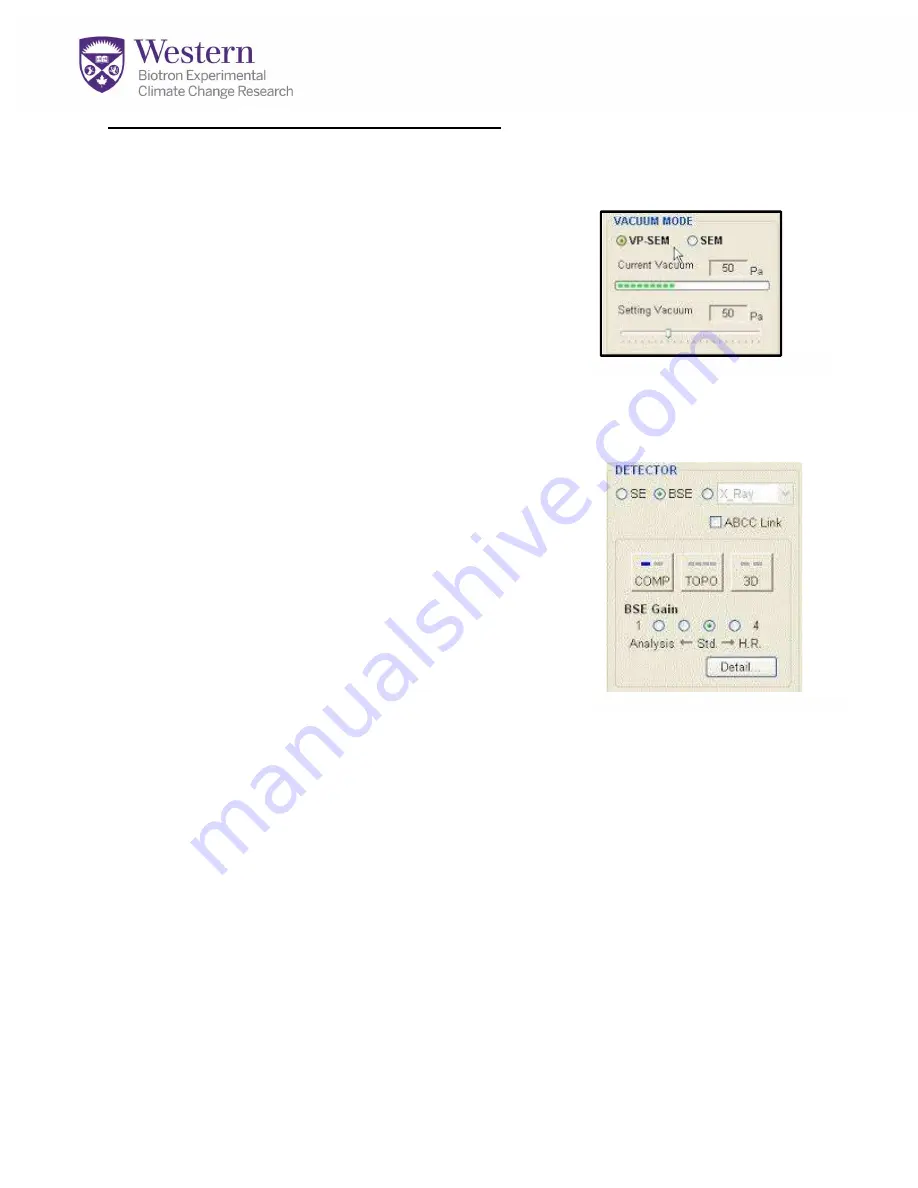
4.
Under
Conditions Tab
, select VP-SEM.
(Fig A6).
The
syetm will automatically set itself to BSE mode now.
5.
Set vacuum to 30-50.
(Fig A6).
Lower vacuum is more
efficient at charge reduction as air molecules absorb
some charge.
6.
NOW evacuate the chamber and switch to the test
sample.
7.
Turn KV back ON. You will need to focus on
Slow 1
or
Slow 2
mode.
Fast
is too noisy to see anything.
8.
On the
Image Tab
adjust your
BSE Gain
setting
(Fig A7)
to
3
or
4
until you see
an image.
9.
COMP mode highlights composition, TOPO highlights topography, and 3D brings
out 3-dimensional details. Going into the
Detail
window will open additional
controls of the 5 detectors used for BSE imaging.
10.
DO NOT ADJUST STIGMATORS ON THIS MODE-use fine focus only
!
Stigmation should have been done on the control sample first. Your focus will
become quite poor if you try to adjust this on BSE mode.
Figure A6.VP-SEM
Figure A7. BSE Controls