


Changing Specimens and/or Shutdown:
1.
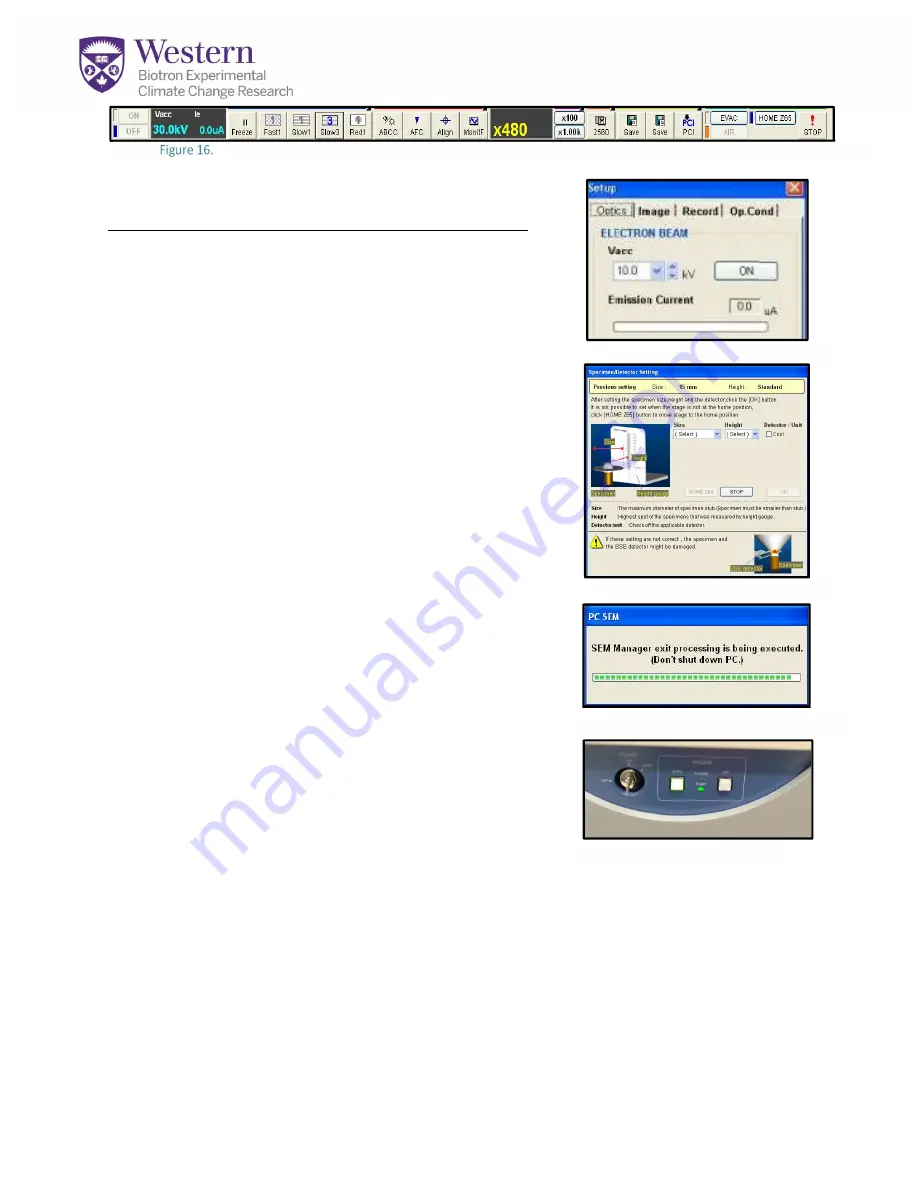
Click the
HV OFF
button in the upper left
(Fig 16-A)
or on the beam control window
(Fig 17-A)
.
2.
Click the
AIR
button in the upper right
(Fig 16-B)
.
3.
The Specimen Dimensions window will open
(Fig 18)
.
If you will be continuing, enter the dimensions of
your next specimen.
4.
If you are shutting down, Select Size=15mm and
Height= Standard and click
OK
. The chamber will
open in about 90 seconds. (you will see a
“Processing to Air” message with stars that count
down to opening)
5.
Using gloves or forceps, remove your specimen.
Change specimens now or leave sample holder in
drawer away from dust if you are finished.
6.
Close the Chamber door and click the
EVAC
button
in the software
(Fig 16-B)
OR
at the front of the
machine
(Fig 20-A)
.
7.
When the system has fully evacuated, begin
imaging again as before. You shouldn’t need to
realign the machine, but you will need to re-
saturate the filament if you are continuing.
8.
IF YOU ARE FINISHED: quit the PC-SEM Program.
9.
If you get a request to save the stage history, say “No”
10.
Make sure that you sign out on the calendar.
11.
Transfer your files using Dropbox
NOT USB
12.
Leave Computer ON and area clean
Figure 17. Beam Setup Window
A-
Figure 19. PC-SEM Shutdown
Figure 20. PC-SEM Shutdown
A-
Figure 18. PC-SEM Control Buttons
Figure 16.
A B