background image

5

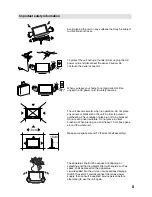
Important safety information

10cm

10cm

OK !

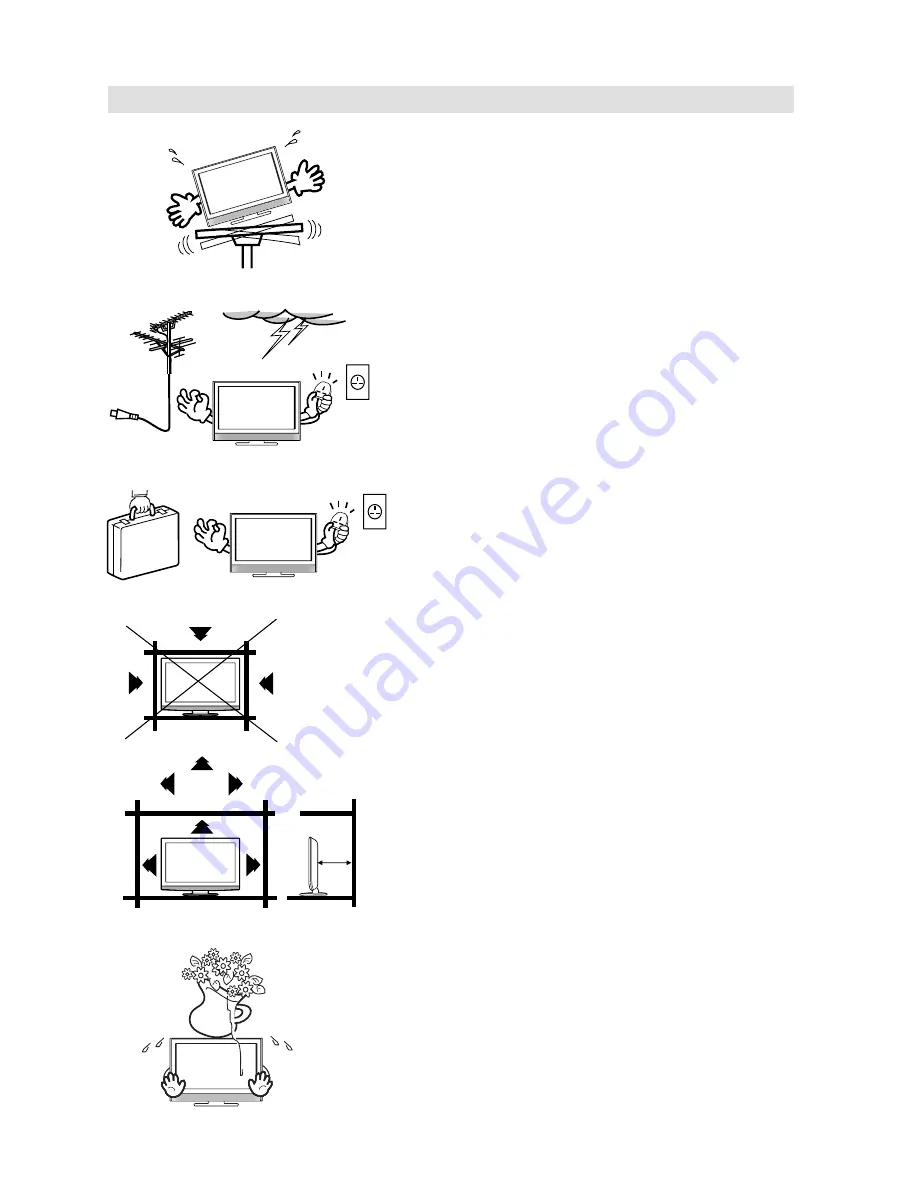
To protect the unit during a thunder storm unplug the AC 
power cord and disconnect the aerial. Caution: Do
not touch the aerial connector.

When you leave your home for a long period of time, 
unplug the AC power cord for safety reasons.

The apparatus shall not be exposed to dripping or 
splashing and that no objects fi lled with liquids, such as 
vases, shall be placed on the apparatus.
Liquids spilled into the unit can cause serious damage. 
Switch the set OFF and disconnect the mains power 
supply, then consult a qualifi ed service person before 
attempting to use the unit again.

OK !

Avoid placing the unit on any surfaces that may be subject 
to vibrations or shocks.

The unit becomes warm when in operation. Do not place 
any covers or blankets on the unit in order to prevent
overheating. The ventilation holes are not to be blocked. 
Do not set up near radiators. Do not place in direct 
sunshine. When placing on a shelf leave 10 cm free space 
around the whole unit.

Make some space around TV (Correct shelf assembly).

Содержание 26LD5550U

Страница 1: ...ONS INSIDE CAREFULLY KEEP THIS USER S MANUAL FOR FUTURE REFERENCE For future reference record the serial number of your television SERIAL NO This serial number is located on the rear of the television Ver 1 Model Name 26LD5550U USER S MANUAL ...
Страница 2: ...the salesman if it is possible to receive a DVB T signal in the zone where you live A DVB T aerial must be connected for DVB T reception Even if the television conforms to the DVB T specifications the compatibility to future digital DVB T transmissions is not guaranteed Some digital television functions may not be available in some countries The DVB T system present in this device is FTA Free to ai...

Страница 3: ...eletext 13 Stereo reception with the built in analogue tuner 14 Picture size and resolution 15 Picture format 16 Other convenience functions 17 Language Setup 18 Auto Scan 18 Manual Scan 18 Carrier Setup 19 Channel Organizer 19 Display Setup 21 Time Setup 21 Password Setup Parental lock 21 Version 21 Software Upgrade 21 Common Interface 22 Channel list 22 Channel banner 22 Multi audio 23 DVB Subti...

Страница 4: ...ou could be hurt or the unit could be damaged If the unit is mounted on the wall contact the shop where you purchased the unit for advice and leave the installation work to experts Incomplete installation work can cause you injuries Taking fall prevention measures If these measures are not taken the unit can fall and you could be injured Contact the shop where you purchased the unit to obtain full...

Страница 5: ...s Liquids spilled into the unit can cause serious damage Switch the set OFF and disconnect the mains power supply then consult a qualified service person before attempting to use the unit again OK Avoid placing the unit on any surfaces that may be subject to vibrations or shocks The unit becomes warm when in operation Do not place any covers or blankets on the unit in order to prevent overheating T...

Страница 6: ...with but make sure the cloth is thoroughly wrung out so that it is just damp and not soaking wet also make sure that the cloth is free from any dirt that could cause scratching to the surface Wipe the set clean using minimal pressure Do not use standard window cleaning fluid Its alcohol ammonia will dissolve the front window s coating Never use solvent or thinner Never use special cleaners which ar...

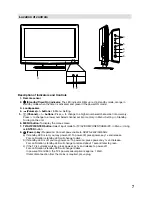
Страница 7: ... ENTER button Select input mode for TV AV COMPONENT HDMI PC In Menu Using as ENTER button 8 Power key Preparation Connect power cable to AC220 240V 50 60Hz a If standby LED is red you may power off To power off press power key 1x and release For confirmation standby LED will change to dark b If standby LED is off you may power on To power on press power key 1x and release For confirmation standby LE...

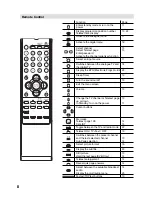
Страница 8: ... Timer 13 Turn the sound on off 13 Exit the menu screen Volume 13 Change the TV channel or Teletext page up or down In Standby Turn on the power 13 11 Cursor buttons Memorize Teletext page 100 CH LIST 14 13 Toggle between the TV and radio mode 22 Teletext ON TV Text OFF 13 Switches between the present channel and the last selected channel Sub Page selection 13 14 Select picture format 16 Display t...

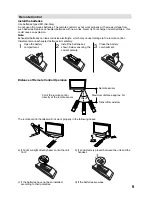
Страница 9: ...e exhausted batteries immediately 1 Open the battery compartment 2 Install the batteries as shown below ensuring the correct polarity 3 Close the battery compartment The remote control handset will not work properly in the following cases a If bright sunlight directly beams onto the unit front b If an obstacle is placed between the unit and the handset Z Z Z Z Z Z c If the batteries have not been ...

Страница 10: ...6 E PC MONITOR input PC See P 25 F PC HDMI1 AUDIO input jack See P 25 26 G Scart sockets AV1 AV2 For the connection of scart cables See P 27 28 H Digital audio output Digital output for DVB T sound see page 28 I COMPONENT input See P 28 J AV3 input Input for analogue A V Signal Composite See P 28 K Power supply Connect the supplied power cable to an AC 220 240V 50 60Hz mains power supply only do n...

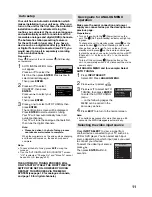
Страница 11: ... UK is selected Change No and Move To cannot be used in U K see page 20 THE AUTOMATIC TUNING PROCESS WILL ONLY START BY ITSELF THE FIRST TIME YOU SWITCH THE SET ON HOWEVER YOU CAN RESTART THIS PROCESS VIA THE MENU SYSTEM see page 12 for analogue channels and page 18 for digital channels Quick guide for ANALOG MENU operation Make sure the aerial connection and power supply are connected as per the ...

Страница 12: ... or to select the channel that you want to move then press ENTER Press or to select the position that you want to move the channel to then press ENTER ERASE PROGRAM Press or to select the channel that you want to erase then press ENTER SKIP Press or to select the channel that you want to skip then press ENTER mark will appear CH LABEL Press or to select channel that you want to rename then press E...

Страница 13: ... that a page from Fastext TOPtext is shown Channel selection With the numbered buttons Example No 2 Press 0 and within 2 seconds press 2 No 29 Press 2 and within 2 seconds press 9 Press P or to change up or down a channel This takes approx 2 seconds If the auto search only stored 5 stations only these 5 will appear Skipped channels will not appear see P 12 CH LIST The CH LIST shows a list of all r...

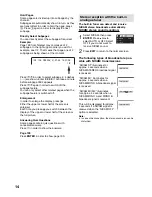
Страница 14: ... of the screen or the full picture Answering Quiz Questions Some pages contain quiz questions with concealed answers Press in order to show the answers Page 100 Press ENTER in order to show page 100 The built in Tuner can detect and receive NICAM stereo broadcasts automatically NICAM stereo sound reception 1 Select NICAM then press ENTER Press or to select AUTO or OFF Select OFF if you do not want...

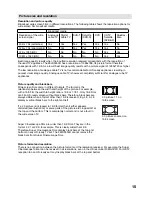
Страница 15: ...e format is the relationship between the width and height of the picture For example with a 16 9 film the width to height ratio is 16 9 or 1 78 1 Only 16 9 films can fill a HD ready screen without black bars Therefore black bars are always visible when a format other than 16 9 is received E g 4 3 A 4 3 displays vertical black bars to the right and left If a 4 3 picture is increased to 16 9 format the...

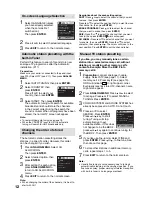
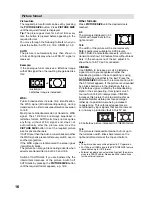
Страница 16: ...illustration 1 Letterbox image is increased Other formats Press PICTURE SIZE until the desired size is reached 4 3 The picture is displayed in 4 3 format with black bars to the right and left 16 9 The width of the picture will be zoomed evenly 16 9 is particularly suitable for DVD players DVB T DVB C and satellite receivers which can transmit and show 16 9 feature films without black bars In the se...

Страница 17: ...er as normal 4 3 or expanded in the 16 9 mode according to your preferences SLEEPTIMER 0 120 min every 10 minutes You can set SLEEP TIMER to automatically turn off the TV To cancel the SLEEP TIMER set to 0 AV1 INPUT AV2 INPUT Composite signal e g from a video recorder AV S Video signal e g from DVD player with S Video output S VIDEO RGB signal e g from DVD player with RGB output RGB Selecting the ...

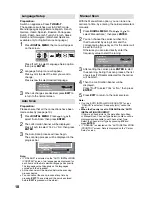
Страница 18: ...ority The language output depends on the languages contained in the broadcast All the channels will be deleted before the scanning process begins You can cancel the scan process at any time by pressing EXIT The carriers and the services stored before EXIT is pressed will be stored Manual Scan With the Manual Scan option you can tune one carrier at a time by entering the carrier parameters manually...

Страница 19: ...des options to organise the channels The following options are supported Lock Skip Go To Delete Rename Move Change No and Move To 1 Press DIGITAL MENU Press or to select Channel Organizer option then press ENTER 2 The Channel Organizer menu will appear The available programmes will be listed depending on the current mode The selected programme will be highlighted To toggle within the service list ...

Страница 20: ...ervice to be deleted Pressing 4 will turn the delete icon on and off Press DIGITAL MENU A confirmation message displays Press to select Yes and then press ENTER Rename Change individual service names Press to select the desired service Press 5 on the remote control A character set screen displays Enter new name for the service Press DIGITAL MENU A confirmation message displays Press to select Yes an...

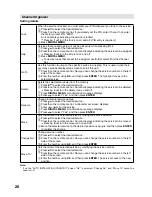
Страница 21: ... confirmation The Information banner will then appear Press EXIT to return to the normal screen While toggling between channels if a service which has a parental rating is selected then you will be asked to enter the correct password to view that channel If the channel you are currently watching supports a parental rating then the rating will also be displayed in the Channel banner menu see page 22...

Страница 22: ...banner immediately press again Note Subtitles are displayed on the channel banner Some broadcasts may not provide this service Common Interface You can access the Common Interface module information from this menu option Preparations Insert CAM into the DVB Common Interface slot on the backside of the TV see page 10 1 Press DIGITAL MENU Press or to select Common Interface option then press ENTER 2...

Страница 23: ...ngs for the next 8 days only including today However the guide menu will show No Event Name for programmes which are more than 8 days ahead or for programmes within the 8 days when no programme information is available 1 Press GUIDE to display the Guide menu Events list Highlighted programme Service list Guide 16 50 Sun 20 08 2009 TV Page Page Prev Day Next Day MNO PQS STU TCM VWXYZ SAT 1 ARTE DEF...

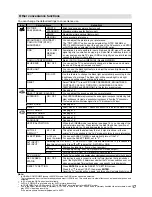
Страница 24: ...ed timer events but please note that you cannot edit the time details that have been set from the EPG 2 The confirmation banner will be displayed Press or to select Yes or No then press ENTER the selected option is shown in blue 3 The EPG Timer menu will appear Press the Red key to set the Timer mode for a selected event Event Timer Navigate Enter Exit Service Name Mode Date Time Duration BBC ONE O...

Страница 25: ...S and CONTRAST You can adjust these according to your personal preferences HOR POSITION and VER POSITION To adjust the horizontal and vertical placing of the image PHASE and CLOCK Eliminates the horizontal PHASE and vertical CLOCK interfering lines Picture width RED GREEN BLUE Influences the colour balance BACKLIGHT Press or to adjust the level you require WXGA INPUT When you input an WXGA signal s...

Страница 26: ... must choose the appropriate HDMI audio input setting for each connection depending on whether the source is equipped with a DVI or HDMI socket 1 Select HDMI1 AUDIO then press ENTER Press or to select HDMI or DVI NICAM AUTO BASS 25 TREBLE 25 BALANCE 0 SURROUND OFF HDMI1 AUDIO HDMI HDMI 2 Press EXIT to return to the normal screen Note 1080p is not supported and any device set to this resolution wil...

Страница 27: ...wing settings inside your receiver s DVD player s setup menu Video signal RGB TV Format 16 9 If you miss to make these settings properly picture quality will be inferior and parts of the picture might be missing This is not a fault of this TV set In case you need help to make this adjustment with your satellite receiver DVD player please consult the related instructions or contact the supplier or ...

Страница 28: ...ressive signals PAL 576p 720p or NTSC 480p 720p DVD player 3 Connecting an audio system You can supply the TV sound to the stereo equipment A with the scart socket Use a special scart cable for the connection which sold at the accessory shop please consult your hi fi instructions for details If you have a surround sound amplifier decoder B with a coaxial digital input you can connect the Coaxial Dig...

Страница 29: ...nd try auto tuning again 18 The LCD panel is a very high technology product giving you fine picture details Occasionally a few nonactive pixels may appear on the screen as a fixed point of blue green or red Please note that this does not affect the performance of your product System Analogue PAL UK IR CCIR FRENCH System B G D K I I L Digital DVB T OFDM 2k 8k 16QAM 64QAM Video Colour System PAL SECAM...

Страница 30: ...ing process is complete 3 AUTO SETUP AUTO INSTALLATION LANGUAGE ENGLISH AUTO INSTALLATION UK EXIT END MENU RETURN LANGUAGE ENGLISH COUNTRY UK AUTO TUNING AUTO INSTALLATION AUTO TUNING 1 EXIT END MENU RETURN LANGUAGE ENGLISH COUNTRY UK AUTO TUNING A HEADPHONE jack Plug headphones with a mini plug 3 5 mm into this jack B C I slot for DVB T PayTV still no providers at present see page 22 C Aerial inp...

Страница 31: ...hen press or to select Installation option 3 Press or to select Auto Scan then press ENTER 4 Press or to select Yes or No in the confirmation screen then press ENTER the selected option is shown in blue 5 The Auto Scan process will now begin The scanning process will be displayed in the progress bar When the search has been completed Scan completed message will be displayed And the Auto Scan menu w...

Страница 32: ... Memo ...

Страница 33: ......

Страница 34: ......

Отзывы: