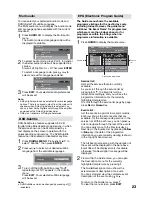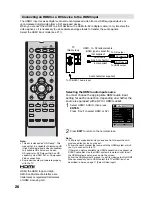
11
Auto setup
Your unit has an Automatic installation which
makes installation in your unit easy. When you
turn on the unit for the fi rst time, the Automatic
installation routine is activated. Using this
routine, you can select the on-screen language
and automatically search for and store all the
receivable analogue and digital (DVB) channels.
The Automatic station presetting feature is
for the set’s built-in tuner only. If you have a
device such as a digital decoder (eg. Satellite
or Digital Terrestrial) connected (see P.27), you
would need to tune it in separately according
to its own instructions.
Preparation:
Press
(Power) on the unit or press
(On/Standby)
on the remote.
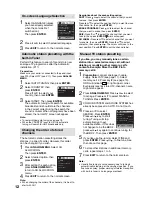
1
AUTO INSTALLATION menu
will appear.
Press or to select the
AUTO INSTALLATION
LANGUAGE
ENGLISH
COUNTRY
fi rst line, then press
ENTER
. Press or to
select desired language.
Then press
ENTER
.
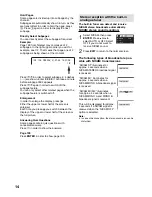
2
Press or to select
COUNTRY, then press
ENTER
.
Press or to select your
country.
Then press
ENTER
.
AUTO INSTALLATION
LANGUAGE
ENGLISH
UK
COUNTRY
AUTO TUNING
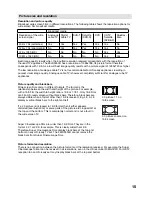
3
Press or to select AUTO TUNING, then
press
ENTER
.
The confi rmation screen will be displayed.
Press
ENTER
to start automatic tuning.
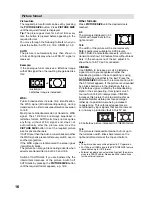
Your TV will now automatically tune in all
available channels.
Your TV will tune the analogue channels fi rst,
then tune the digital channels.
Note:
Please be patient - the Auto Tuning process
can take several minutes to complete.
When the programme on the screen stops changing
and the sound comes on, the search process is
complete.
•
Note:
To cancel the Auto Tuning, press
EXIT
during the
process.
If on the “AUTO INSTALLATION (COUNTRY)” screen
“UK” is selected, “Change No.” and “Move To” cannot
be used in U.K. (see page 20)
THE AUTOMATIC TUNING PROCESS WILL
ONLY START BY ITSELF THE FIRST TIME YOU
SWITCH THE SET ON. HOWEVER YOU CAN
RESTART THIS PROCESS VIA THE MENU
SYSTEM (see page 12 for analogue channels,
and page 18 for digital channels).
•
•
Quick guide for ANALOG MENU
operation
Make sure the aerial connection and power
supply are connected as per the description on
previous page.
Preparations:
Turn on the unit with the
(Power) button on the
unit. The
(On/Timer/Standby) indicator will light up
in green.
To change the unit to standby mode, press
on the
remote control.
(On/Timer/Standby) indicator will
change from green to red. To turn on the unit from
standby mode, press
on the remote control again.
In standby mode, you can also turn the unit on with
(Channel)
/
on the unit or
P + / –
on the remote
control.
To turn off the unit press
(Power) button on the
unit - to completely switch it off, disconnect the mains
power supply.
•
Call ANALOG MENU and for example: Select
AUTO TUNING.
1
Press
INPUT SELECT
.
Select ATV. Press
ANALOG MENU
.
2
Press or to select
.
3
Press or to select AUTO
TUNING, then press
ENTER
to enter the AUTO TUNING
menu.
... on the following pages the
MENU can be called in the
same way as here.
AUTO TUNING
MANUAL TUNING
CH ALLOCATION
4
Press
EXIT
to return to the normal screen.
Note:
If no buttons are pressed for more than approx. 60
seconds, the MENU disappears automatically.
•
Selecting the video input source
Press
INPUT SELECT
to view a signal from
another device connected to your TV, such as a
VCR or DVD player. You can select each input
source depending on which input jacks you used
to connect your devices.
To select the video input source,
press / .
Then press
ENTER
within 6
seconds.
ATV
AV1
DTV
AV2
AV3
COMPONENT
INPUT SELECT

