


18
Advanced Features
With the Digital Media Receiver you do not have to crowd
around a small tablet PC or smartphone screen to share
video, music or pictures with friends and family. Simply
browse, discover and beam media files stored on your
Android or iOS device to your TV using the Twonky Beam
application.
1.
TV side
Confirm the TV is connected to a local area network.
Set DLNA enabled.
2.
Device Setup
Download the Twonky Beam application using the link
found on the Hisense website at www.hisense-usa.com.
Confirm the device is connected to the same local area
network as the TV.
Launch the Twonky Beam application, select the video,
music or picture you want to share and beam it to the TV.
You can control the playback using the TV remote or from
the device application.
HiBeam
(Digital Media Receiver)
Brief introduction
Operation introduction
Entering the Media Menu
This function enable you to enjoy photos, music and/or
video files saved on a USB device.
- Connecting a USB Device
Connect a USB device containing photo, music and/or
video files to the USB jack on the TV.
- Connecting to PC through network
Getting started
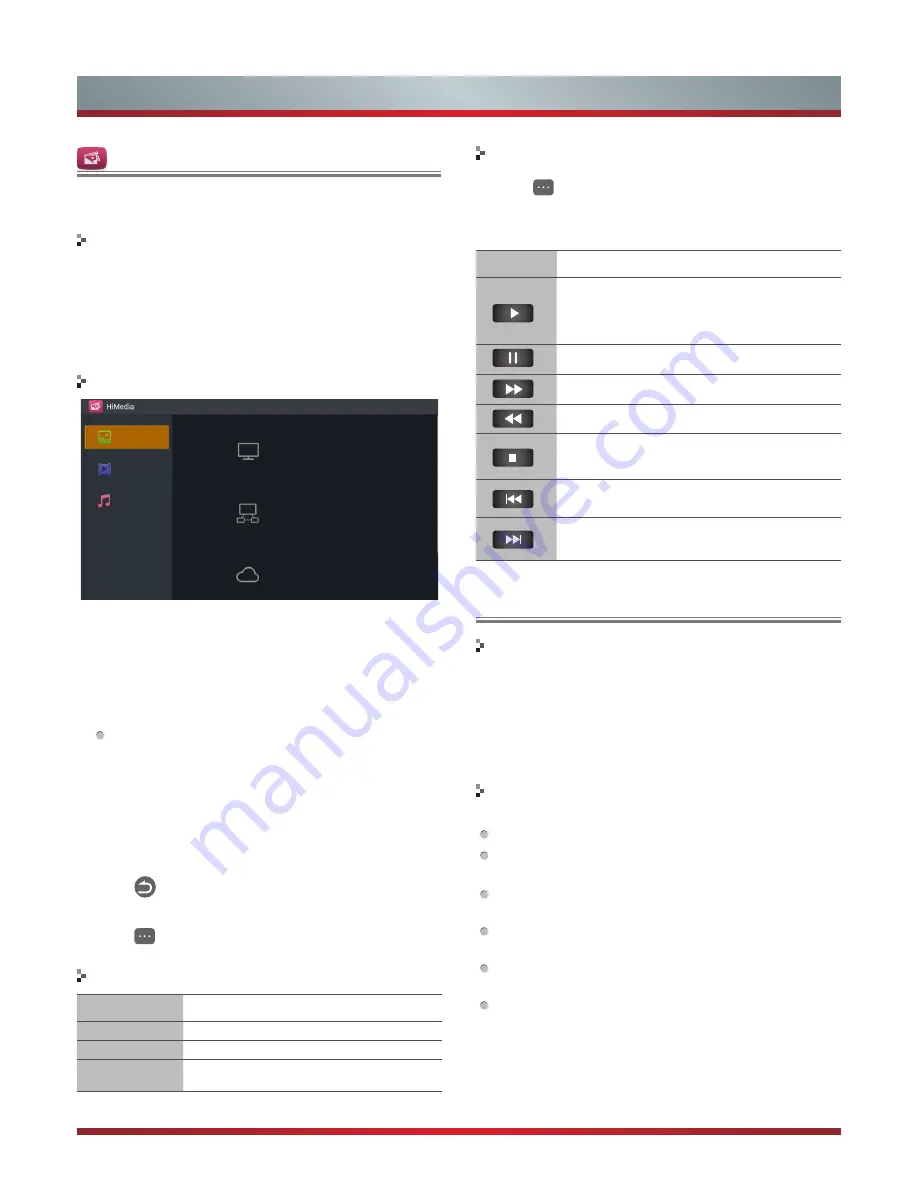
HiMedia
1. Press the [Media] button to display
HiMedia
menu.
2.
Press [▲/▼] button to select an icon(
Photo, Video,
Music
), then press the [ ►] button to enter.
3.
Press [▲/▼] button to select the devices of saved files.
Press the [OK] button.
This function differs depending on the
Local / Home
Network / Cloud
(Only for Photo file type).
Local
- Show the content on USB devices.
Home Network
- Show the content on DLNA devices.
Photo Apps
- Start photo applications, such as Google
Photo.
4.
Press [▲/▼/◄/►] button to select the folder/file you want
to open and then press [OK] to enter/play the folder/file.
5. Press
to return the previous directory.
6. Press [OK] to play the file.
7. Press
button to display/exit the options menu.
Icons available during playing
Icon
Operations
Starts or re-starts playback (video/music
playback). Starts Slideshow or starts moving
a panoramic photo (photo playback).
Pauses playback (video/music playback).
Fast forwards the video.
Fast rewinds the video.
Exit play mode and return to the HiMideia
menu.
Skips to the previous file (video playback)/
track (music playback)/file (photo playback).
Skips to the next file (video playback)/track
(music playback)/file (photo playback).
Playable format list
Files Format
Playable format
Photo
JPG
Music
MP3
Video
MPEG1(.dat), MPEG2(.mpg/.ts), XVID(.avi),
MPEG4H.264(.mov/.ts/.mkv/.mp4)
1. Press
button to display/exit the options menu.
2.
Press [▲/▼/◄/►] button to select an icon, then press
the [OK] button to confirm.
Video
Music
Photo
Local
HomeNetwork
Cloud
Show the content in cloud accounts.
Show the content in DLNA devices.
Show the content in USB devices.


