background image

21

Digital Media Player

Digital Media Player(Media)

Browsing Pictures

Be sure to insert the USB disk/mobile hard disk with 

standard USB port.
There are two options to start the Media:  

Press the [

Source

] button to display the Source


menu, 

press the [▲/▼] buttons to enter the MEDIA source, 

then press the [

OK

] button to confirm. (If you want to exit 

Media, you can press the [

Source

] button to switch to 

other sources).
Press the [

Media

]  button  to  enter  the  Media  mode 

directly. 

1.

Press the [◄/►] buttons to select the media type.

2

Press [▲/▼] buttons on the remote control to select the 
USB source and then Press the [OK] button to enter.

3.

Press the [◄/►] buttons to change page.

4

Press the [▲/▼/◄/►] buttons to select the folder/file you 

want to open and then press the [

OK

] button to enter/play 

the folder/file.

4. Press the [

Exit

] button to return to the previous directory.

1. Select Picture by pressing the four-way directional 

[▲/▼/◄/►] button on the remote.

2.

Press [◄/►] button on the remote control to select the 

USB source and then Press the [

OK

] button to enter.

3.

Press the [▲/▼/◄/►] buttons to select the folder that 

contains the picture you want to view.

4. Press the [

OK

button to display picture.

5.

Press the [■/

Exit

buttons to exit or return to the previous 

directory.


When browsing the pictures.

Press the [

Info

]


button to display/exit the picture 

informantion bar.
Press the [

BLUE

]


button to display/exit the 

Quick Menu

:

Press the [▲/▼] buttons to select the options in the 

menu.

Press the [◄/►] buttons to select the settings.
Press the [◄/►] buttons to select the previous/next 

pictures.
Press the [

OK

] button to pause, and press the [▲/▼]

buttons to rotate the picture.

Files Format

Playable format

Photo

.jpg

Music

.avi(mp3,mpeg,ac3), .mp4, .rm

Video

.avi(H.264,  MPEG,  Divx),  .mkv(H.264,  MPEG),                                                                 

.flv, .mpeg, .wmv(Divx, XviD) 

NOTES

·

We cannot promise that this unit would support all the 
formats listed above, as the programming tools are 
different. 

·

For a full list, please refer to file format guide which is 
provided in more details at the end of User Manual.

·

If the media codec is not supported by the player, a 

warning will be given.

Playable format list

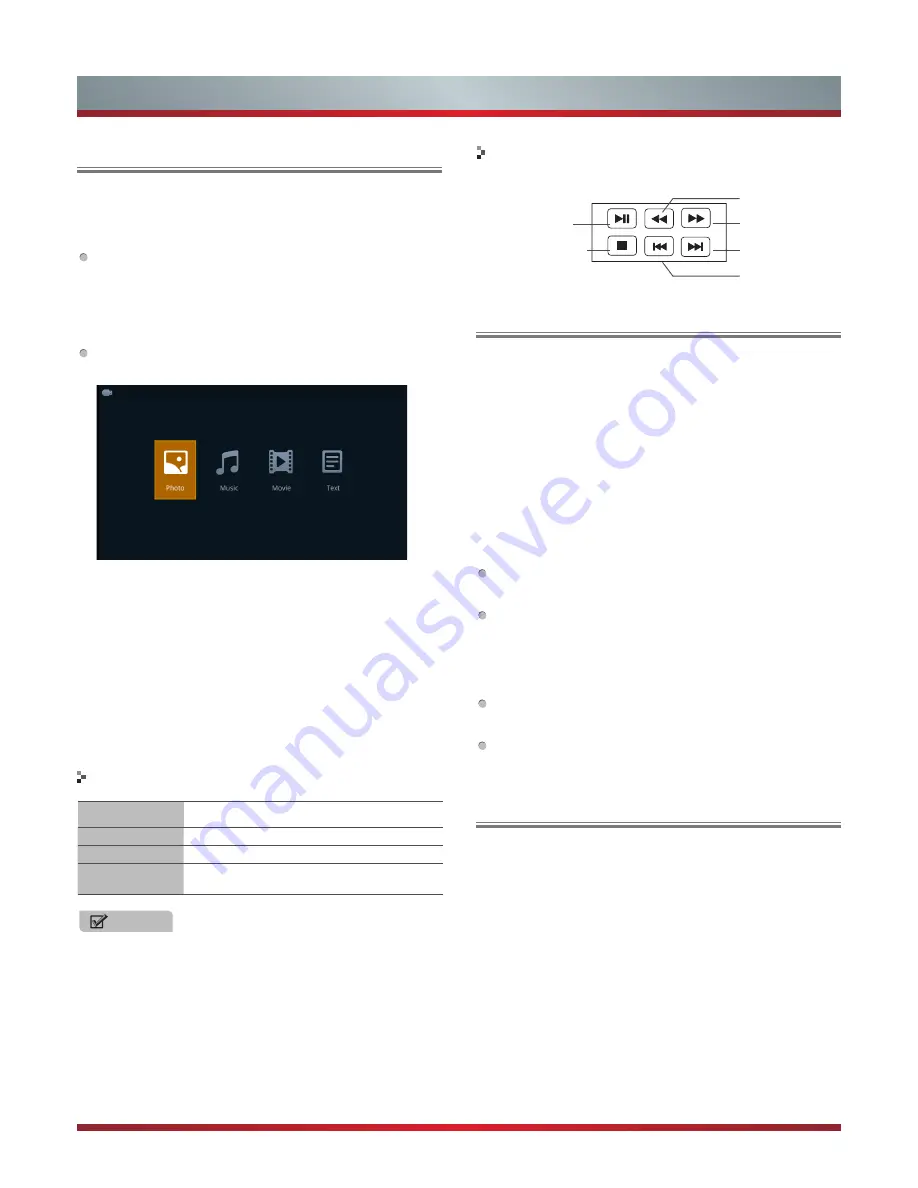
A group of dedicated buttons provide convenient control of 

multimedia files.

Media content control function buttons

Stop

Fast backward

Play/Pause

The next one

Fast forward

The previous one

Playing Music Files

1. Select Music by pressing the four-way directional 

[

▲/▼/◄/►] buttons on the remote.

2.

Press [▲/▼] buttons on the remote control to select the 

USB source and then Press the [

OK

] button to enter.

3.

Press  the  [▲/▼]  buttons  to  select  the  folder  that 

contains the music file you want to listen.

4. Press the [

OK

button to play the music.

5. All the music is listed on the left. Press the [

CH <

/

CH˅

button to the left hand side menu bar, 

Press the [▲/▼] 

buttons to select the music and press the [

OK

] button to 

play it. You can press the [◄/►] buttons to change page 

up/down. 

Содержание 32D50

Страница 1: ......

Страница 2: ...Basic Features 11 Turning the TV On for the First Time 11 To Use the Menu 12 Using the Picture Menu 12 Using the Sound Menu 13 Using the Channel Menu 14 Using the Lock System Menu 16 Using the Setup Menu 16 Digital Media Player 21 Digital Media Player Media 21 Browsing Pictures 21 Playing Music Files 21 Playing Video Files 22 Viewing Text Files 22 Other Information 23 TroubleShooting 23 Technical ...

Страница 3: ...articular purpose accuracy quiet use and non violation of any third party s rights to the maximum extent permitted by applicable law Manufacturer gives no guarantee on the accuracy validity timeliness legitimacy and completeness of any content or service provided through this device or the fitness of such device content or service for your particular requirement or the protection from interruption...

Страница 4: ...t recycling of this product please contact your local city office your household waste disposal service or the shop where you purchased the product Incorrect replacement of the battery may lead to the risk including the replacement of another similar or the same type Do not expose batteries to heat such as sun or fire or something like that The device should not be exposed to dripping and spraying...

Страница 5: ... for ventilation to ensure reliable operation of the TV and to protect it from overheating Do not cover the ventilation openings in the cabinet and never place the set in a confined space such as built in cabinet unless proper ventilation is provided Leave a minimum 10cm gap all around the unit 8 Power Source This TV should be operated only from the type of power source indicated on the marking la...

Страница 6: ...ed b If liquid has been spilled or objects have fallen into the TV c If the TV has been exposed to rain or water d If the TV does not operate normally by following the operating instructions Adjust only those controls that are covered by the operating instructions as an improper adjustment of other controls may result in damage and will often require extensive work by a qualified technician to res...

Страница 7: ...t in the device s settings Please consult your device user manual for instructions Connecting External A V Devices Connect a Video RCA cable to an appropriate external A V device such as a VCR DVD or Camcorder Connect RCA audio cables to R Right Red AUDIO L Left White and Video cable with yellow connector to the Y Green input on the rear of your set and the other ends to corresponding audio and Vi...

Страница 8: ... intend to use the remote control for a long time remove the batteries Batteries should not be exposed to excessive heat such as sunshine heat registers or fire Battery chemicals can cause a rash If the batteries leak clean the battery compartment with a cloth If chemicals touch your skin wash immediately 1 Slide the back cover to open the battery compartment of the remote control 2 Insert two AAA...

Страница 9: ...ter or confirm the operation Up Down Left Right Electronic program guide Picture mode selecting Volume Up Volume Down 1 2 numbers For direct channel access To return to the last view program Text Size Reveal Hold Index Subpage refer to teletext function Play Pause Stop etc are used in media mode Analog Digital TV Start video recorder Select USB Digital Media player mode Mono Stereo operation Audio...

Страница 10: ...ersonal and Movie Selecting the picture mode Press the Picture button to select between 4 different pre adjusted picture modes Standard Mild Personal and Dynamic Selecting the aspect ratio Press the Zoom button to change the screen aspect ratio among Auto 4 3 Full Zoom1 Zoom2 NOTE The option of aspect is vary with different source Freezing a picture Press the Still button to freeze the image at an...

Страница 11: ...Function The PVR list function enables the user to easily record the digital television content for later viewing The function is to be used in DTV source only the format of storage disk must be FAT32 This option does not commence if the data storage device has not been connected You can press record button on remote control to record the DTV program you are watching Press button to stop recording...

Страница 12: ...OSD Language Select your desired language to be displayed on the menu Mode Setting Select your Mode Setting Store Mode and Home Mode Store Mode Optimizes the picture for store environments Home Mode Recommended mode for the home use and low power consumption Please note that Use settings are not saved after switching off the TV when you select Store Mode Country Select the country where you will o...

Страница 13: ...g options Standard Mild Personal Dynamic Brightness Adjust the overall luminance of the picture Contrast Adjust the luminance ratio between black and white Sharpness Adjust to achieve the optimum sharpness of edges and details within the picture Saturation Adjust flesh tones so that they appear natural Hue Change the backlight level Only available when receiving systems is NTSC Color Temp Adjust t...

Страница 14: ...DIF Send digital audio to an external audio system You can select PCM Auto Off PCM PCM outputs two channel audio regardless of the input format Auto Select digital audio output format Auto Audio Description Audio Description is an auxiliary audio function that provides an additional audio track for visually challenged persons This function handles the Audio Stream for the AD Audio Description when...

Страница 15: ...umber which you desired Color System Select the color system Auto PAL SECAM Sound System Select the volume mode DK I L L BG AFC Automatic Frequency Control Press the buttons to select On Off Start Press the OK button to scan channels Auto Channel Update This mode allows the users to automatically update the channel list This option is available by setting the Channel List Update Switch to ON Chann...

Страница 16: ... mode Analog Scan Press the button to select the analog scan or press the 0 9 buttons to set the analog scan Channel to Save Press the buttons to select the channel number which you desired Color System Select the color system Auto PAL PAL M PAL N NTSC SECAM Sound System Select the volume mode BG I I only for PAL L L only for SECAM DK M N AFC Automatic Frequency Control Press the buttons to select...

Страница 17: ...ocked Not available in HDMI or Component mode Parental Rating This function allows you to set up blocking schemes to block programmes and channels with age ratings It operates according to information from the broadcasting station therefore if the signal has incorrect or no information this function will not operate Lock Keypad You can select On Off If you set to On you will use the keypad input t...

Страница 18: ...et time has elapsed The clock will be set automatically when receiving a digital signal Time must be set before using Sleep Timer function Press the buttons to select a period of time after which the TV automatically switches to standby mode Off 5 15 120 240 Mins The timer begins to count down from the number of minutes selected NOTES If you turn the TV off after setting the sleep timer the sleep ...

Страница 19: ... setting options Device List Display list of HDMI CEC devices that are connected to TV and select the source you want PVR Settings 1 Use Move Left and Move Right buttons to select the item you want to enter 2 Press the OK Select button to open following menus File Manager Open the menu File Manager Device List open the menu Device List Scheduled Record open the menu Scheduled Record Setting List 3...

Страница 20: ...ttons to move item 3 Press the OK Select button to play the selected file 4 Press the Menu Return button to return to the previous menu 5 Press the Exit button to exit Scheduled Record Scheduled Record Setting List 1 Press the Green Delete One button to delete the selected item 2 Press the YELLOW Delete All button to delete all items 3 Press the Move Up and Move Down buttons to move item 4 Press t...

Страница 21: ...Start Time date open new menu to set the start time End Time date open new menu to set end time Save save setting and return to the previous menu 4 Press the Menu Return button to return to the previous menu 5 Press the Exit button to exit NOTES PVR T shift doesn t support NTFS PVR doesn t support encryption program recording First Time Setup Details see the page11 Turning the TV On for the First ...

Страница 22: ...antion bar Press the BLUE button to display exit the Quick Menu Press the buttons to select the options in the menu Press the buttons to select the settings Press the buttons to select the previous next pictures Press the OK button to pause and press the buttons to rotate the picture Files Format Playable format Photo jpg Music avi mp3 mpeg ac3 mp4 rm Video avi H 264 MPEG Divx mkv H 264 MPEG flv m...

Страница 23: ...on to achieve the function when no control bar displayed on the screen 5 Fast backward Then press the OK button to select the backward speed You can press the button to achieve the function 6 Fast forward Then press the OK button to select the forward speed You can press the button to achieve the function 7 Stop play and back 2 3 4 5 6 1 7 1 1 1 1 Select Video by pressing the four way directional ...

Страница 24: ...ppears Is this normal Yes this is normal That is the TV searching for previous setting information and initializing the TV Picture is normal but no sound Check the volume settings Check if Mute mode is set on Sound but no picture or black and white picture If black and white picture first unplug TV from AC outlet and re plug after 60 seconds Check that the Colour is set to 50 or higher Try differe...

Страница 25: ... specifications are subject to change without notice Playable format list File Extension Container Video Decoder Resolution Frame Sec Audio Decoder avi AVI MPEG2 MP MPEG4 SP ASP 1920x1080 30 MP3 AC3 MPEG4 AAC MPEG2 AAC H 264 MP BP HP 1920x1080 30 asf ASF MPEG4 SP ASP 1920x1080 30 MP3 mp4 MP4 MPEG4 SP ASP 1920x1080 30 MP3 MPEG2 ACC MPEG4 AAC H 264 MP BP HP 1920x1080 30 mkv MKV H 264 MP BP HP 1920x1...

Страница 26: ...1150533 ...

Отзывы: