21
8. Applications
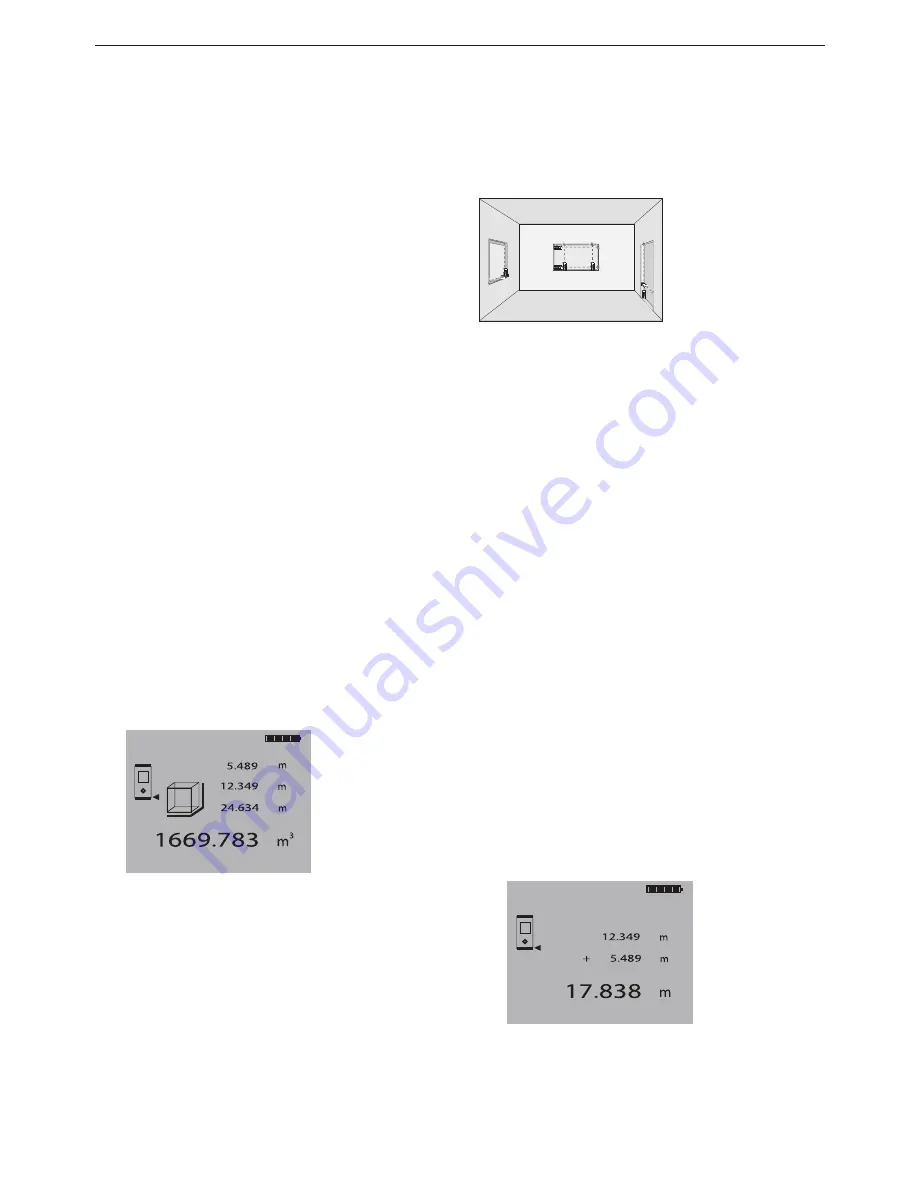
The individual steps for determining a
volume are supported by a corresponding
graphic display. To determine the volume
of a room, for example, the following
procedure must be followed:
1. At the start of the volume function,
the laser beam is switched on.
2. Aim the range meter towards at the
target.
3. Press the "Measure" key.
The room width will be measured and
shown.
4. After this, the graphic display will
automatically request measurement
of the room length.
5. Aim the range meter at the next target
to obtain the room length.
6. Press the "Measure" key.
The room length will be measured.
7. After this, the graphic display will
automatically request measurement
of the room height.
8. Aim the range meter at the next target
to obtain the room height.
9. Press the "Measure" key.
The room height will be measured, the
volume immediately calculated and
the result shown in the result line.
All three distances required to calculate
the volume appear in the intermediate
result lines and can be conveniently noted
after the measurements and the calculation.
- NOTE -
To determine another volume, press the
"Volume" function key again until the
graphic symbol for “Volume” appears.
8.4 Adding distances
Single distances can be conveniently added.
This is useful for determining door or
window openings or to add several partial
distances to form the perimeter.
1. Press the "Measure" key.
(The laser beam will be switched on).
2. Direct the range meter towards
the target.
3. Press the "Measure" key.
The first distance will be measured
and shown.
(The laser will be switched off.)
4. Press the "Plus" key to add the next dis-
tance. The first distance will appear in
the middle intermediate result line and
a plus sign in the lowest one.
(The laser beam will be switched on.)
5. Aim the range meter at the next target.
6. Press the "Measure" key.
The second distance will be measured
and shown in the bottom intermediate
result line. The calculation result will
appear in the result line at the same
time.
The current total of the distances is always
shown in the result line.
This procedure can be repeated until all
distances have been added.
To terminate the addition of distances,
simply measure a distance without first
MEN
x
+
-
I
=
PD 25
MEN
x
+
-
I
=
PD 25
MEN
x
+
-
I
=
PD 25
ME
N
x
+
-
I
=
PD 25
MEN
x
+
-
I
=
PD
2
5
MEN
x
+
-
I
=
PD 25
Printed: 07.07.2013 | Doc-Nr: PUB / 5070013 / 000 / 00


