


Fingerprint Access Control Terminal
26
3.
Configure the schedule template parameters, including the template No., the template name, the
week plan and the holiday group.
For details about configuring the week plan and the holiday, see
Section 4.5.2 Configuring
Holiday Group
and
Section 4.5.3 Configuring Week Plan
.
4.
Press the ESC key and select
Yes
to save the settings and exit the interface. The configured
schedule template will be displayed in the template list interface.
4.5.4.2
Searching Schedule Template
Purpose:
Search the target schedule template by entering the schedule template name.
Steps:
1.
Enter the schedule template name in the Template (Schedule Template) list interface.
2.
Press the OK key to search.
4.5.4.3
Editing and Deleting Schedule Template
Steps:
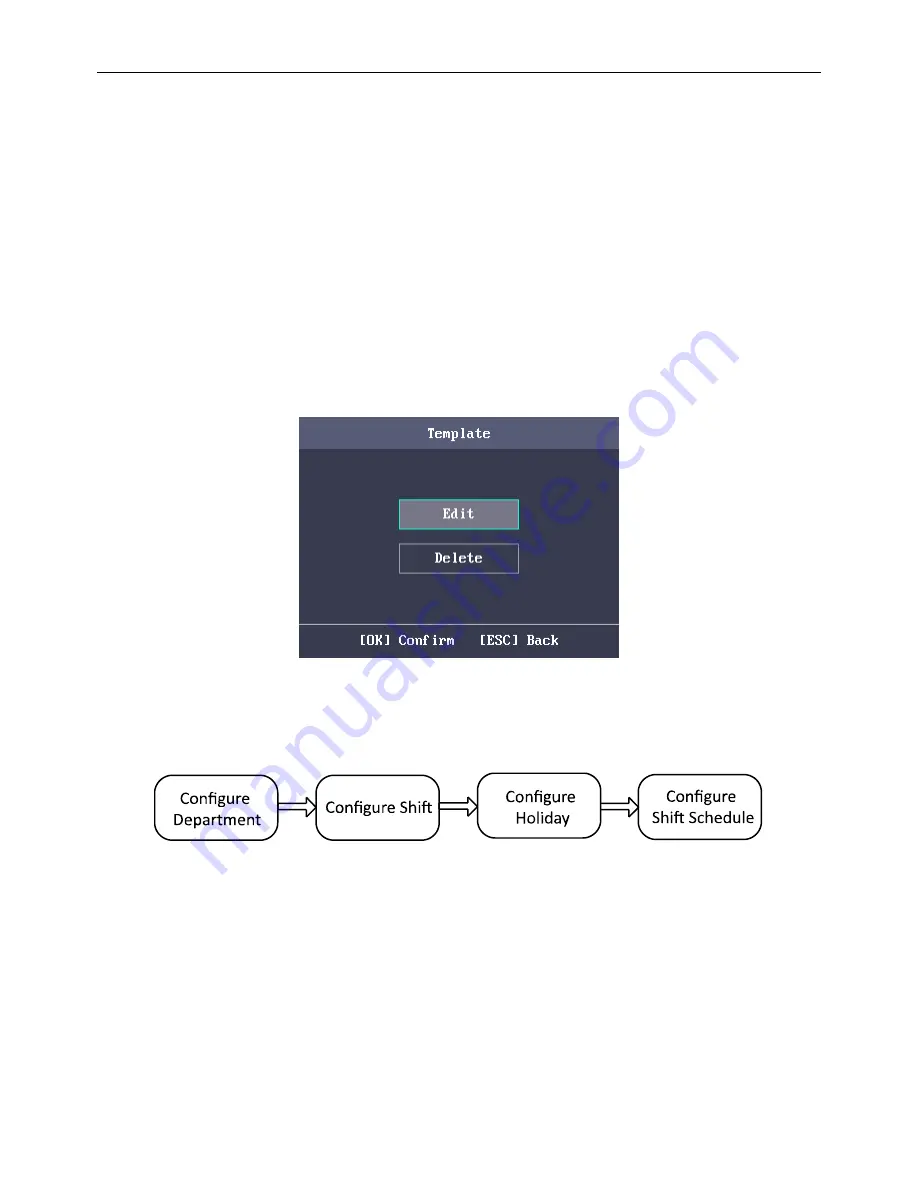
1.
Select a schedule template and select
Edit
in the Template configuration interface.
Or select a schedule template and select
Delete
in the Template configuration interface.
Template Configuration Interface
Figure 4. 47
2.
Edit the select week plan according to
Section 4.5.4 Configuring Schedule Template
.
3.
Press the ESC key and select
Yes
to save the settings and exit the interface.
Attendance Configuration
4.6
The suggested configuration flow is as follows:
Attendance Configuration Flow
Figure 4. 48
4.6.1
Configuring Department
Purpose:
Editing, searching and resetting the department are available.


