44
5.8 View Tampering Alarm
If you enable this function, when someone blocks the camera spitefully, DVR
will display warning alarm in the status bar on the screen.
Step 1: Enter “Camera” menu:
Step 2: Select camera:
Please use [
] [
] keys to select one camera. And enter
“Advanced Settings”.
Step 3: Select sensitivity:
move active frame to sensitivity item right beside the
“View tampering” item. Press [edit] key, then you can use [↑] [↓] keys to select the
sensitivity for “View Tampering” item. The sensitivity options are: Low, Normal and
High. Select one of them will active “Area Setup” and “Policy” configuration.
Step 4: View tampering area setup
Move “Active Frame” to “Area” button,
press [ENTER] key to enter area setup interface. The setup methods are same as that
of mask area setup. After setting the area, press [ENTER] key to return “Advanced
settings” menu. You can press [ESC] key to abort.
Note: Only one view tampering area can be setup, and the size of the area
can be full screen.
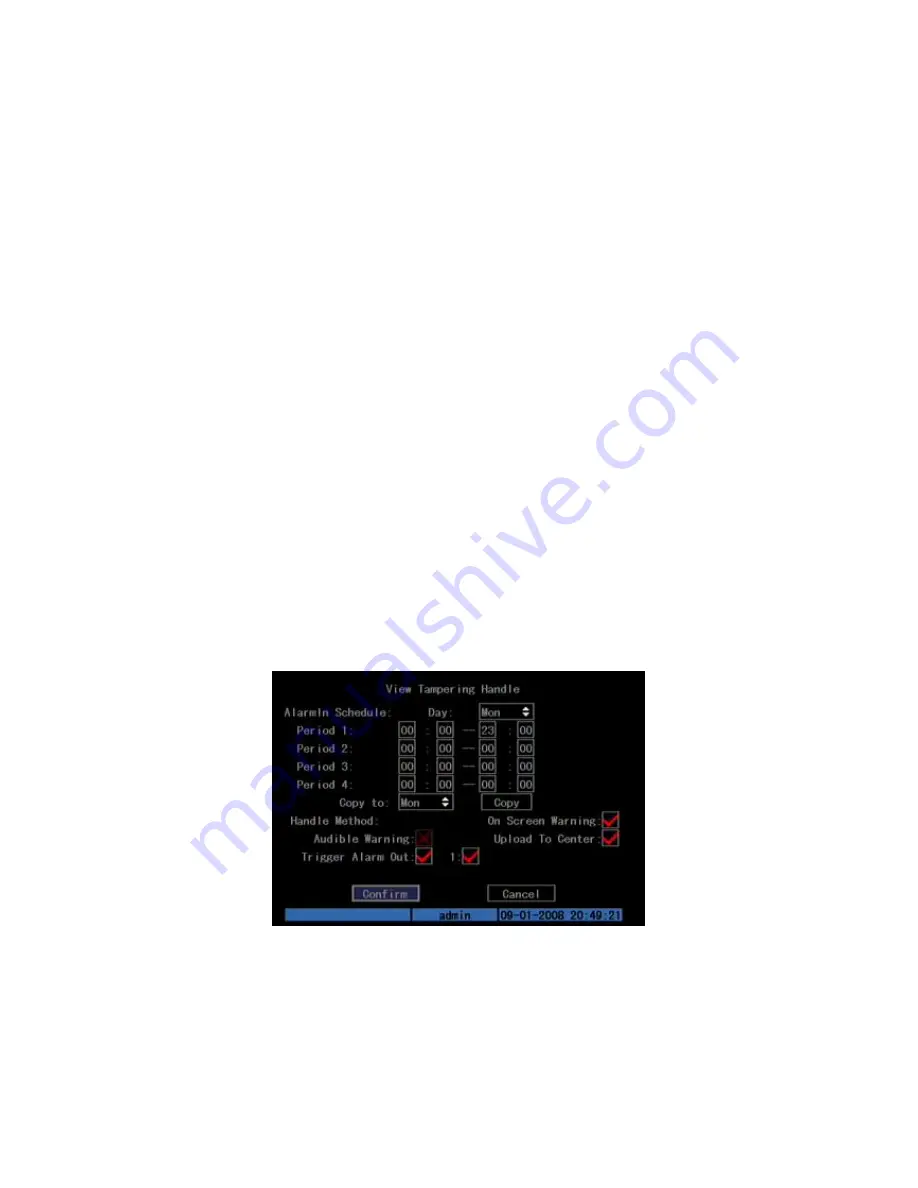
Step 5: View tampering alarm setup
In “Advanced settings” menu, move
“Active Frame” to “Policy” button, press[ENTER]key to enter “View Tampering
Handle” menu: Shown as Fig.5.16 below
Fig. 5.16 View tampering handle setup
Step 6: Alarm schedule setup:
When there is view tampering alarm happened,
DVR will handle the alarm based on the schedule. You can set 4 periods for ea ch day
one week. Also you can copy the schedule of one day to other days.
Note: Time periods can not be repeated. Please reboot DVR to make the
parameters become effective.


