


English
32
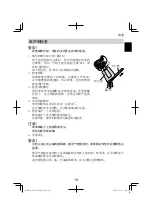
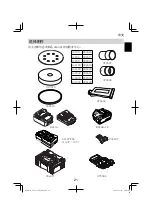
BATTERY REMOVAL/INSTALLATION
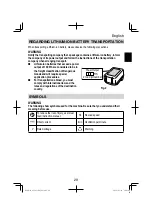
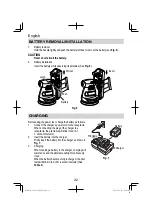
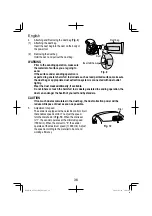
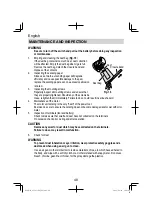
1. Battery
removal
Hold the handle tightly and push the battery latches to remove the battery (see
Fig. 6
).
CAUTION
Never short-circuit the battery.
2. Battery
installation
Insert the battery while observing its polarities (See
Fig. 6
).
Push
Pull out
Latch
Battery
Insert
Fig. 6
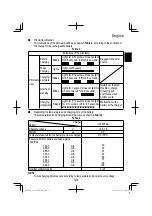
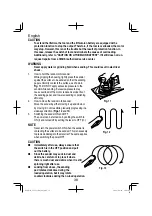
CHARGING
Before using the power tool, charge the battery as follows.
1. Connect the charger’s power cord to the receptacle.
When connecting the plug of the charger to a
receptacle, the pilot lamp will blink in red (At
1- second intervals).
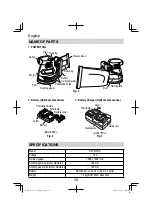
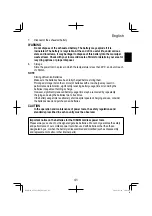
2. Insert the battery into the charger.
Firmly insert the battery into the charger as shown in
Fig. 7
.
3. Charging
When inserting a battery in the charger, charging will
commence and the pilot lamp will light continuously
in red.
When the battery becomes fully recharged, the pilot
lamp will blink in red. (At 1-second intervals) (See
Table 2
)
Fig. 7
Battery
Charger
Pilot lamp
000Book̲SV1813DA̲ChS.indb 32
000Book̲SV1813DA̲ChS.indb 32
2022/02/16 10:21:47
2022/02/16 10:21:47


