14
3.1.3 DST
Step1: enter into system configuration
basic configuration
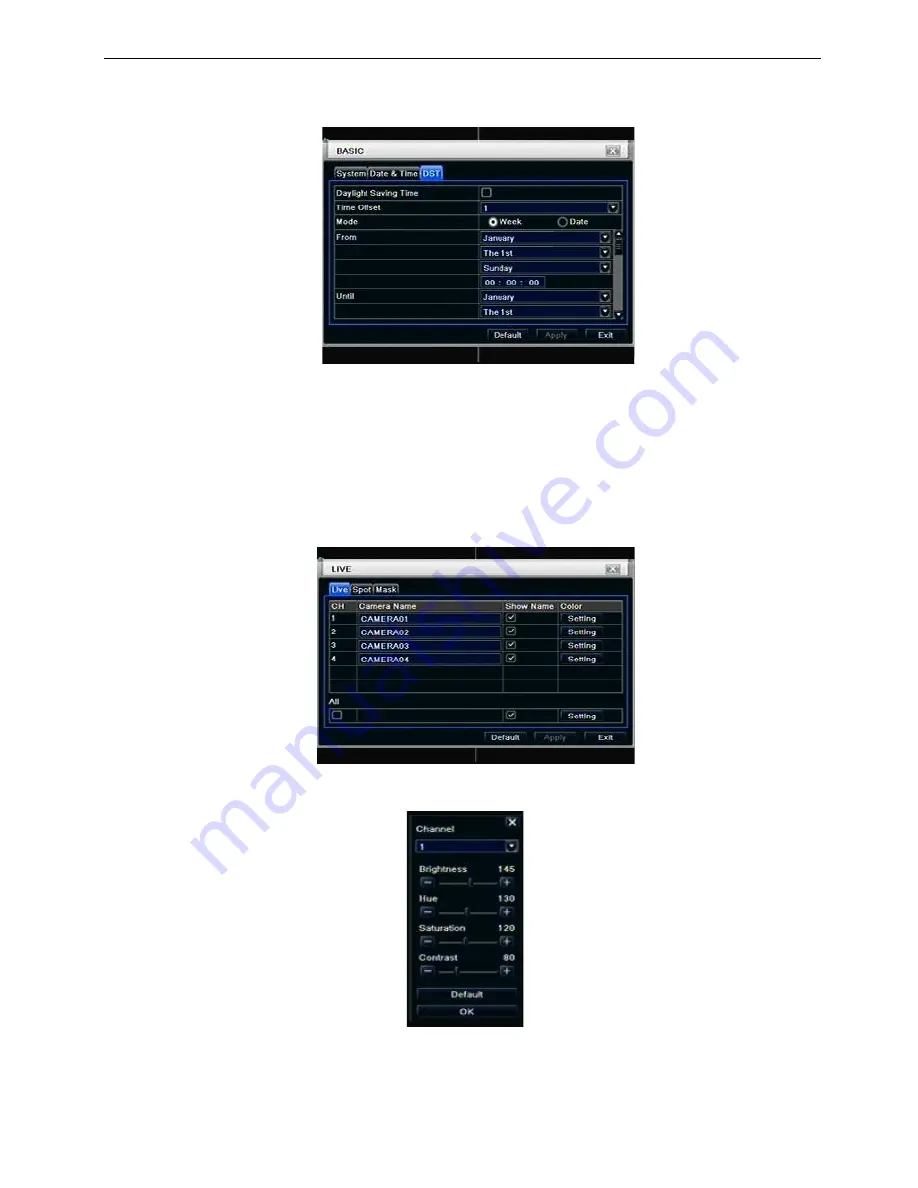
DST; refer to Fig 4-5:
Fig 4-5 basic configuration-DST
Step2: in this interface, enable daylight saving time, time offset, mode, start & end month/week/date, etc.
Step3: click “default” button to resort default setting; click “apply” button to save the setting; click “exit” button
to exit current interface.
3.2
Live configuration
Live configuration includes four submenus: live, host monitor, SPOT and mask.
3.2.1 Live
In this interface, user can setup camera name, adjust colors: brightness, hue, saturation and contrast.
Step1: enter into system configuration
live configuration
live; refer to Fig 4-6:
Fig 4-6 live configuration
live
Step2: tick off camera name; click “setting” button, a window will pop-up as Fig 4-7:
Fig 4-7 live-color adjustment
Step3: in this interface, user can adjust brightness, hue, saturation and contrast in live; click “default” button
to resort default setting, click “OK” button to save the setting.
Step4: user can setup all channels with same parameters, tick off “all”, then do relevant setup.
Step5: click “default” button to resort default setting; click “apply” button to save the setting; click “exit” button


