WCP-232-EXL
14
-
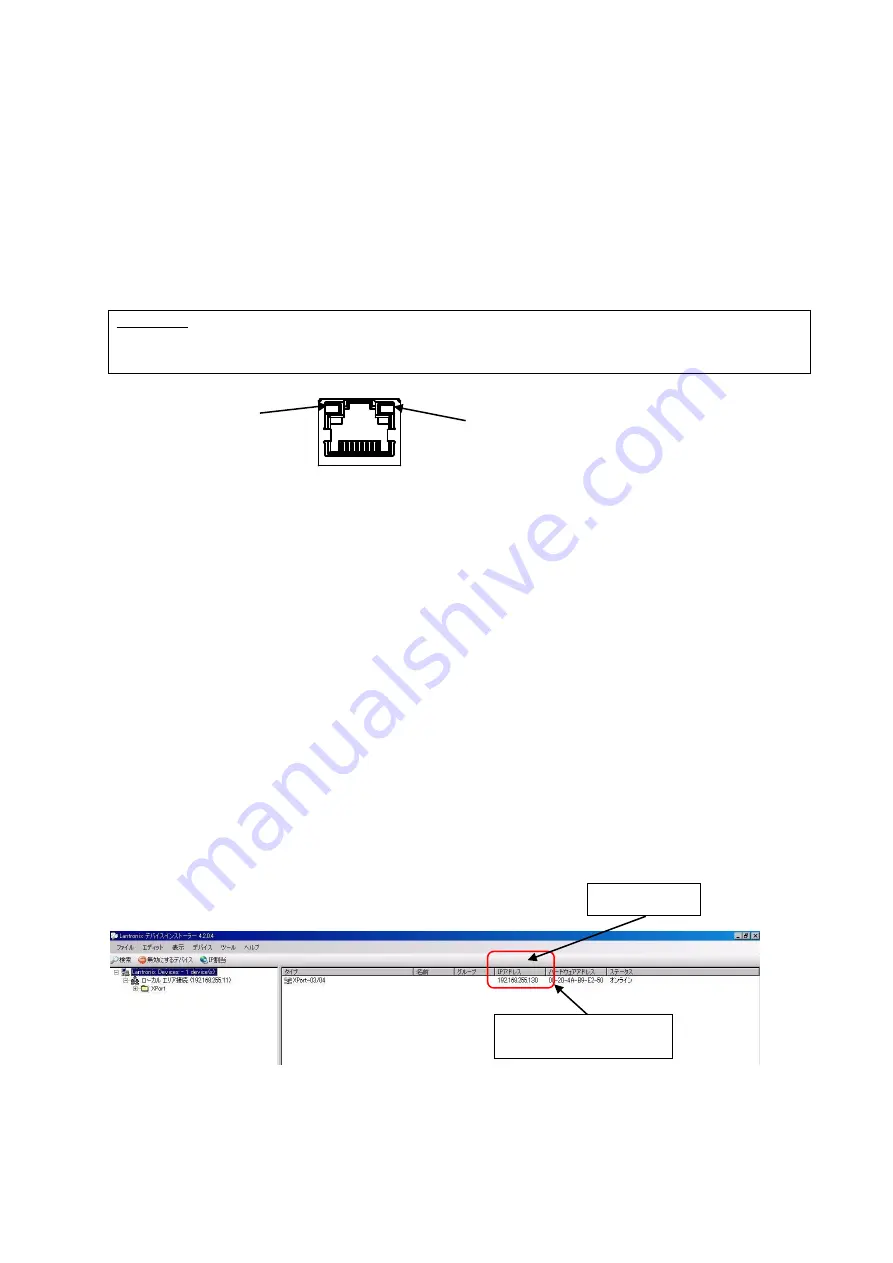
Fig. 1 Screen to start Device Installer -
Link LED
Activity LED
RJ-45
6
.
Prepare to Start Communication
Before use of WCP-EXL, set each unit according to the use environment.
Set the IP address and other required items of WCP-EXL by using Lantronix’s Windows-based software,
“Device Installer”.
6-1
.
Installation of "Device Installer"
Download “Device Installer” from Lantronix’s WEB site (https://www.lantronix.com/products/deviceinstaller/)
to install it on your PC.
Connect the receiver to the HUB capable of communicating with the PC on which “Device Installer” is
installed.
CAUTION
To connect the receiver to the PC with “Device Installer” installed using a LAN cable, be sure to
use a cross LAN cable.
Check the left LED on the LAN connector (RJ-45) of WCP-EXL to see if the Link LED is ON.
When connected to 10Base-T, the Link LED lights up in orange. When connected to 100Base-TX, the Link
LED lights up in green.
If the Link LED is not ON, WCP-EXL cannot communicate with the network. Confirm if the LAN cable and
HUB are correctly connected.
6-2
.
Factory Default IP Address
The factory default IP address of WCP-EXL is as follows:
IP Address
192.168.3.100
Sub Network
255.255.255.0
Default Gateway
0.0.0.0
Used Port(s) No
50001
6-3
.
IP Address Settings and Procedure
Check that the power of WCP-EXL is ON and that WCP-EXL is properly connected to the HUB or PC, and
then start “Device Installer” from the start menu.
The connected WCP-EXL is displayed on the main window (Fig.1).
IP address of this unit
connected to LAN
IP address
Содержание WCP-232-EXL
Страница 2: ......
Страница 11: ...WCP 232 EXL 8 4 Dimensions 4 1 WCP EXL 4 2 WCP 232 ...
Страница 27: ......


