Page | 8
From this screen you can take actions to control the whole zone, or just individual R1 receivers.
5.2 NAMING THE ZONE
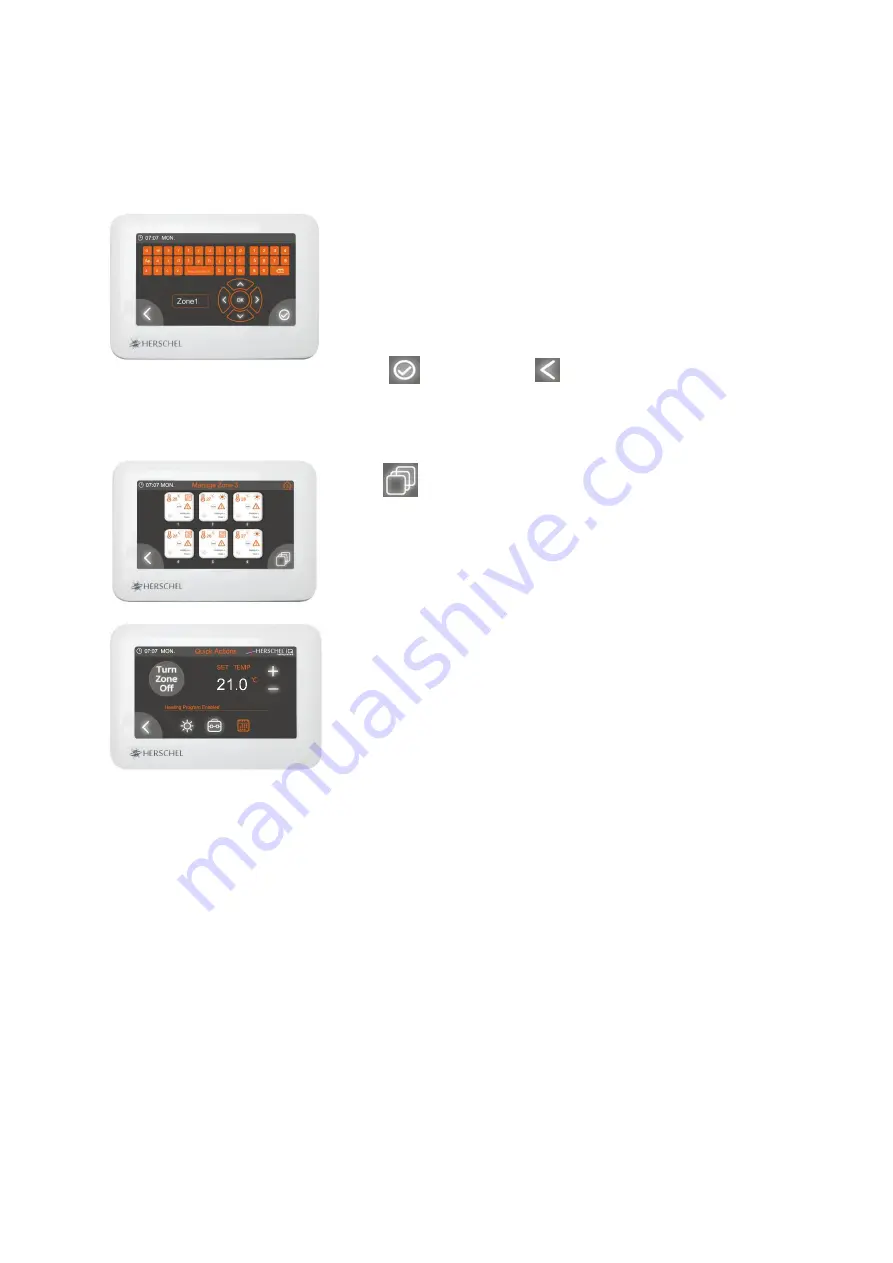
Long-click on the zone icon in the top right of the Manage Zone screen. (Initially this will be the number 1
–
6).
This enables the keyboard with UPPER and lower case letters, numbers 0-
9, a back-space and a control to pick your letters and numbers. Switch
between UPPER and lower case letters using the Aa key.
You have up to 6 characters for your zone name.
The keyboard works by selecting the key you want with the navigation
buttons and pressing “OK”.
Compose your new zone name and confirm
using
or cancel using
.
You can similarly name all the individual heater R1 Receivers within each zone too.
5.3 CONTROL THE WHOLE ZONE
Click
in the lower right hand corner.
This takes you to a “Quick Actions” page –
similar to the home page - just
for managing this zone. All actions you take apply just to this zone. You
can:
•
Turn the zone on or off;
•
Set Comfort, Away or Schedule modes;
•
Override the temperature setpoint.
The temperature override will override Comfort and Away settings for the zone until further commands are
issued, but if Schedule mode is set, will last only until the next programme cycle for each R1.
6.
MANAGE EACH INDIVIDUAL R1 RECEIVER INDIVIDUALLY
The system allows you to control each R1 within a zone on an independent basis. This is useful if, for example
you have a spare bedroom which you wish to heat to a lower level than occupied rooms.
6.1.
NAME YOUR R1 RECEIVER
Navigate from the Home “Quick Actions” page to the zone of your choice and click on the icon for the heater R1
Receiver you want to manage
to enter the “Manage Heater” screen
. The default naming of R1 Receivers is 1-6
and you can rename these (up to 8 characters each).


