8
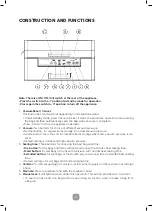
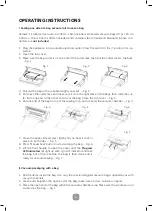
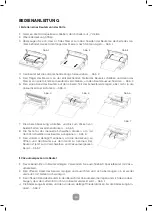
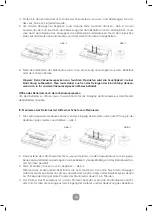
3. Insert one end of the hose into the air intake and another end of the hose into the center hole
of the canister cover. – Fig. 1
4. Check the LED status of “vacuum” and make sure if it is in “Normal” setting.
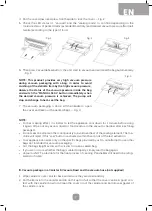
5. Press the canister button to start vacuuming– Fig. 2. To ensure there is no air leaking be-
tween the cover and the canister, use your hand to push down the cover at the beginning of
the vacuuming work. The machine will stop automatically when enough vacuum pressure is
achieved.
Fig. 1
Fig. 2
6. Take out the hose tube from the canister or bowl immediately first after the job is completed.
Note: When moist food are under vacuuming, moisture will be stored in adaptor. Remem-
ber to clean up the adaptor if there is water before vacumming.
Note:
• Allow hot food to cool down to room temperature before vacuum packaging. Otherwise
contents may bubble up out of containers.
• Vacuum is NOT a substitute for the heat process of canning. Perishables still need to be re-
frigerated or frozen.
Open Canister after vacuum packaging
In order to open the canister, you need to press the “Release “button on the canister cover.
IV. Marinate meat with a marinate Bowl & the vacuum hose (not supplied)
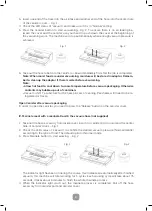
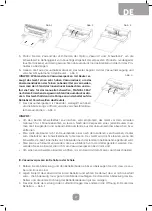
1. Take out the hose accessory from inside cover, insert it to canister port on unit and the center
hole of canister cover. – Fig. 1
2. Check the LED status of “vacuum” to confirm the desired vacuum pressure (Normal/Gentle)
according to the type of food. The default option is Normal mode.
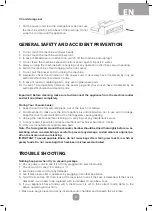
3. Press Marinate button to start working. – Fig. 2
Fig. 1
Fig. 2
The indicator light has been on during the course. It will release air automatically after finished
vacuum, this machine will total working for 5 cycles .Each working cycle will take about 75
seconds, It takes about 6 minutes to finish the whole marinate process.
4. When the indicator light crush out, the marinate process is completed. Pull off the hose
accessory from canister port and canister cover.


