460 719-07 3003.comp 25.06.2007 15:38 Uhr Seite 17
Probedruck
C
M
Y
CM
MY
CY CMY
K
17
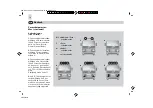
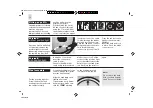
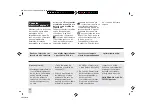
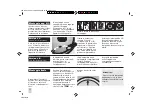
Install the relay with the
connection terminals
facing downwards and
splash-proof. If required
and permitted by legal
regulations, install a
switch on the dashboard.
Disconnect the battery
ground cable (-) for
safety reasons.
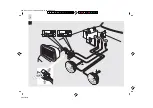
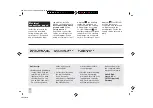
Route and connect the
cables according to the
circuit diagram. When
wired according to circuit
diagram
I
the auxiliary
lamps are switched on
together with the existing
driving lamps. According
to circuit diagram
II
the
auxiliary lamps are switched
in addition to the existing
headlamps via a separate
switch. According to circuit
diagram
III
the CELIS®
position lamps are
connected and switched
on together with the
parking light. Fasten the
supply cables securely in
place.
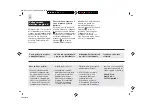
Have the driving lamps
set by a specialist garage
or at a service station.
Only correctly set
headlamps ensure
optimum light.
Another tip:
• Always keep headlamp
lenses clean. Dirt can
swallow up to 80% of
light power. You drive
safely when you can
see and be seen well.
Do you carry spare
bulbs and fuses in
your vehicle?
• Correctly re-install all
the removed parts.
If you have any
questions or installation
problems, please call
the Hella Service,
wholesealer,or return
to your garage.
• Outside normal working
hours an answering
machine will record your
inquiries and requests
and Customer Services
will then get back to you.
Ask your dealer for
the complete Hella
brochure or write to:
Hella KGaA
Hueck & Co.
59552 Lippstadt/
Germany
Electrical
connection, page 4
Содержание Rallye 3003
Страница 2: ...460 719 07 3003 comp 25 06 2007 15 38 Uhr Seite 2 Probedruck C M Y CM MY CY CMY K 2...
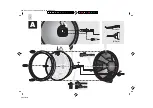
Страница 4: ...460 719 07 3003 comp 25 06 2007 15 38 Uhr Seite 4 Probedruck C M Y CM MY CY CMY K A 2 4 optional 5 mm...
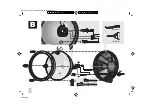
Страница 5: ...460 719 07 3003 comp 25 06 2007 15 38 Uhr Seite 5 Probedruck C M Y CM MY CY CMY K 5 B optional 5 mm...
Страница 6: ...460 719 07 3003 comp 25 06 2007 15 38 Uhr Seite 6 Probedruck C M Y CM MY CY CMY K 6 30 87 85 86 31 56a...

