background image


ROTARY HAMMER 


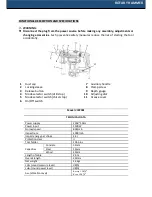
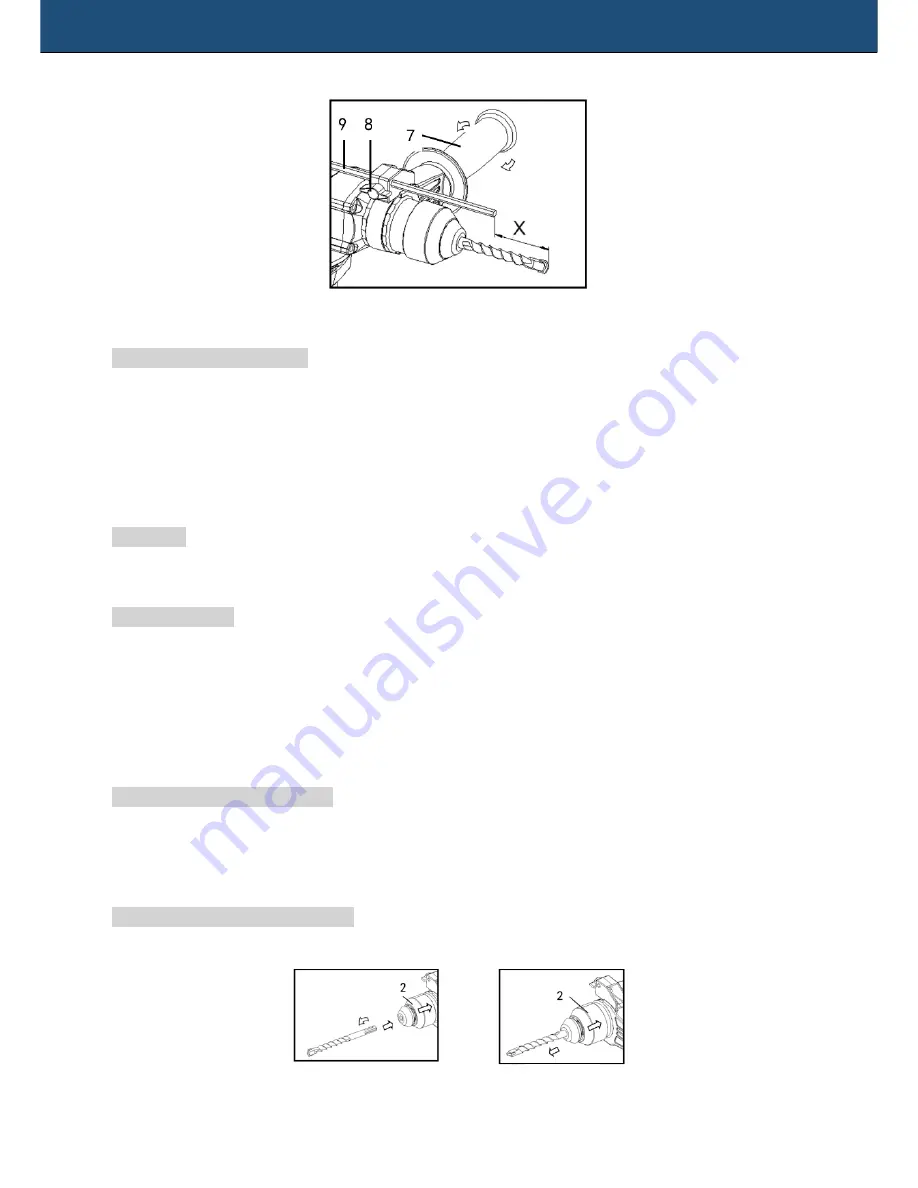
Depth gauge (see figure 6) 
 

The depth gauge

 9 

is convenient for drilling holes of uniform depth. Insert the depth gauge into 

the  hole in the grip  base. Adjust the  depth  gauge to the  desired depth and then tighten the 
clamp screw

 8 

to secure the depth gauge.  


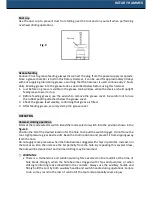
Note:

 The depth gauge cannot be used at the position where the  

depth gauge strikes against the tool body. 
 

Bit grease 

Coat the bit shank head beforehand with a small amount of bit grease (about 0.5  -1 g; 0.02 - 
0.04 oz.). This chuck lubrication assures smooth action and longer service life  
 

Changing the bit 
Before any work on the tool itself, pull the mains plug. 

With the SDS-plus tool holder, simpler and easier tool changing is possible without additional 
aides. 
The dust cap 

1

 largely prevents the entry of drilling dust into the tool holder during operation. 

When inserting the tool, take care that the dust cap 

1

 is not damaged. 

A damaged dust protection cap should be changed immediately.

 We recommend having this 

carried out by an after-sales service. 
 

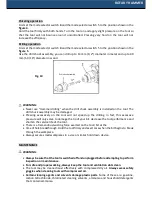
Inserting the bit (see figure 7) 

Clean and lightly grease the shank end of the tool. 
Push back the locking sleeve

 2

 and Insert the bit in a twisting manner into the tool holder until 

it locks itself. 
After installing, always make sure that the bit is securely held in place by trying to pull it out. 
 

Removing the bit (see figure 8


Push back the locking sleeve 

2

 all the way and pull the bit out. 


Fig. 6 

Tighten 

Loosen 

Fig. 7 

Fig. 8 

Содержание VCRP001

Страница 1: ...www heinner com VCRP001 Instructions GB Instruc iuni de utilizare RO Anleitung D Eredeti haszn lati utas t s HU BG Instrukcja obs ugi PL...

Страница 2: ...ges and refrigerators There is an increased risk of electric shock if your body is earthed or grounded 6 Do not expose power tools to rain or wet conditions Water entering a power tool will increase t...

Страница 3: ...isalignment or binding of moving parts breakage of parts and any other condition that may affect the power tools operation If damaged have the power tool repaired before use Many accidents are caused...

Страница 4: ...oper warm up hammering operation is difficult 8 Always be sure you have a firm footing Be sure no one is below when using the tool in high locations 9 Hold the tool firmly with both hands 10 Keep hand...

Страница 5: ...on 9 Depth gauge 4 Mode selector switch drill stop 10 Adjusting dial 5 Mode selector switch chisel stop 11 Grease cover 6 On Off switch Model VCRP001 TECHNICAL DATA Power supply 230V 50Hz Power input...

Страница 6: ...in time This start up time can be shortened by striking the drill chisel against the floor one time Overload Clutch If the tool insert becomes caught or jammed the drive to the drill spindle is interr...

Страница 7: ...ll This will help prevent premature wear of the tool Hammer drilling For drilling in concrete masonry etc depress the release button 3 and rotate the mode selector switch 4 so that the pointer points...

Страница 8: ...work on the tool Auxiliary handle WARNING Always use the auxiliary handle to ensure operating safety when drilling in concrete masonry etc When the bit begins to break through concrete or if the bit...

Страница 9: ...lug With the SDS plus tool holder simpler and easier tool changing is possible without additional aides The dust cap 1 largely prevents the entry of drilling dust into the tool holder during operation...

Страница 10: ...mp the grease cover OPERATION Hammer drilling operation First set the mode selector switch 4 and the mode selector switch 5 to the position shown in the figure 3 Position the bit at the desired locati...

Страница 11: ...he drilling In fact this excessive pressure will only serve to damage the tip of your bit decrease the tool performance and shorten the service life of the tool There is a tremendous twisting force ex...

Страница 12: ...nd remove the tail cover 2 Take out the brush holder and the worn carbon brushes 3 Insert the new brushes in the brush holder 4 Reinstall the brush holder and the tail cover SERVICE To maintain produc...

Страница 13: ...or demolition operations Use a bull point cold chisel scaling chisel etc Drilling For drilling in wood metal or plastic materials Use a twist drill bit or wood bit No function Wear ear defender Hammer...

Страница 14: ...r the following Materials and components used when manufacturing this item are high quality materials which can be reused and recycled Do not throw away the item with household waste at the end of lif...

Отзывы: