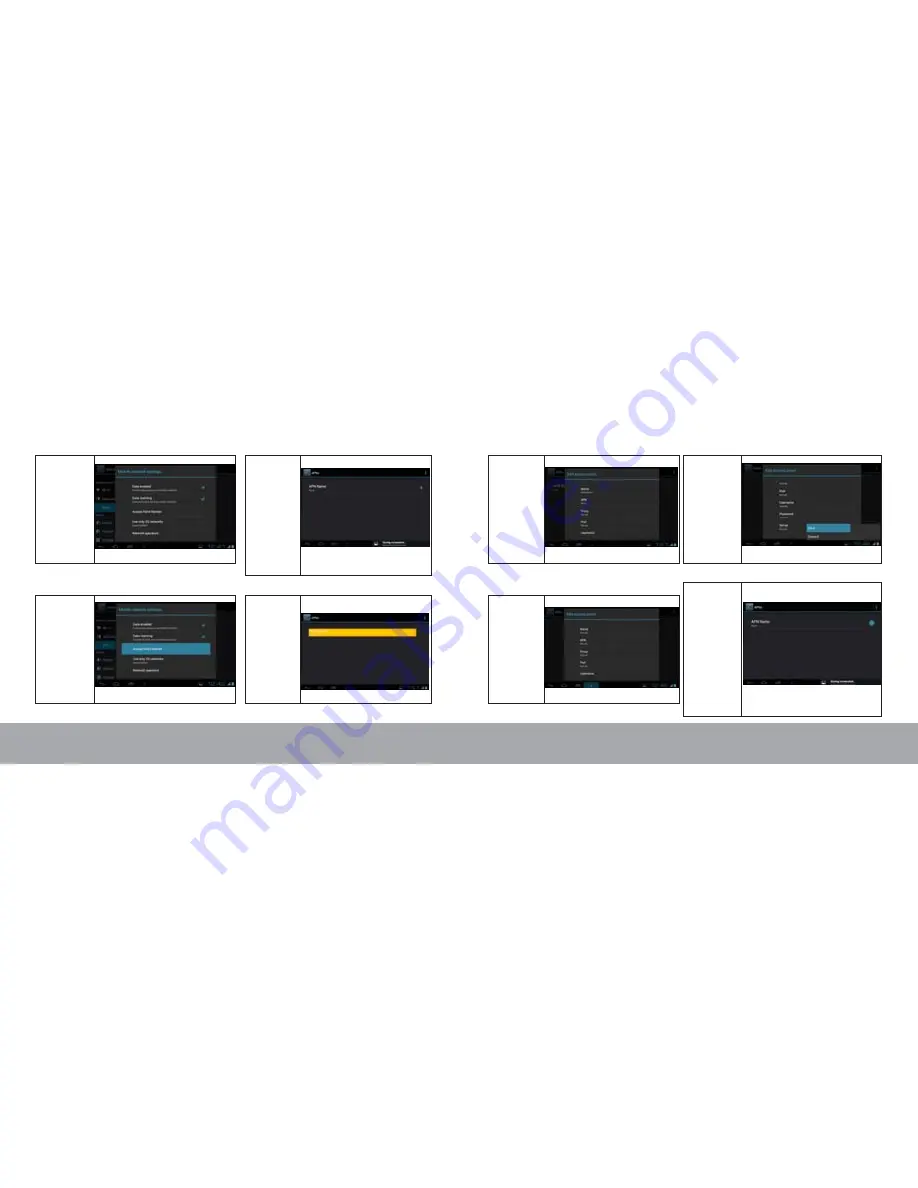
Step 7:
In the following
screen
ensure, "Data
enabled" option is
switched ON.
If not, switch it ON
by selecting the
same.
Step 8:
Now, Click
on Access Point
Names Option
Step 9:
To edit the
existing APN
click on the same
In the following
screen depending
upon the USB
Dongle connected
if there is an
existing APN
settings available,
the same will
be shown in the
list of APNs.
OR
If no APN settings
is shown then
skip to Step 14
Page 35
Optional Connections
Page 36
Optional Connections
Step 10:
Enter data card
specific
Information in the
fields provided.
Appendix A below
has this
information for
various commonly
used dongles.
Step 11:
Once you are
done entering the
data card specific
information, press
Menu button
Step 12:
Select the
Save option
to save the
entered settings
Step 13:
Now, you will see
the APN you just
created in the list
of APNs as shown
here. Select the
radio button next
to it to enable it.
Once enabled,
the radio button
will go green as
shown here.
Now skip to
Step 17


