


18
and green indicator in the low right is light. This process takes a
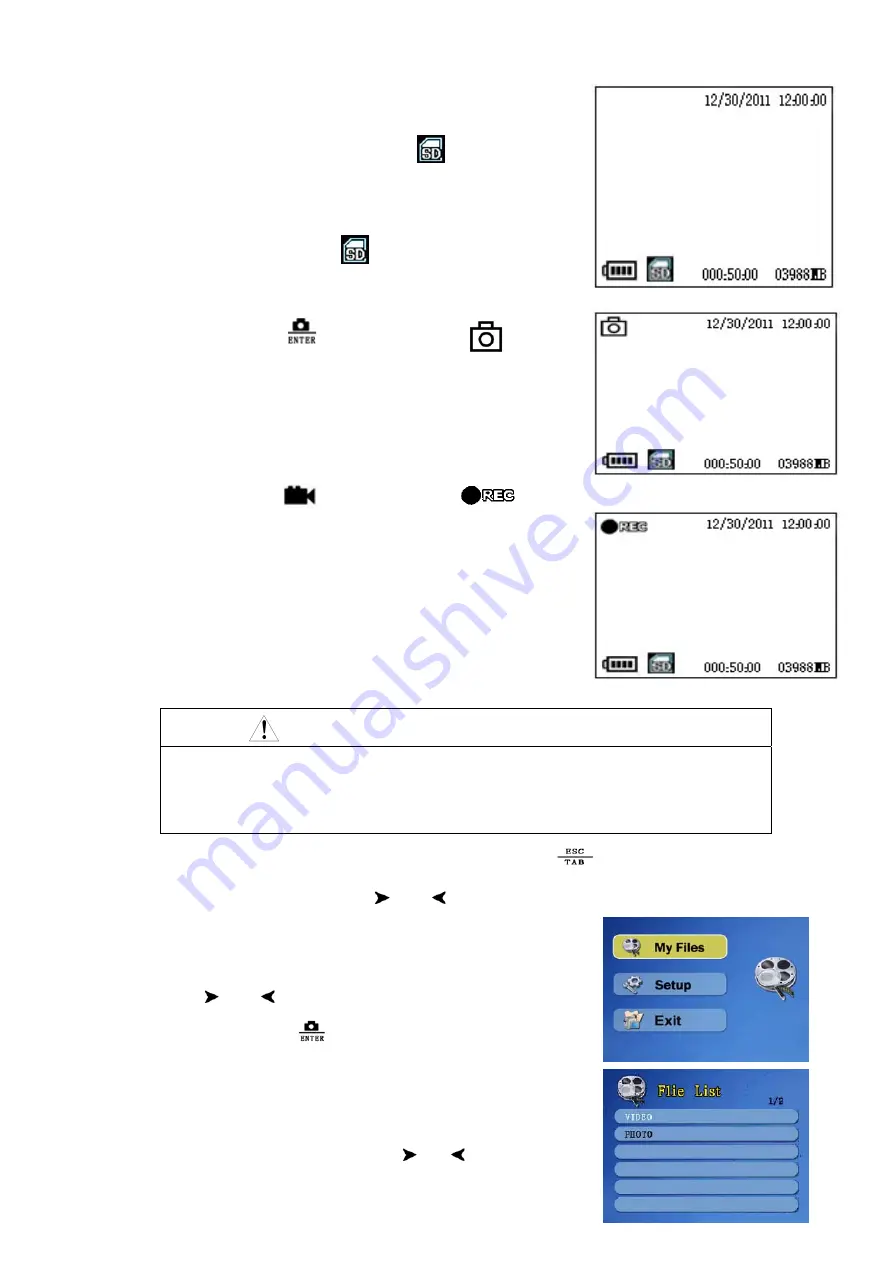
few seconds, please wait patiently. After power on, entering the
preview mode to show the current image. If
shows on the
low left of screen, it can take photos and videos. Date and time
will show on the top right, video time and capacity show on the
low right, electricity capacity and
show on the low left.
3.5.2 Take photos: Press
can take picture and will
show on the top left of LCD screen. After about 2 seconds,
the icon disappears, the photo files will be saved automatically.
The photo resolution can be chosen in the menu as JPG
format.
3.5.3 Take videos: Press
can take videos and
will
show on the top left of LCD screen and flashing. Press the
button again to stop take video, the video files will be saved
automatically. The movie resolution can be chosen in the menu
as AVI format.
NOTE
10 minutes, 20 minutes, 30 minutes is supported when capturing video, when the
capacity of single file is full, r
ecording will be stopped automatically and record next
video file until press video button to
stop recording and enter into the preview mode.
3.5.4 Adjust parameters of screen: P
ress back / switch button
, there are three optional items:
saturation, chromo, brightness, press and to decrease and increase value.
3.5.5 Main menu:
Press the Menu button to enter the main menu in
preview mode. There are three sub-menus: Camera, My Files,
Setup, press and to move yellow strip and select, then
press Photo/confirm button
to confirm and enter into sub-menus,
press menu button to back main menu and back to preview mode.
3.5.6 My Files:
After enter into sub-menu of My Files, files name and
number of SD card will be showed, press and
button to select,


