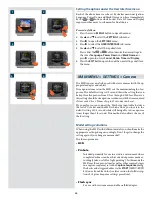

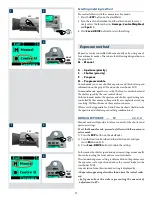

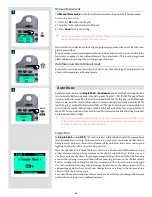
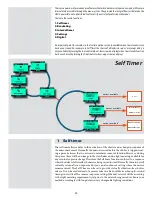

Power
The camera can be set at two active power modes −
ON
or
Standby
− as well as
OFF
. In active
modes, battery consumption is least in
Standby
mode and most in
ON
mode. The camera enters
Standby
mode automatically after 10 seconds (default) to preserve battery consumption but
this interval can be changed in Custom Options. Also, after 10 seconds, the display on the OLED on
the sensor unit is dimmed and after 30 seconds the display is turned off completely. After 3 minutes
the sensor unit enters the Standby mode. Settings can only be made when the camera is in the
ON
mode (the sensor unit has its own Standby setting).
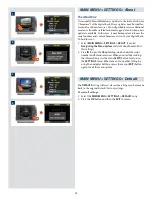
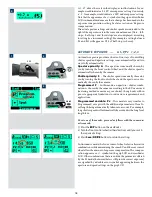
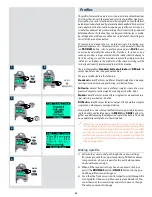
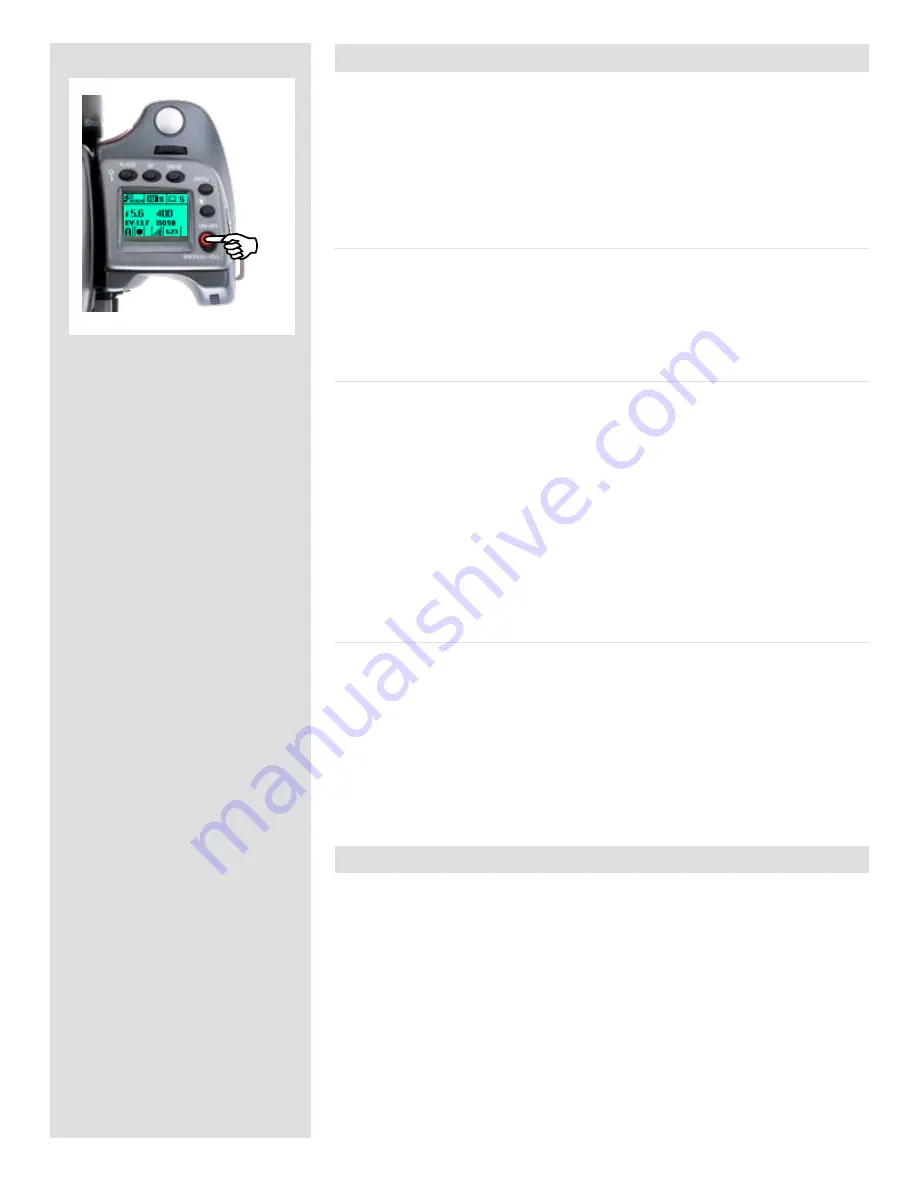
ON
To activate the camera press the red
ON.OFF
button until you see the start-up H3D
logo appear on the grip LCD. The logo is automatically followed by the main screen.
The camera is now in
ON
mode.
After a set period of inactivity (programmable in Custom Options) the camera automati-
cally enters Standby mode, signalled by the appearance of the H3D logo again.
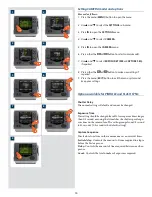
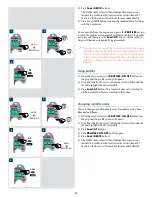
Standby
In this mode the camera is in a mainly inactive ‘standby’ mode and is ready to be im-
mediately reactivated to the
ON
mode by:
• pressing the shutter release button half way
• pressing the
Stop down
button
• clicking the
ON.OFF
button
• pressing the
Mirror up
button.
In this mode, signalled by the standby H3D logo appearing on the grip LCD, the de-
mand on the batteries is very low. It is ideal for general use where intervals between
shots exceed a few seconds.
Standby
mode is automatically set from the
ON
mode after 10 seconds (default) of
inactive use (programmable in Custom Options).
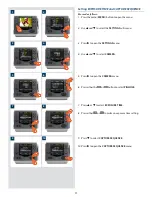
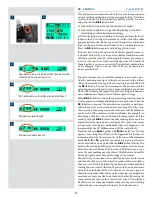
OFF
From the active screen, press (not click !) the red
ON.OFF
button for a half second. All
buttons (except the
ON.OFF
button) remain ineffective, producing minimal demand
on the batteries. This is the normal mode when transporting or storing the camera or
where there might be a risk of inadvertently activating the camera. (However, remove the
batteries if you are going to store the camera for a period of more than a few weeks).
In this mode neither the viewfinder LCD nor grip LCD information is available. The
magazine LCD, however, will continue to display information as it is independently pow-
ered.
OFF
mode is automatically set after one hour of inactivity in
Standby
mode.
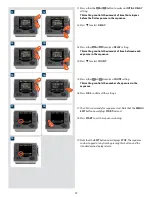
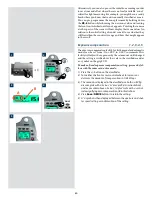
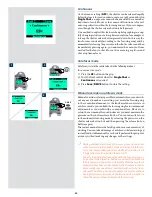
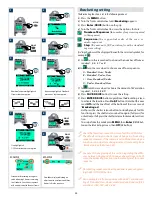
Manual focus
There is both a
Manual Focus
mode setting and a
Manual Override
capability.
Manual
Focus
is a specific setting that you actively make, whereas
Manual Override
is always available
as a temporary override of an autofocus setting.
In
Manual Focus
mode, focusing is carried out by rotating the focusing ring in the conventional
manner. The focus setting remains until changed as with a conventional non-autofocus lens. This
means that pressing the shutter release button will not activate a focus setting change as it does in
autofocus. To change back to autofocus, you must make a new setting (by pressing the
AF
button
and choosing
AF S
or
AF C
).
With
Manual Override
, you can manually alter a focus setting that has been made in the auto-
focus mode, by rotating the lens barrel in the conventional manner and without having to change
modes. As long as the shutter release button is kept at the half-press position, the new focus set-
ting is maintained. By releasing the pressure on the shutter release button and pressing again, the
autofocus function is immediately reactivated.
82