
3
1
-%.5
FLASH
4
&
2
2
5
6
$2)6%
3AVE
AE-L
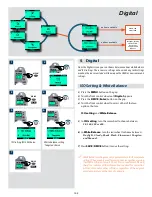
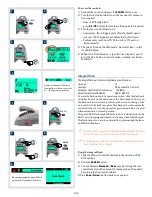
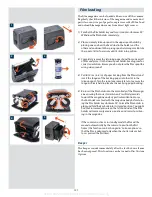
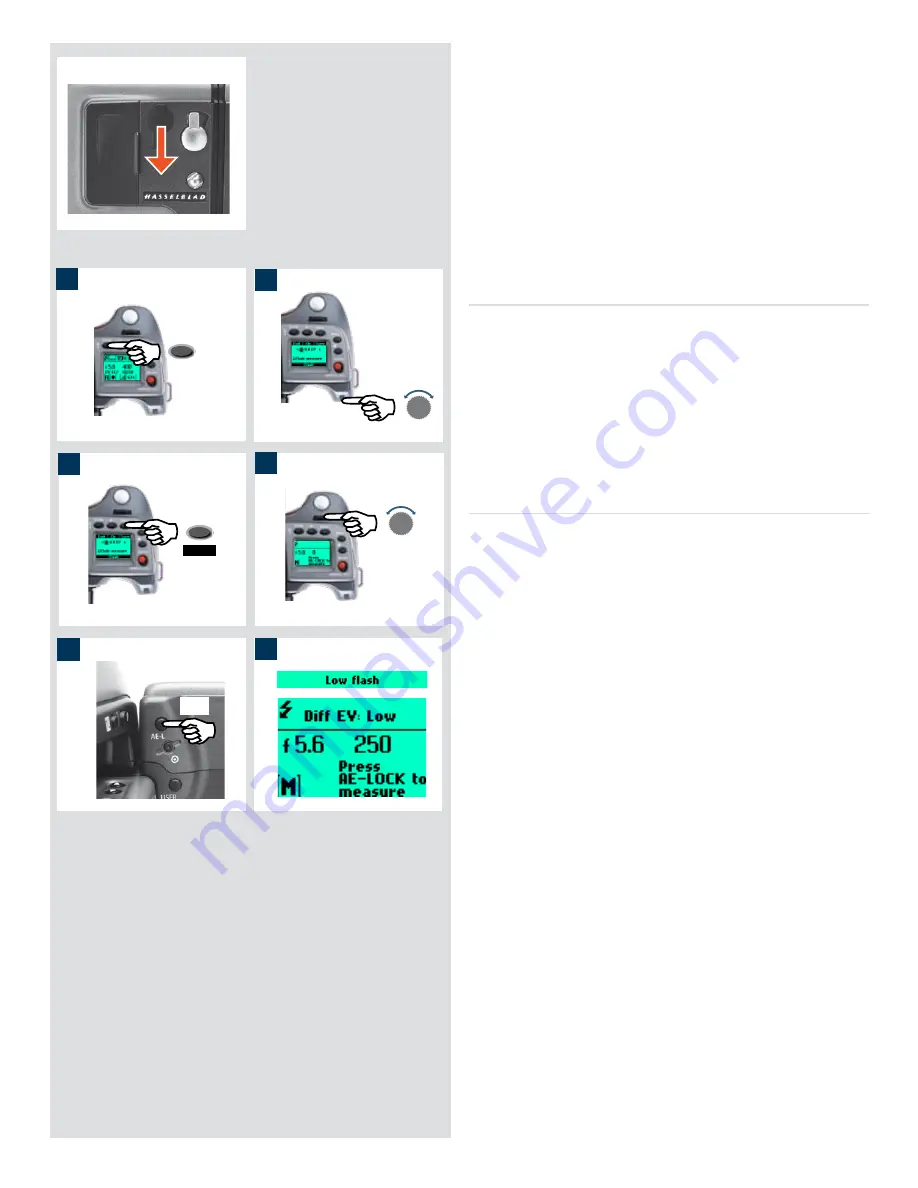
5) If the settings were incorrect to match the output of the flash
unit, the viewfinder LCD displays a red triangle alongside a
flashing green ‘flash’ symbol plus a warning message - ‘
Low
flash
’. The grip LCD will also display a warning message -
‘
Low flash
’.
Conventional measures should then be taken to correct the
situation. (That is: move closer to the main subject, use a
larger aperture setting or use a higher ISO setting).
The ‘Low Flash’ warning can be turned off in Custom Option
#26 if preferred.
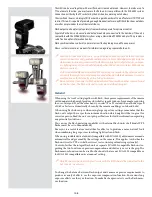
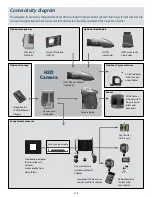
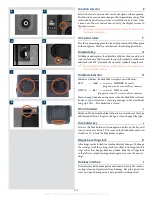
Separate flash unit connection and use
Separate flash units can be electrically connected either by way of
the hot shoe accessory holder (see previous warnings) on the top
of the viewfinder or via a cord to the PC connection port on the
left hand side of the camera body. Slave unit switches/ transmitters
can also be connected similarly dependant on unit (see specific
user manuals for details).
Keep the plastic safety cover in place in the hot shoe when not
in use.
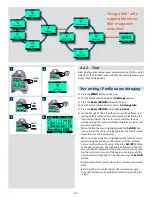
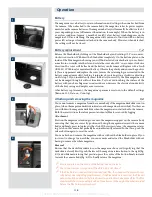
Flash measure of separate flash unit
You can measure the effect of an attached flash unit (with PC con-
nected flash units and SCA3902 compatible flash units set to M
mode), where the camera acts much as a flash meter would. The
aperture setting can be adjusted and more trial exposures made
until the information on the grip LCD is satisfactory.
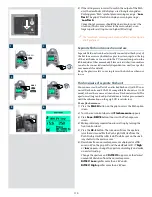
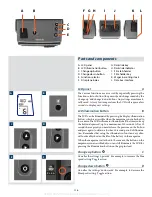
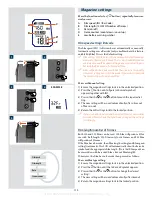
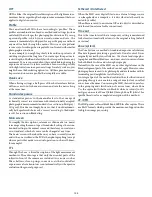
To use flash measure:
1) Press the
FLASH
button on the grip to access the flash option
screen.
2) Turn the rear control wheel until
Flash measure
appears.
3) Press
Save
(
DRIVE
button) to access the flash exposure
screen.
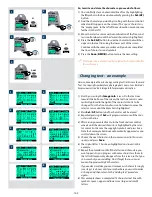
4) Make preliminary required aperture setting by turning the
front control wheel.
5) Press the
AE-L
button. The camera will close the aperture,
raise the mirror and fire the flash. Light reflected from the
flash lit subject will be reflected off a white spot on the auxil-
iary shutter to the meter sensor.
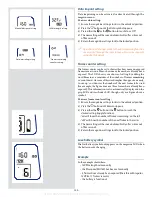
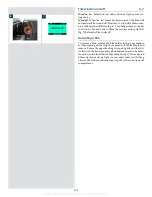
6) Deviations from a normal exposure are displayed as differ-
ences in EV on the grip LCD and the viewfinder LCD. If ‘
high
’
or ‘
low
’ appears, change the aperture accordingly and make
a new test reading.
Change the aperture until
Diff EV: 0
appears, or the desired
amount of deviation from the normal exposure.
Diff EV
:
Low
signifies more than 2 EV under
Diff EV
:
High
signifies more than 2 EV over
110