

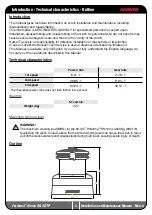


8
Performa
™
Winch
80.3 STP
Installation and Maintenance Manual - Mod.A
B.
Remove the winch and drill the six 10 mm diameter holes.
C.
Bolt the base of the winch to the deck using six M10 Socket Head (SH) bolts or six
hexagonal headed M10 bolts (neither is supplied by Harken
®
), correctly chosen for the thickness
and type of the boat deck. Consult the yard that built the boat in case of doubt.
WARNING!
To install the winch on the deck, use only bolts in A4 stainless steel (DIN 267 part11).
Bolts made of other materials may not have sufficient strength or may corrode which can result
in winch pulling off deck suddenly and unexpectedly during high loads causing severe injury or
death.
NOTICE
To mount winches on the deck, do not use countersunk bolts.
D.
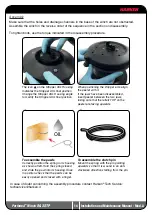
Fill the mounting holes with a suitable marine sealant.
E.
Remove the excess adhesive/sealant from the holes and base drainage channels
F.
Reassemble the winch following the steps in Installation procedure (page 5) in the reverse
order, and apply the products indicated in the section on maintenance.
NOTICE
Before closing the winch, make sure the holes and drainage channels in the base of the winch
are not obstructed.
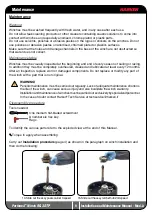
Positioning the self-tailing arm
Position the self-tailing arm so that the line leaving the winch is led into the cockpit.
Ø233
44°
40°
37°
60°
37°
46°
50°
23°
Ø287
23°
final pinion
position
Ø10 n°8
Carry out Installation procedure then install the winch on the deck in the chosen position
A.
Position the base of the winch on the deck and mark the position of the holes or use the
drilling cut-out template at the point where you have decided to place the winch.
Below is a reduced scale diagram.
The drilling cut out template is available on the Harken
®
website, www.harken.com


