background image

Training Workbook: HAPPY HCD-1501 Operation and Maintenance

Education Department

Chapter 2:  Machine Setup & Orientation

36

Machine Setup

Control Panel 2

Design Transfer

Transfer by CF card or Jump Drive

Design Transfer

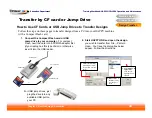
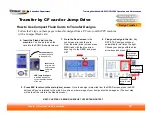
How to Use Compact Flash Cards to Transfer Designs

Follow the 9 steps on these pages to transfer designs from a PC into your HAPPY machine 
with a Compact Flash card.

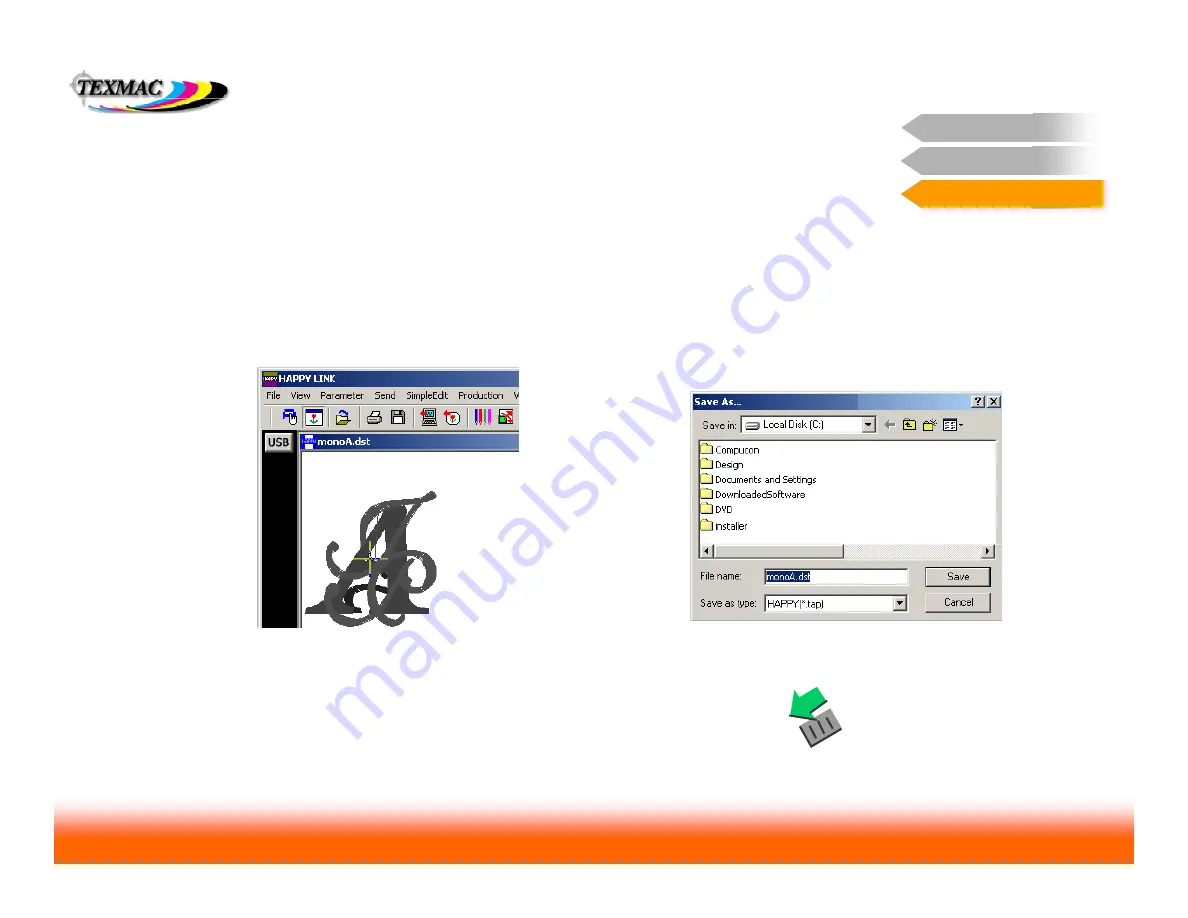
3.   (optional step) Set the color sequence.  

Click on 

the icon shown below to do so.  Or if you choose, 
you can set colors in your machine.

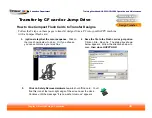
4.  Save the file to the Flash card or jump drive.  

Click on File…Save As.  The dialog box shown 
below appears.  Follow the directions below to 
save, 

then close HAPPYLINK.

5.

Click on Safely Remove Hardware Icon 

to shut off the card

.  

You’ll 

find this icon at the lower-right edge of the screen near the clock. 
Continue until the message “It is now safe to remove” appears.

Содержание HCD-1501

Страница 1: ...threading page 3 Bobbin threading Tensioning page 5 Control Panel 2 Sewing controls what your machine is telling you on the main screen page 6 7 Function Menu page 9 6 Important Main Menu functions i...

Страница 2: ...n most U S homes and businesses today but some older buildings may only have 2 prong outlets Steady Table Mounting Surface Your machine will perform better especially at higher speeds when operated on...

Страница 3: ...hrough every specific point along the face of the sewing head Thread must be docked at the thread holder spring UPPER THREAD Proper Thread Routing All threads must be routed correctly at all points al...

Страница 4: ...falls in the groove as shown UPPER THREAD complete route through moving head Proper Thread Routing All threads must be routed correctly at all points along the path through the sewing head Practice go...

Страница 5: ...the tension flap 3 Pass thread under wire loop at the top front of the bobbin case The yo yo test is very exact in checking tension Perform this quick check each time you re load the bobbin Practice...

Страница 6: ...position forward while machine is stopped STOP stops sewing Also when stopped moves sewing position backwards Useful after thread breaks Needle Select Keys change the currently selected needle while...

Страница 7: ...2 next 4 colors in sequence Max allowed speed set this with the and keys up to 1200 spm Actual sewing speed machine sews at speeds up to max allowed speed but varies according to stitch length Longer...

Страница 8: ...way In the sample screen shown below we ve illustrated a few simple rules Sub menu Contains additional options for a given screen Control Panel 2 General Tips in Navigating Main Menu Screens Press MEN...

Страница 9: ...oop to previous position Frame Type select here to tell the machine to switch between tubular cap or border frame sewing modes Access this menu by pressing the FUNC key LOG IN Set this to log the mach...

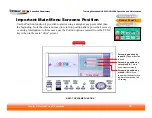
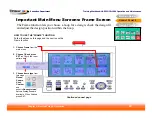
Страница 10: ...ost important useful functions Pattern Menu helps manage designs Setting Menu allows you to make useful changes to the design Needle Screen is most important for assigning thread colors to the design...

Страница 11: ...t Main Menu Screens Needle Screen NEEDLE First match the thread color palette to the actual thread colors installed on the machine You ll only need to do this once for all colors then only for any tim...

Страница 12: ...er and press SET to change the assigned color Press SET to call up a color palette to change the color Control Panel 2 Important Main Menu Screens Needle Screen NEEDLE NEXT HOW TO SET THE COLOR SEQUEN...

Страница 13: ...he machine will stop and prompt the operator to select a color 2 The selected color block will highlight to help confirm the part of the design you re setting the color for 1 Select the color block yo...

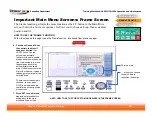
Страница 14: ...than the current active design as well as perform other design management functions such as deleting re naming duplicating and locking designs Design Information shows Design name number Stitch count...

Страница 15: ...ht side menu Store designs in folder groups With firmware 1 24 you can divide designs into folder groups This indicator shows what folder group you re in Second page of right side menu options Save de...

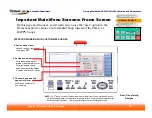
Страница 16: ...difications to the current pattern Any changes made to a design in the Setting screen will be saved with that design and will be remembered as long as the design stays in the control panel memory Left...

Страница 17: ...ns to the current pattern Any changes made to a design in the Setting screen will be saved with that design and will be remembered as long as the design stays in the control panel memory 1st Tab usefu...

Страница 18: ...sh to sew the same design repeatedly on a large hoop i e to create a series of patches Set number of rows and columns Spacing between columns Spacing between rows Toggle between sew by row or sew by c...

Страница 19: ...s move the design lower in the hoop and vice versa X values move the design to the left in the hoop and vice versa Toggle auto origin on or off Set offset distance in mm for X and Y values Set offset...

Страница 20: ...As an example this is useful when sewing appliqu where sewing needs to pause after the marker stitch has been laid However it can also be done more simply in the Needle screen see page 12 in this cha...

Страница 21: ...ist from the card shows 8 designs at a time to view the rest arrow down below the list bottom or up to go higher To access left side options To set left side options back to factory defaults combine j...

Страница 22: ...t sewing position by color block This is used most commonly Set sewing position by stitch Useful if you remember the exact stitch where the machine left off sewing Use the Position function if you wis...

Страница 23: ...choose a hoop for a design check the design fit and adjust the design position within the hoop Continued on next page HOW TO USE THE FRAME FUNCTION Follow the steps on this page and the next to use th...

Страница 24: ...page to use the Frame function continued from previous page Choose a hoop and press SET the right side numbers indicate hoop size in mm The left side number is an internal reference and not useful 4 A...

Страница 25: ...e This is a map of how you can use these controls to reposition the design 6 Check position and fit use the controls to adjust if needed or desired For HAPPY hoops the red outline is an accurate indic...

Страница 26: ...to use the user option in the Frame function to choose a non standard hoop instead of the library of HAPPY hoops 1 Choose the Custom frames category for frame type using the left right arrow keys 2 S...

Страница 27: ...se a non standard hoop instead of the library of HAPPY hoops NOTE On 3rd party hoops actual sewing area may differ from hoop s stated size based on hoop shape presser foot clearance and other factors...

Страница 28: ...other functions Compact Flash Card shown inserted into PCMCIA adapter sleeve inserts into this slot on the side of the control panel It works like a floppy disk or a USB jump drive connect the Flash c...

Страница 29: ...you installed in Step 3 6 Click on File Options until the dialog box shown below appears Ensure that the dialog box is set as shown below then click OK check compatible set to 12 needles set to USB no...

Страница 30: ...achine is turned off and connect a USB cable between your PC and the machine You may use the cable that came with your machine or purchase a longer one at any computer supply store Ensure that any USB...

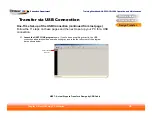
Страница 31: ...me Set up of the USB Connection continued from last page Follow the 11 steps on these pages and the next to set up your PC for a USB connection NEXT Actual Steps to Transfer a Design by USB Cable 11 L...

Страница 32: ...able to transfer designs from this screen 2 Connect the USB cable between machine and PC if you haven t already done so 3 Launch the HAPPYLINK program and check to ensure the USB icon is lit 5 Click t...

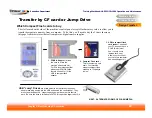
Страница 33: ...o this you ll need to buy the 3 items shown on this page from most stores that sell computer or digital camera supplies Design Transfer 2 Compact Flash card This is the memory card itself Your machine...

Страница 34: ...e below We have attempted to show the cards approximately to scale with each other Note that compatibility with these types may improve as revisions of the machine s on board firmware and hardware are...

Страница 35: ...p drive to your computer For compact Flash nsert the card into a PCMCIA adapter first if your laptop has this type of slot or otherwise insert it into the USB reader 2 Start HAPPYLINK and open the des...

Страница 36: ...o your HAPPY machine with a Compact Flash card 3 optional step Set the color sequence Click on the icon shown below to do so Or if you choose you can set colors in your machine 4 Save the file to the...

Страница 37: ...o go to the READ and press SET 9 Press ESC to return to the main drive screen Once the design is imported from the READ screen press the ESC button until you ve returned to the main Drive screen where...

Отзывы: